 I’m glowing with excitement! I was recently interviewed by the lovely Melissa Shanhun from ScrapbookingHQ.com for the Scrapbooking Inspiration Podcast.
You can find the podcast HERE!
(Link will open in a new window/tab so you can refer to the visuals in this post as we talk about them.)
Melissa and I chatted about scrapbooking yourself. I shared one of my all-time favourite tips for journaling. We talked about selfies. I told her about one of the first pages I created that was all about me.
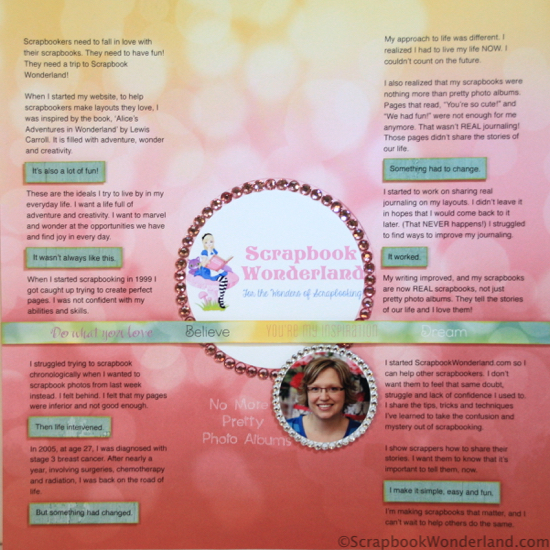
I confessed to Melissa that even though I started scrapbooking in 1999 I really didn’t learn how to add real journaling to my layouts until much later. I looked back at older scrapbook pages I’d made and found myself trying to remember the details that I had failed to record successfully.
Journaling Tip
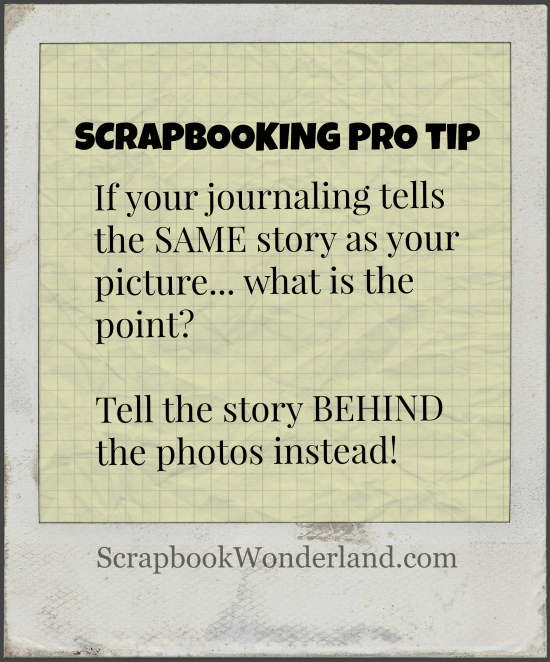
I shared one of my all-time favourite tips for journaling; making connections.
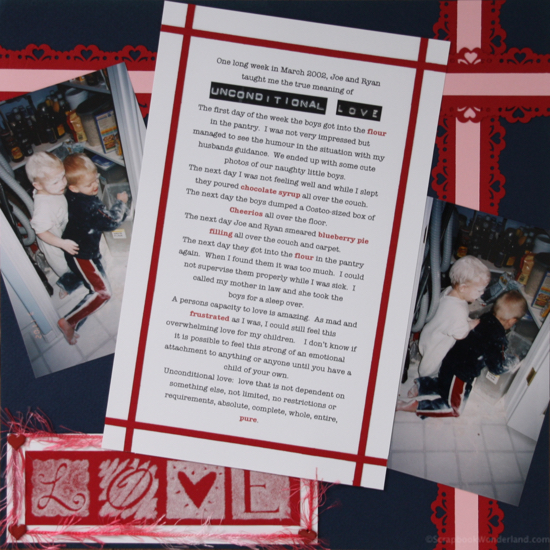
The way it works is to link something in the present that you are scrapbooking to a story from the past. Often this story doesn’t have a photo of it’s own, so it’s a great way to share that story and still have a photo that you can use.
It’s a great way to tell part of your story in a way that connects to the present time; kind of a ‘now and then’ theme.
You can read more about Making Connections in this blog post HERE.
Selfies
I LOVE taking selfies. I’ve been taking selfies long before they were even called selfies! I’ve even mastered the difficult task of taking selfies with my Canon Rebel DSLR camera. (If you’re going to do it, do it right!) I’ve started making a mini book that will feature only selfies I’ve taken… how fun is that?!!! 🙂
Coming soon… my tips for “How to Take the Perfect Selfie”. Thanks for the suggestion Melissa!
Making a Layout about Myself
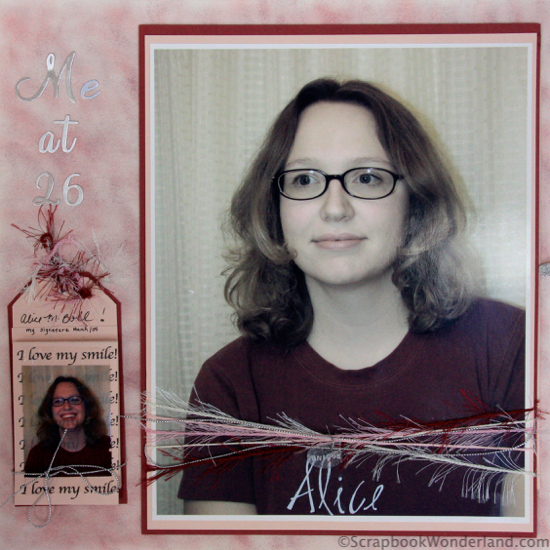
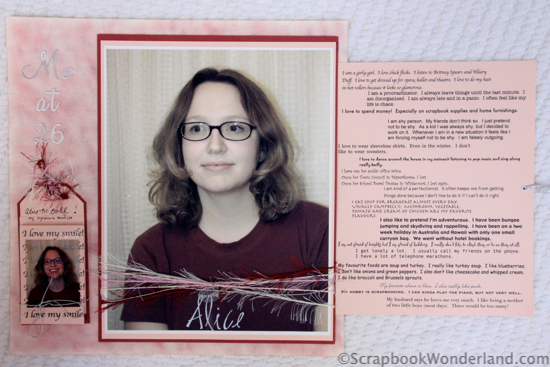
Me at 26
I started this layout by taking my own photo. I wanted a photo that I really liked of myself. I took a lot! (If you listen to the podcast you’ll find out the funny place this photo was taken!) 😉 Then I toned down the saturation on the photo to give it a slightly timeless feeling.
Next I stamped my custom background paper with the colours I wanted to work with and found the perfect metal letters to create the title.
The Tag
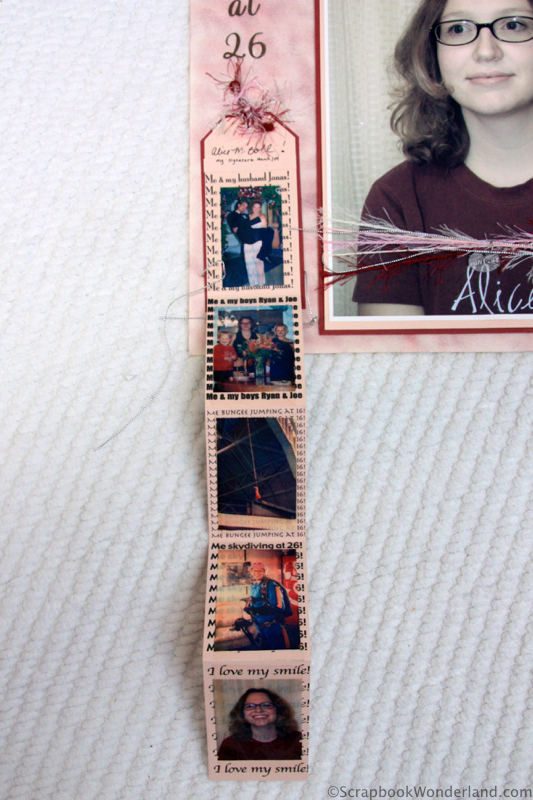
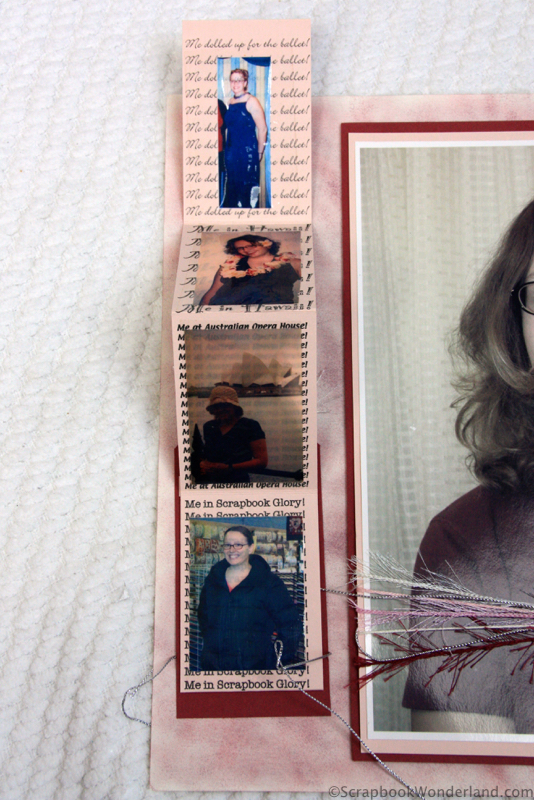
The tag is a fold out tag. You simply undo the silver string and fold it out.
I printed repeating words on the background behind each photo. Now here’s a fun detail. If you look closely you’ll see that the photos are translucent. You can see through them slightly. Now, you might be asking, “HOW DID YOU DO THAT?”
It’s called a Packing Tape Transfer. I printed the photos on an ink-jet printer. Then I placed packing tape over top of the photos. I rubbed them firmly with a bone folder. Then I placed the photos in water. Yes. Water. The paper softens and peels off, leaving the image stuck to the tape.
Caution: Not all printer paper works wonderfully for this. You need to experiment. If I remember correctly Epson paper is what I used, but this was done years ago, so best of luck!
More About The Tag
Each of the photos featured on the tag was something I was either proud of or I felt was a great accomplishment.
I included my husband, my two boys, bungee jumping, skydiving, my smile, going to the ballet, going to Hawaii, going to Australia, and me in all the wonders and glories of a scrapbook store. 🙂
Hidden Journaling
I created a pull out tab of hidden journaling for the layout. I didn’t want the clean design to be distracted by a bunch of words, and I knew I’d need a lot of room… there’s a lot to say about myself! 😉
I created space for the journaling under the photo using foam tape and made an area for the journaling to tuck away. I also made sure the journaling wouldn’t go missing from the page by making sure you couldn’t pull it out ALL of the way. There are hidden tabs that keep it from being removed.
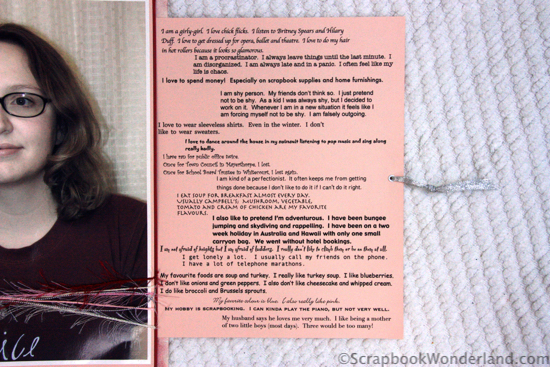
Journaling
I wanted to share a bunch of random tidbits about my life at 26. I know how quickly likes and dislikes change over the years, so I thought this would be a fun way to have a quick glimpse into my life at the moment.
Some details:
I am a girly girl. I love chick flicks. I listen to Britney Spears and Hilary Duff. I love to get dressed up for opera, ballet and theatre. I love to do my hair in hot rollers because it looks so glamourous.
I am a procrastinator. I always leave things until the last minute.
I love to spend money! Especially on scrapbook supplies and home furnishings.
I am a shy person. My friends don’t think so. I just pretend not to be shy.
I love to wear sleeveless shirts. Even in the winter. I don’t like to wear sweaters.
I am kind of a perfectionist. It often keeps me from getting things done because I don’t like to do it if I can’t do it right.
I eat soup for breakfast almost every day.
I also like to pretend I’m adventurous. I have been bungee jumping and skydiving and rappelling. I have been on a two week holiday in Australia and Hawaii with only one small carry-on bag. We went without hotel reservations.
I get lonely a lot. I usually call my friends on the telephone. I have a lot of telephone marathons.
My favourite foods are soup and turkey. I really like turkey soup.
My hobby is scrapbooking. I can kinda play the piano, but not very well.
My husband says he loves me very much. I like being a mother of two little boys (most days). Three would be too many!
Details
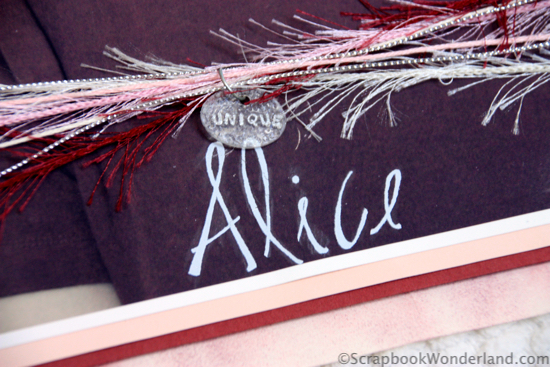
On the bottom of the photo I used rub-ons to add my name. I also used multiple fibres to reach across the photo and added a small shrinky-dink charm I made with the word ‘unique’ on it.
I’m still totally in love with this layout and let’s just say that I’m certainly not 26 anymore! 😉
Page Protector?
The biggest question you might still be wondering is how does it fit into a page protector.
Thanks for asking!
I cut a square/rectangular piece of the page protector out right above the tag, so it can be opened while still remaining in the protector. I also cut a long slit along the edge of the page protector so you can slip the journaling out without removing the page. It works great and you don’t have to fiddle with putting the page in and out of the page protector.
Want some tips on cutting page protectors? I made a video for another project I made. It’s HERE.
Scrapbook YOU! Class
 If you are ready to scrapbook more about yourself I’ve made it as easy as possible! Check out this new class: Scrapbook YOU!
You’ll learn how to create a whole album about yourself. You’ll find out what should go in it, what to do when you hate photos of yourself, and what to do when you don’t HAVE photos of yourself!
Note: this class is now a self-paced class… you can take it when you want and work on it at your own pace!
To find out more and to register, visit: https://scrapbookwonderland.com/you
Thanks Melissa!
I would really like to thank Melissa for allowing her to share my joy and passion for scrapbooking with the Scrapbooking Inspiration Podcast audience. I hope I’ll inspire listeners to tell their story. Only you can do it!
Now go let your creativity shine!
Alice.
