≡ Menu

Scrapbook an Embarrassing Story

Adding an embarrassing story to your scrapbooks can be a lot of fun!

Let’s be clear. I’m not talking about the scandalous, shocking, outrageous, humiliating, awkward, or mortifying stories. You can keep those to yourself! 😉

How about a slightly embarrassing story instead.

Page prompt: Scrapbook an embarrassing story!

ski story layout image

Journaling details:

Yes, I can ski. I don’t like to go too fast – my boys were both better, and faster, than me by their third day of skiing – but I enjoy it. My first time skiing was a rather interesting event and I have an embarrassing story!

My first time skiing was on a school trip to Marmot Basin in Jasper. I was in high school, grad 10, I think. At the hill everyone had to take a ski lesson. I was fine with that as it was my first time eve on downhill skis!

My instructor taught me some of the basics: snowplowing, turning, and stopping, and then it was time to take the chair lift up the hill. I was pretty nervous about riding the chair lift.

Luckily, I rode up the hill with the instructor. As we admired the amazing mountain views she explained how to get off the chair lift. Point your skis up, stand up, and slide down the little hill. 

At this point I was massively relieved! My only experience with a ski lift was from watching some dumb ski movie where the people jumped off the lift into powdery snow below. I actually thought we had to jump! How crazy is that? I still got ON the lift! What was I thinking? Ah, the things we do in our youth!

Every time I go to the hill I’m reminded of that first ride on the chair lift and I’m still relieved that I don’t have to jump off the lift.
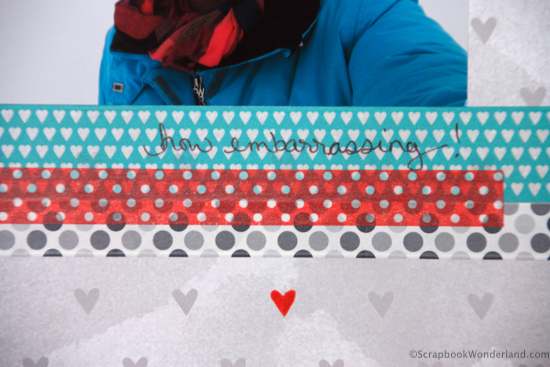
ski story layout detail image

Awesome Tip!

Did you know you can write on washi tape?

Well, you CAN!

You just need the right pen.

(I have tried several different kinds and trust me… most pens do NOT work!)

I recommend a Sharpie, permanent, ultra-fine point pen. It writes easily on the washi tape and doesn’t wipe off. (That’s important!) 😉
Make it Monday Pink CircleMake it Monday

Welcome to the Make it Monday blog circle. Your next stop is to the Scrapbook Campus where Carol will show you how to add text inside a silhouette for a fun and original result using Paint Shop Pro.


Are you brave enough to share an embarrassing story in your scrapbooks? If you are even braver feel free to share a link to a page you’ve created in the comments, or you can share a photo on the Scrapbook Wonderland Facebook page!

Be fearless and let your creativity shine!

Alice.
Alice Digital Signature 2013
{ 1 comment }

Scrapbook Room Tour

Welcome to my scrapbooking workshop! I’m so excited to finally be sharing photos.

Come on upstairs!

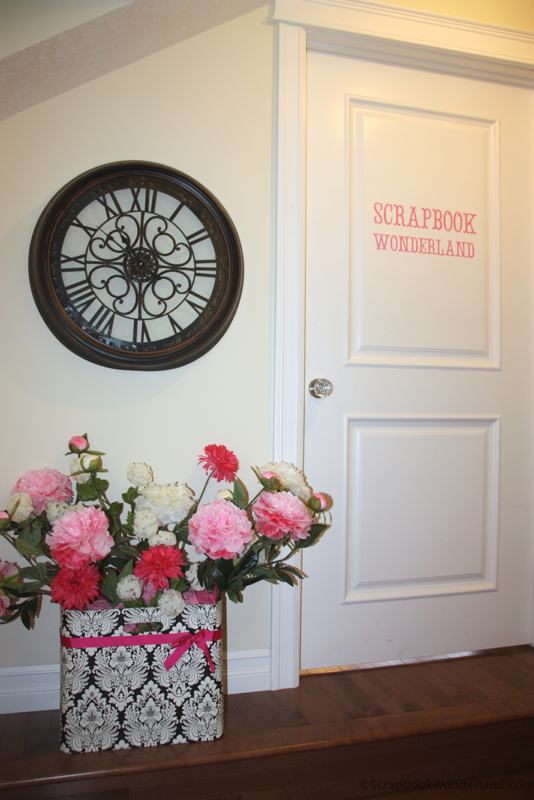
scrapbook room entry

My scrapbook workshop is a bonus room above our garage. My darling husband insisted that he needed a huge garage, so I ended up with an amazing space!

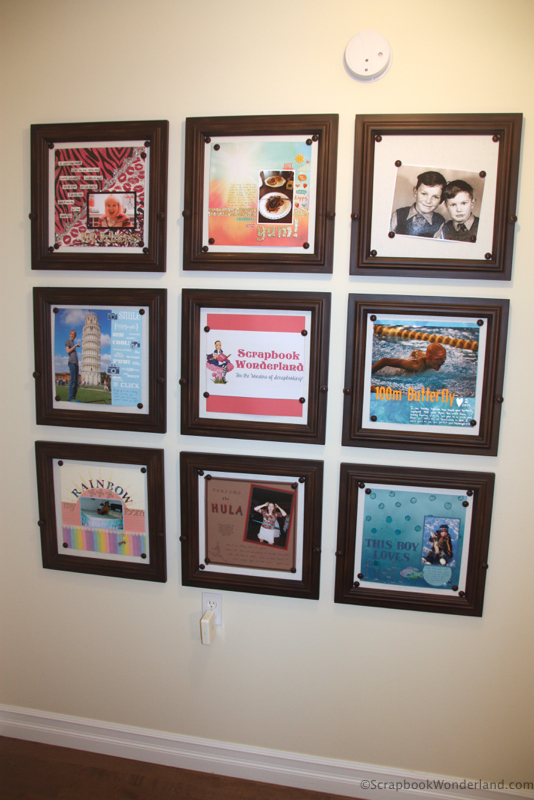
Before we head in you might want to take a peek at my gallery wall. You can read more about it HERE.scrapbook room gallery wallOk… come on in!

scrapbook room door

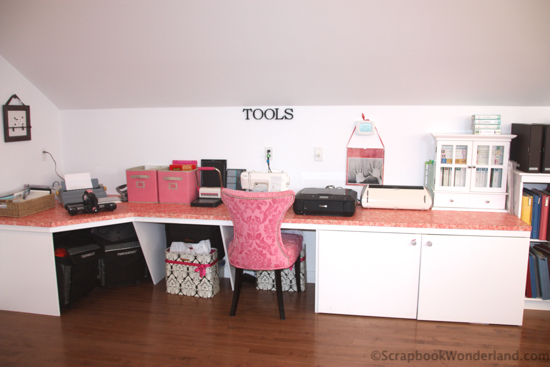
Inside you’ll find tools:

scrapbook room tool station

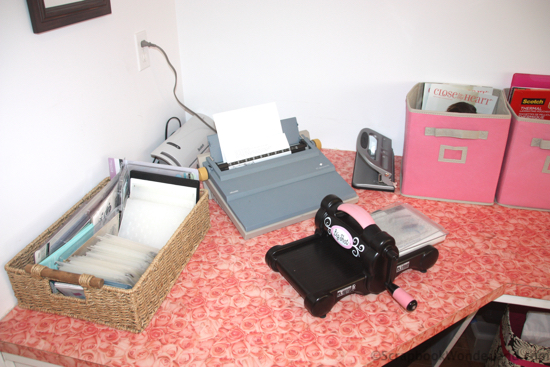
A Big Shot with plenty of embossing folders and some dies, a typewriter, and a laminator.

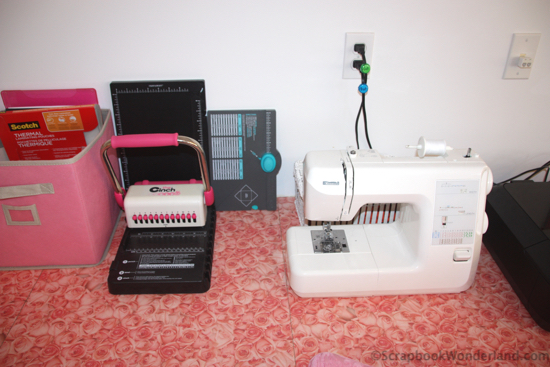
scrapbook room tool station 1An scoring board, an envelope punch board, a sewing machine.

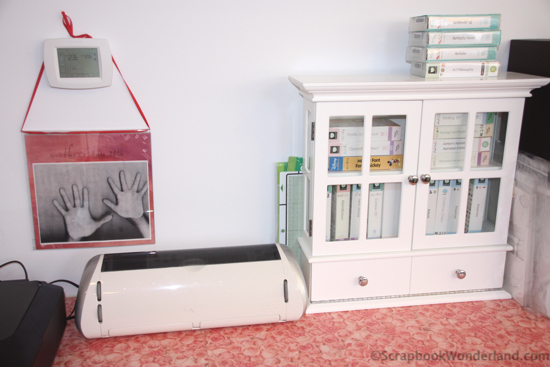
scrapbook room tool station 2A printer and a Cricut machine with some cartridges.

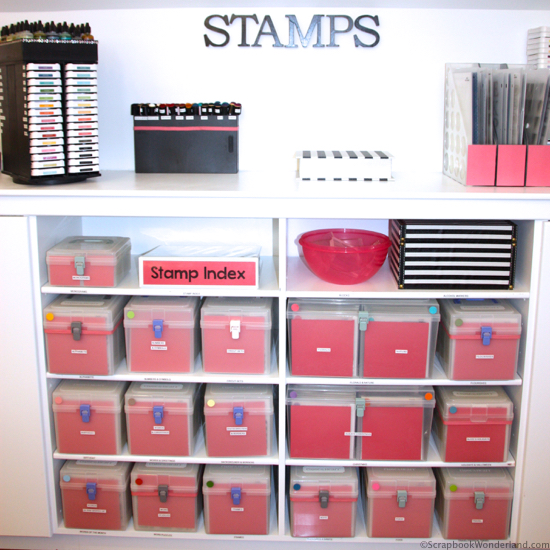
scrapbook room tool station 3You’ll also find stamp storage. Want to learn my secrets to organizing stamps and always being able to find them when you want them? Check out this blog post about STAMP ORGANIZATION.

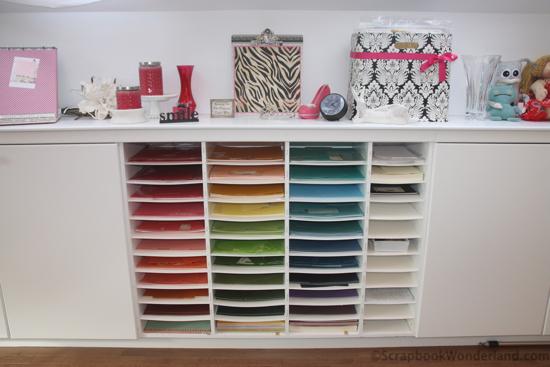
stamp organization image 1There’s storage for coloured cardstock.

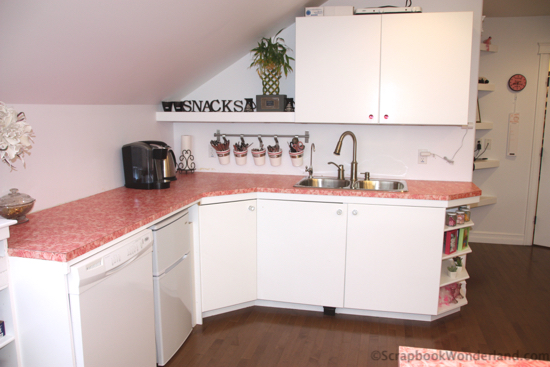
scrapbook room coloured cardstockWhen you get hungry you can grab a snack in the kitchen.

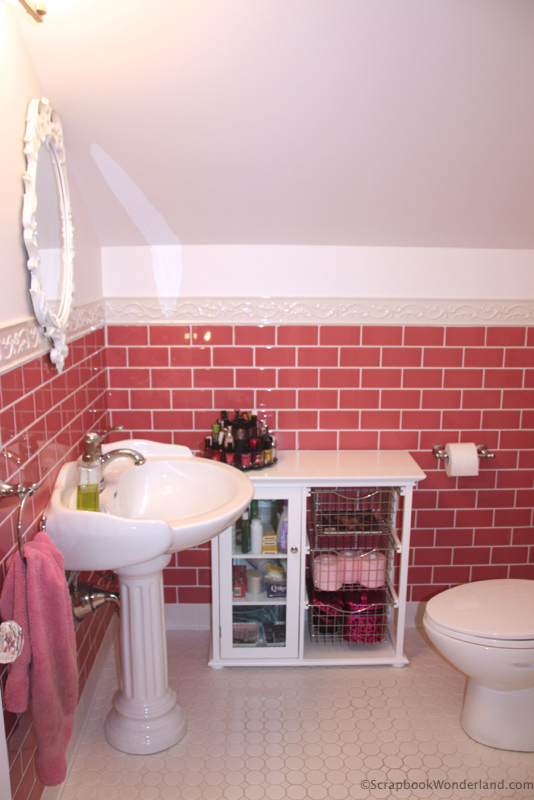
scrapbook room kitchenAnd if nature calls there’s an adorable pink bathroom!

scrapbook room bathroomThere’s a few more areas  I’ll be sharing soon, so if you check back I’ll have more photos up!


Want a peek inside the cupboards and drawers? Check out these posts! (Click the photos!)

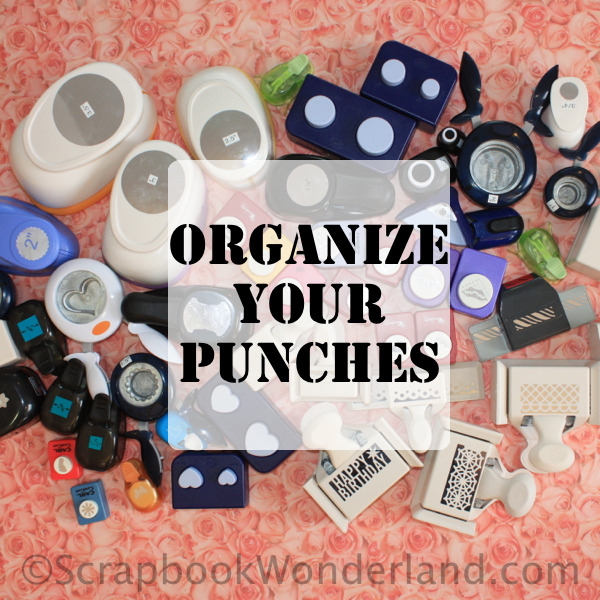
4 Easy Steps to Organize Punches

Organize Your Punches logo

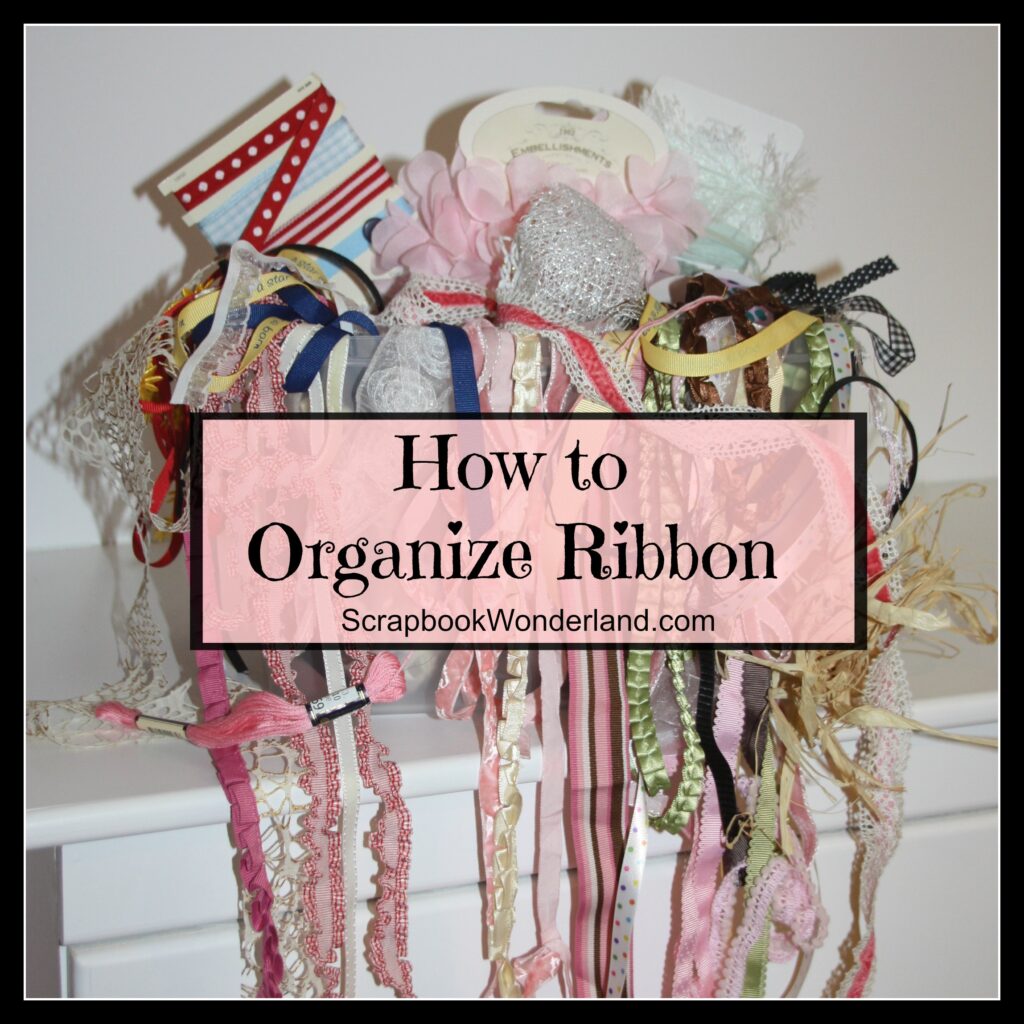
How to Organize Ribbon

How to Organize Ribbon small image


Thanks for taking a peek! If you have any questions I’m happy to answer them!

Let your creativity shine!

Alice.
Alice Digital Signature 2013
{ 25 comments }

How to Organize Stamps

How to Organize Stamps promo image small

(and actually find them when you need them!)

If you are into stamping I’m going to guess that you have a ‘few’ stamp sets!

Once you have a collection of stamps it becomes harder and harder to remember what you have, and then to find it when you need it.

I have a great system for organizing stamps. Most of the stamps I own are from Close to My Heart*, however the same methods work for all kinds of stamps.

You need storage for the following items:

  • stamp sets: acrylic, wooden block, different sizes, etc.
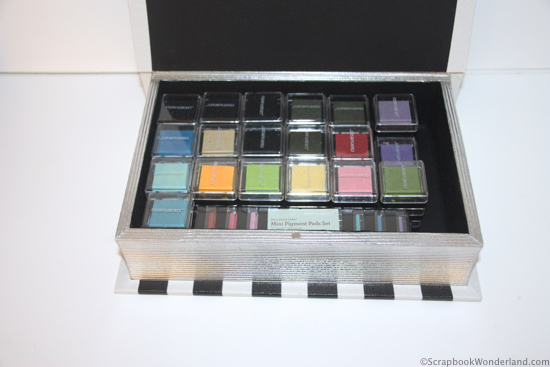
  • ink pads: dye ink, pigment ink, distress ink, Staz On, etc.
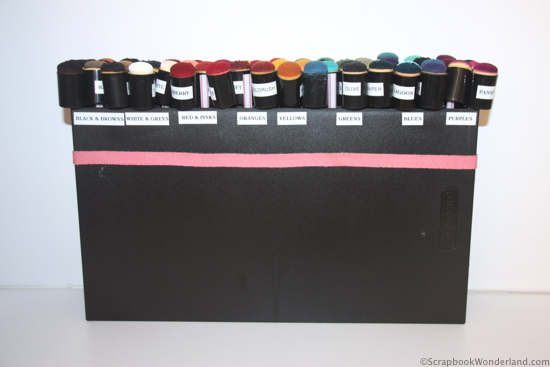
  • sponge daubers
  • acrylic blocks
  • stamp cleaner and scrubber

Here’s a peek at my main stamp storage area. (Please remember, I’ve been scrapbooking for years and I am also a consultant… my supply area is large, but the same ideas work for smaller areas too!)

stamp organization image 1

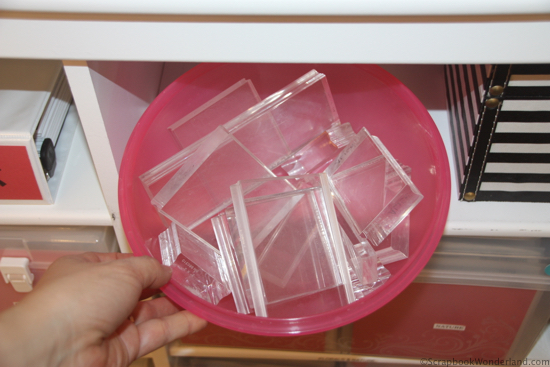
You’ll need a place to store your acrylic blocks. Keep it simple and find a container that ensures they are easy to access.

stamp organization image 2

Ink pads need to be organized also. Sort them by types of ink as you need different kinds of ink for different projects.

stamp organization image 3

Organizing your sponge daubers will allow you to reuse them rather than disposing them. You’ll always have the right colour available.

stamp organization image 4

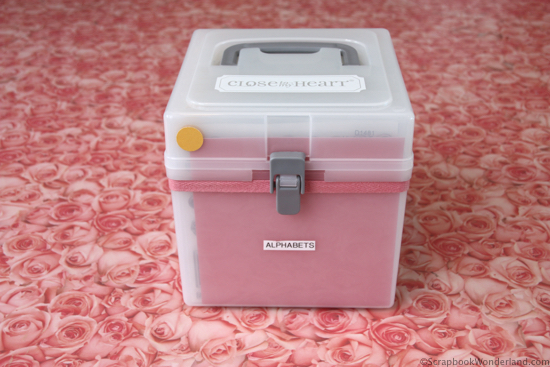
Find a storage container for your stamp sets. Take notice of the coloured dot on the outside of the box… this is important!

stamp organization image 5

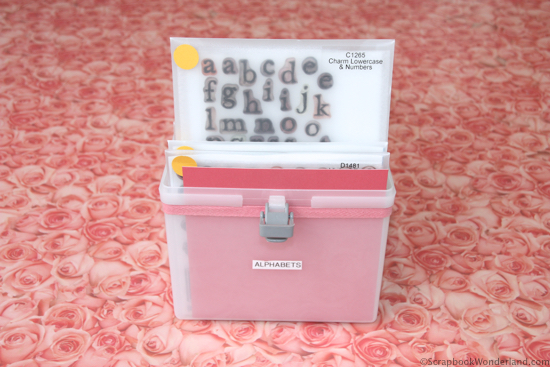
Each of the stamp sets contained inside the box have a matching colour of dot on them. This makes it easy to put your stamp sets away.

stamp organization image 6

But… what about finding the sets you are looking for? Create yourself a STAMP INDEX!

How to create a stamp index:

You’ll need:

  • a binder
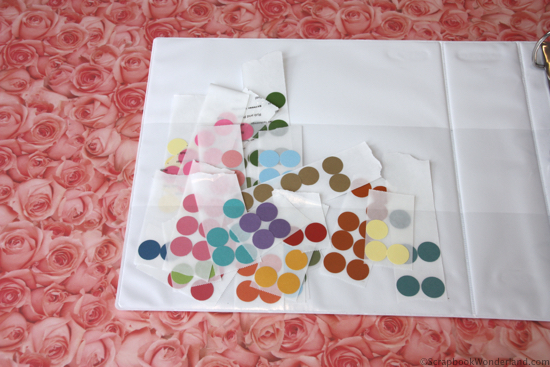
  • coloured dots – you can purchase coloured dot stickers for this, or make your own 😉
  • tabs for the binder
  • photocopies of each stamp set
stamp organization image 7

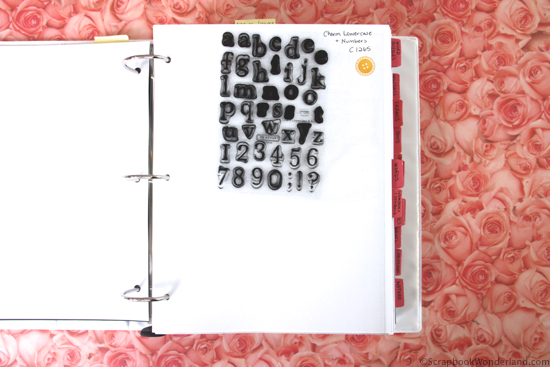
Take a photocopy of each stamp set. Add a coloured dot to the page to indicate which storage box you can find this stamp set in.

stamp organization image 9

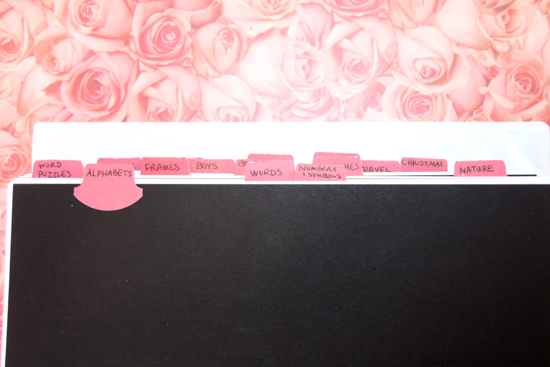
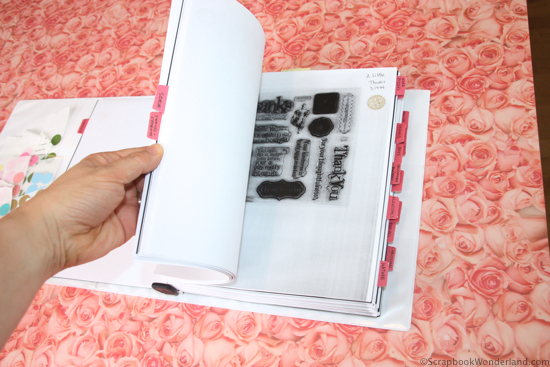
Organize the photocopied sheets by categories. Use categories that make sense to you.

Here’s a list of the tabs in my stamp index:

  • alphabets
  • word puzzles
  • frames
  • words
  • numbers and symbols
  • boys
  • girls
  • babies
  • flourishes
  • travel
  • Christmas
  • holidays
  • nature
  • floral
  • backgrounds and borders
stamp organization image 8

Using your stamp index you’ll be easily able to find stamp sets you are looking for!

stamp organization image 10

Now you can organize your stamps and find them when you need them!

What else would you like to organize?

Ribbon

Punches

What to Pack to a Crop

A Gallery Display Wall

Do you have any scrapbooking questions? Leave a comment, I respond to comments as quickly as possible!

Let your creativity shine!

Alice.
Alice Digital Signature 2013


* I am an Independent Consultant for Close to My Heart in Canada. Links will take you to my shopping page. If you are looking for a consultant in the United States visit my friend Kristie HERE.

{ 52 comments }

Halloween Memories

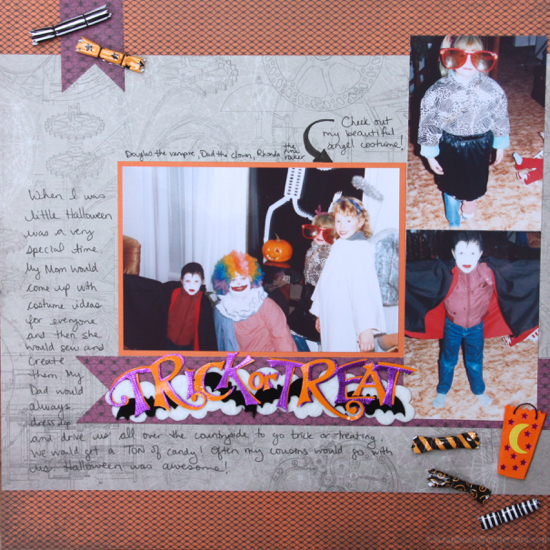
If you are like me you might not have scrapbooked your own childhood Halloween memories.

Why not?

There’s a few stumbling blocks. Poor photos, or lack of photos might frustrate you. Luckily I have some ideas that will coax your Halloween memories out of your mind and onto the layout!

3 Tips for Scrapbooking Your Halloween Memories

1. Use whatever photos you may have.

They might not be amazing, but at least you have them. And besides, a photo is worth a thousand words, right? 😉

If you don’t have a photo…

  • Use images of similar costumes.
  • Find embellishments that show the type of costumes you wore.
  • If your children have worn similar costumes show photos of them and talk about you wore the same thing.
  • Use a photo of Halloween decorations. It doesn’t have to be an old photo, you are just creating the setting!
trick or treat memories image

2. Share memories of your costume.

  • What did you wear?
  • Who planned your costume?
  • Who made the costume?
  • What was your favourite costume?
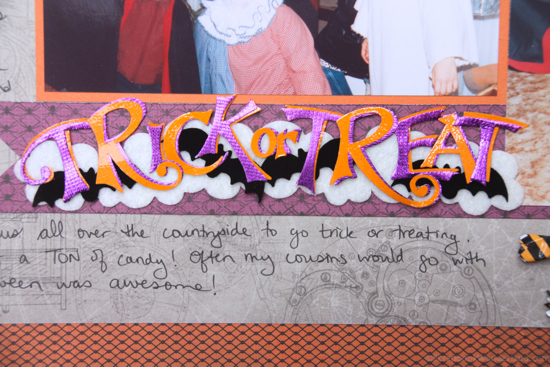
trick or treat memories detail 1

3. Share memories of trick or treating or parties.

  • What did you love about it?
  • What types of candy did you receive?
  • What were your favourites, or the things you didn’t like?
  • What kinds of activities did you do every year?
  • Do you continue those traditions now?
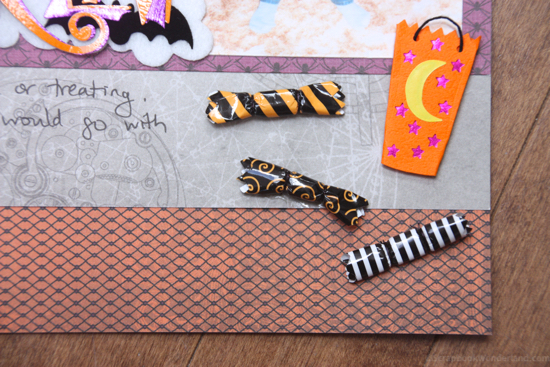
trick or treat memories detail 2

Don’t forget! By sharing your story you are sharing a piece of yourself. I encourage you to share your Halloween stories today!

Make it Monday Pink CircleMake it Monday

Are you ready for more Halloween scrapbooking tips and inspiration? Join the Make it Monday blog circle! If you’ve joined us already you’ll have arrived from Photos Kept Alive where Karen shows how she does a digi-paper tear for her Halloween Costume layout.

For your next stop check out Connie’s easy sugar skull gift tag, perfect for sweet and spooky Halloween gift! Clicky Chick Creates


Related Halloween Themed Posts:

(Click the photo!)

Creative Title Lettering Technique

Make creative scrapbook titles using heat embossing and more! Lots of good ideas!

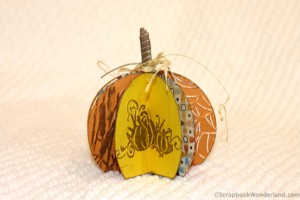
Easy to Make Paper Pumpkin Decoration

Easy to make paper pumpkin decoration. You won't believe how simple it is!

It’s time to go and be creative!

Let your creativity shine!

Alice.
Alice Digital Signature 2013


{ 2 comments }

How to Organize Ribbon

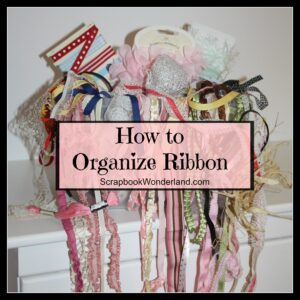
How to Organize Ribbon small imageRibbon can quickly become overwhelming in your scrapbooking space. There are so many beautiful options and colours!

Before you know it you have a nightmare of tangled ribbon to try and sort out. Yikes!

Don’t worry. I have a simple way to organize ribbon.

Follow my tricks and you can get your ribbon under control too. Don’t miss my secret to maintaining it!

Let’s take a peek at the ribbon storage in my scrapbook room. I’ll share some of the best tips that really work to help me keep my ribbon stash under control.

Sort it

Rolls, packages, and loose ribbon. You need a plan to deal with all of it.

As you sort it ditch anything you know you will not use. Your tastes will change over time so don’t feel that just because you used to like it that you must keep it! (If you really hate throwing it out find a good place to donate it; schools, retirement homes, play-schools, etc.)

ribbon storage image 1

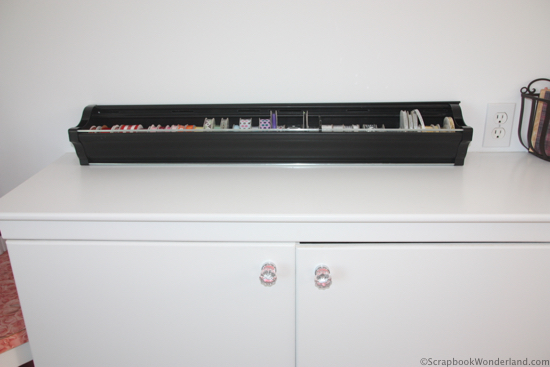
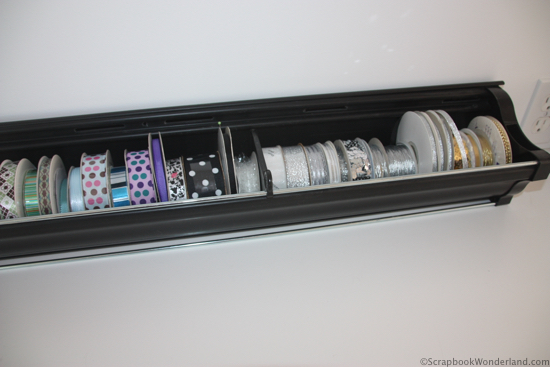
I use a Clip It Up Ribbon Organizer (from Simply Renee) to hold most of my spools of ribbon. I decided I didn’t like the look of ribbons hanging all over the place, so I don’t hang ribbon out of it. Want something similar? I’ve heard that a piece of plastic eavestrough works for this too!

ribbon storage image 2

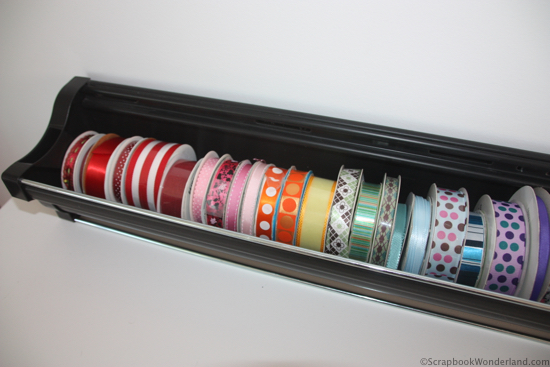
I sort the ribbon by rainbow colour inside the organizer so it is easy to see my options when I’m creating.

ribbon storage image 3

I like that it stores a lot of rolls and I can easily grab a roll and take it to my table.

Contain it

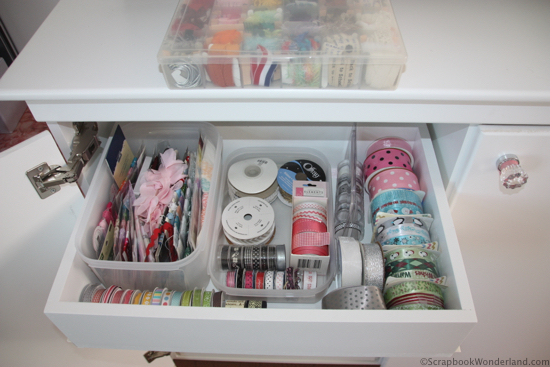
Assign a home to each ribbon. Use containers. Don’t just dump everything into a drawer! Go through your old Tupperware, shoeboxes or baskets to keep things from getting tangled and rolling around inside a drawer when you pull out ribbon to use.

ribbon storage image 4

One Tupperware container holds packages of ribbon. They are stacked on the side so it’s easy to peek at what’s in the package and find the perfect ribbon.

ribbon storage image 5

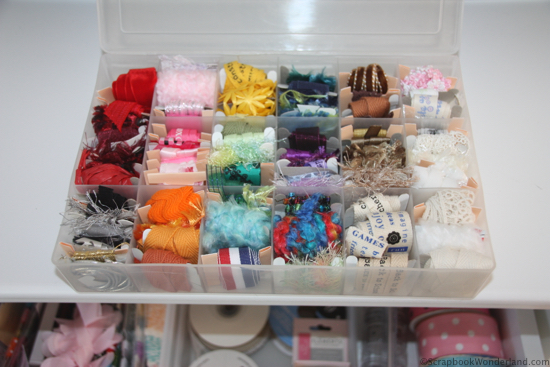
This ribbon storage box is the perfect way to sort and store the shorter lengths of ribbons and leftovers from a roll. You wrap the length of ribbon around a small piece of cardstock and then sort them by colour or type. I’ve seen these types of boxes in Walmart and dollar stores.

Maintain it

Now that all of your ribbon has a home you need to maintain the system. Take the time to put things away after you use them. When you purchase new items fit them into your system. This regular maintenance makes all of the difference!

Here’s my secret to maintaining this system! Think I’m perfect, and that my ribbon section always looks this wonderful? I wish! The photo of the messy ribbon is from my own stash. I keep a container where I stash the ribbons that have not yet been incorporated into my system. This is where the pieces I pick up from my shopping trips end up before I finally sort them out. Yes… it’s been a while, so I’m getting on it! 😉

So, are you ready to go and organize the ribbon in your scrapbooking space? I’d love to hear if these ideas work for you, or if you’ve found something even better!

If you have punches that could use some organization check out this blog post:  4 Easy Steps to Organize Punches

Let your creativity shine!

Alice.
Alice Digital Signature 2013


{ 4 comments }