≡ Menu

Scrapbook Your Quirks!

Do you share your unique personality traits in your scrapbook? Get inspired to scrapbook your quirks today!

This list of character traits should inspire you to include some of your individuality in your scrapbook.

  • Unusual foods you like
  • Uncommon fashion choices
  • Obscure movies you enjoy
  • Freaky abilities you have
  • Abnormal obsessions
  • Unexpected stories from your childhood
  • Different beliefs
  • Strange habits
  • Odd pronunciations you use
  • Curious mannerisms you have
  • Unique collections
  • Bizarre interests
  • Rare passions
  • Surprising music you like
  • Weird ways you do things

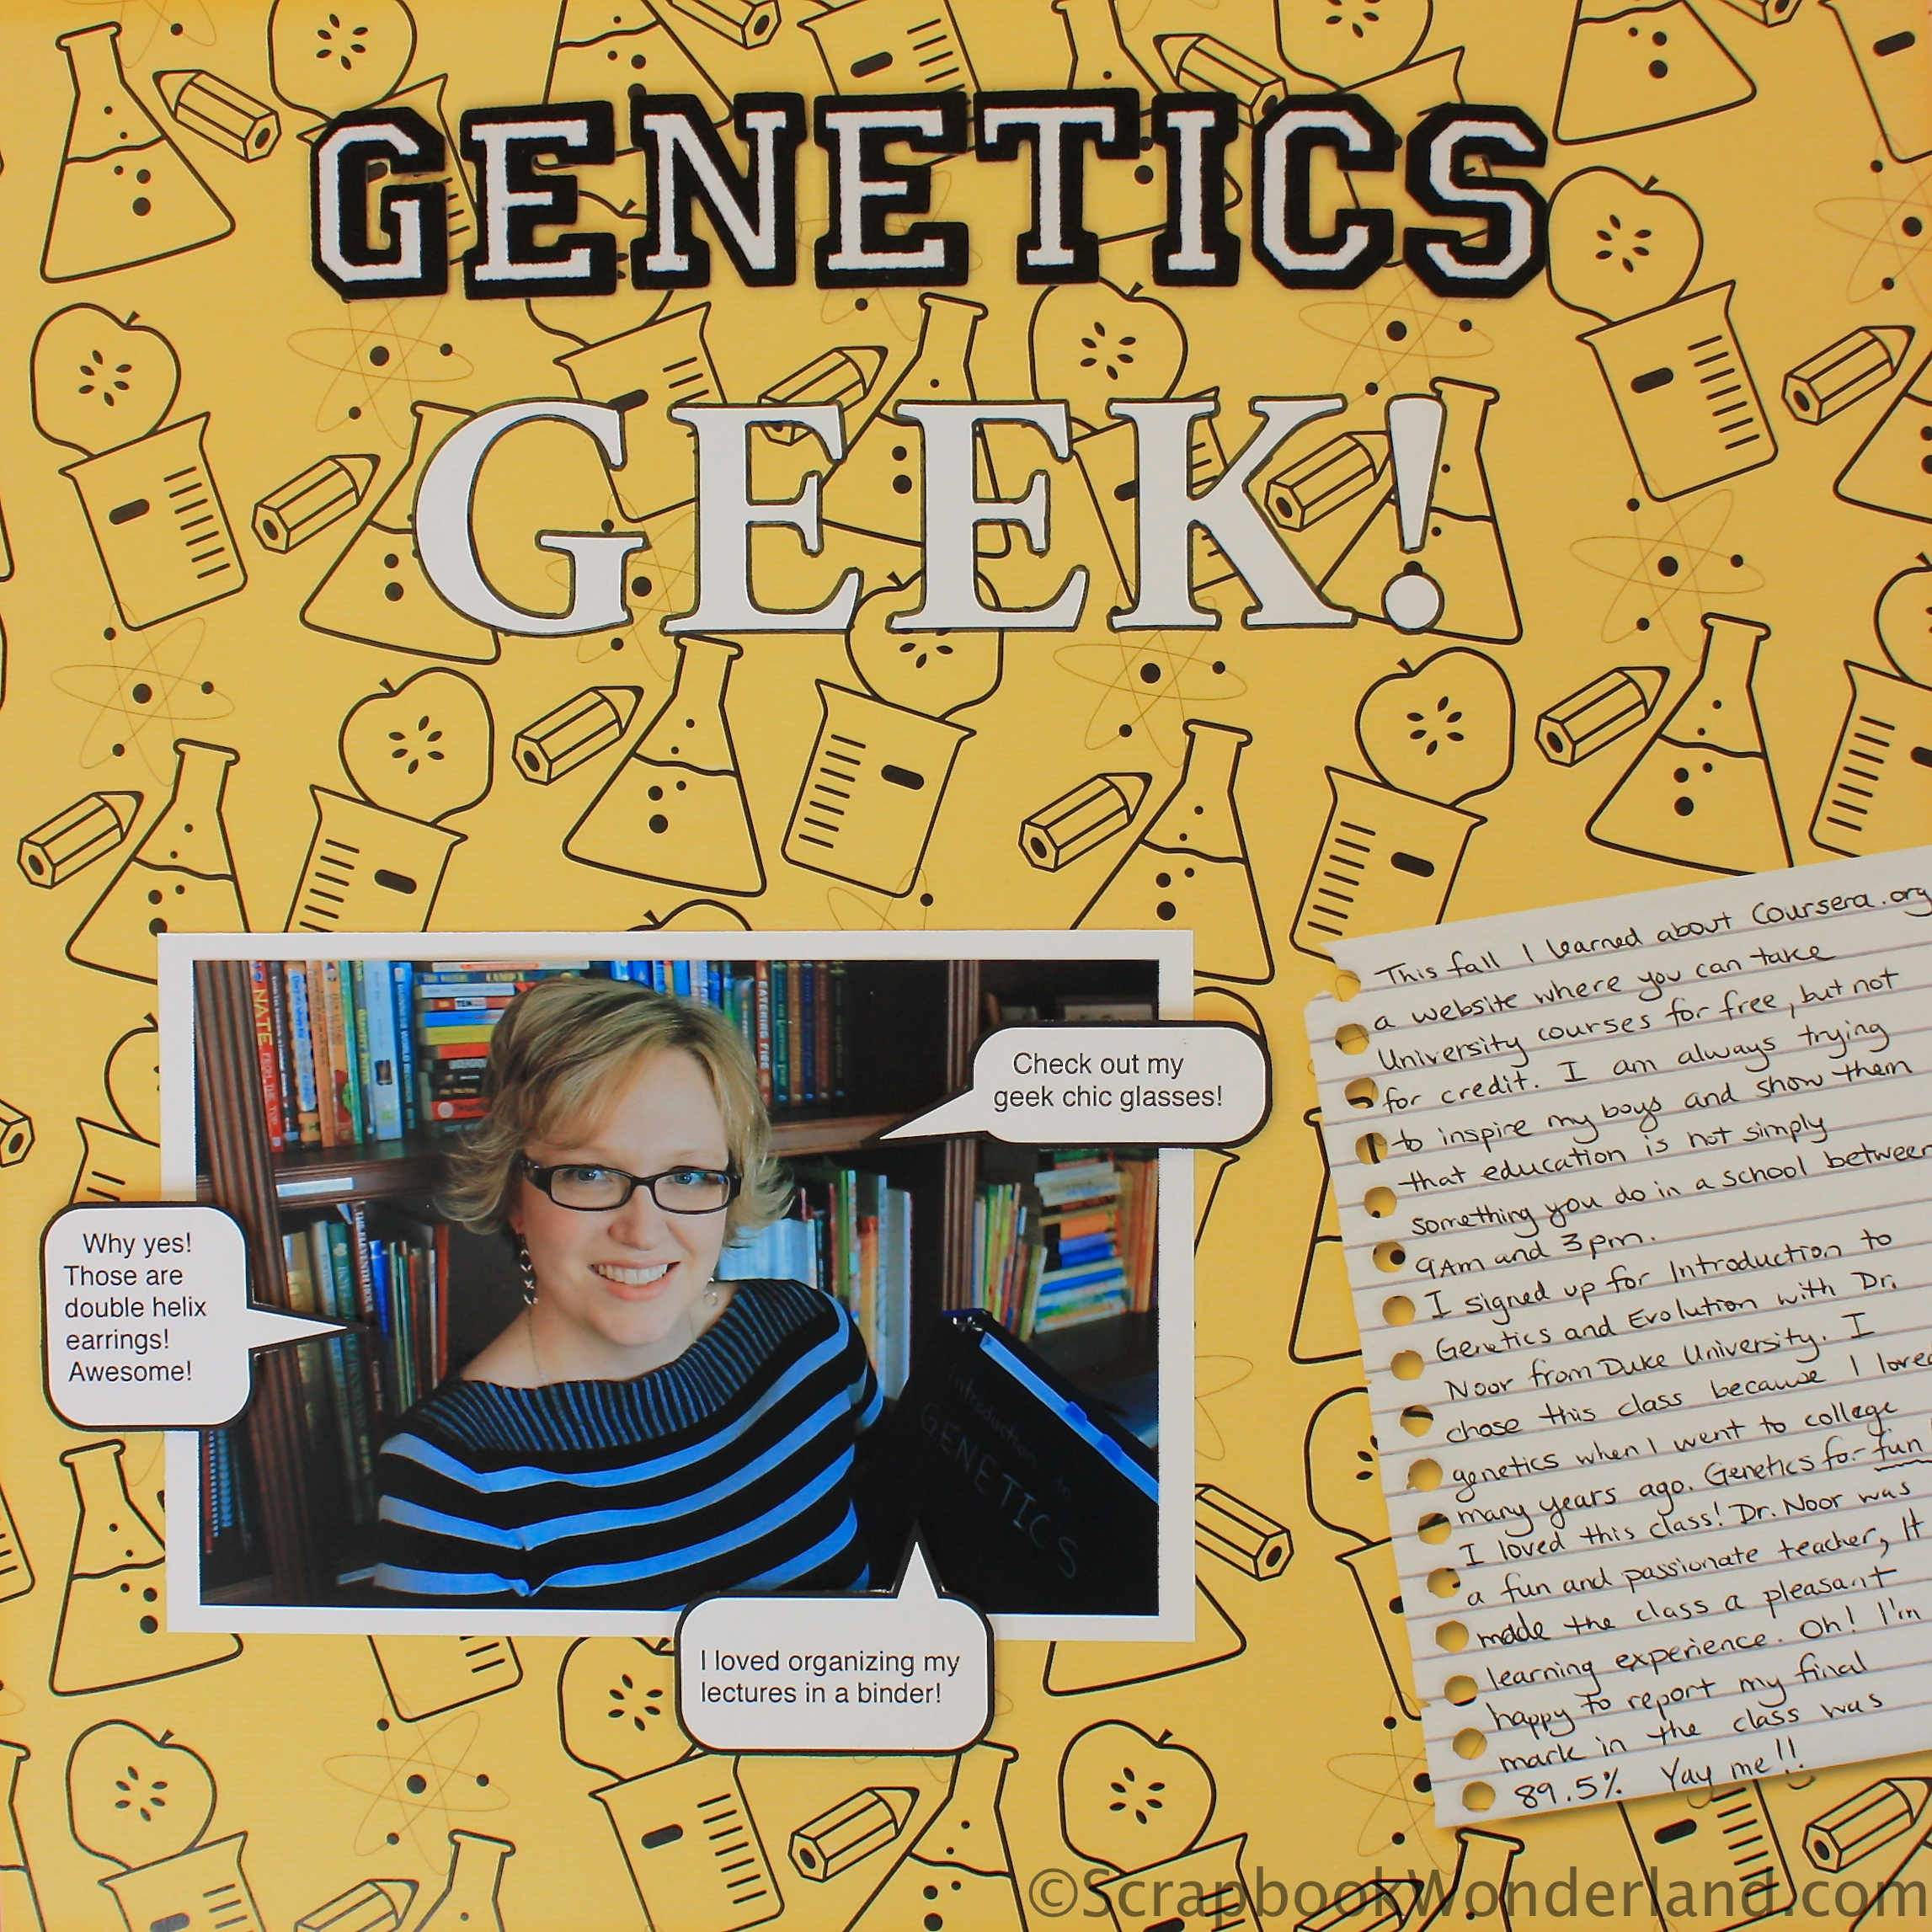
I created this page to celebrate my love for genetics, my “geek-chic” side.

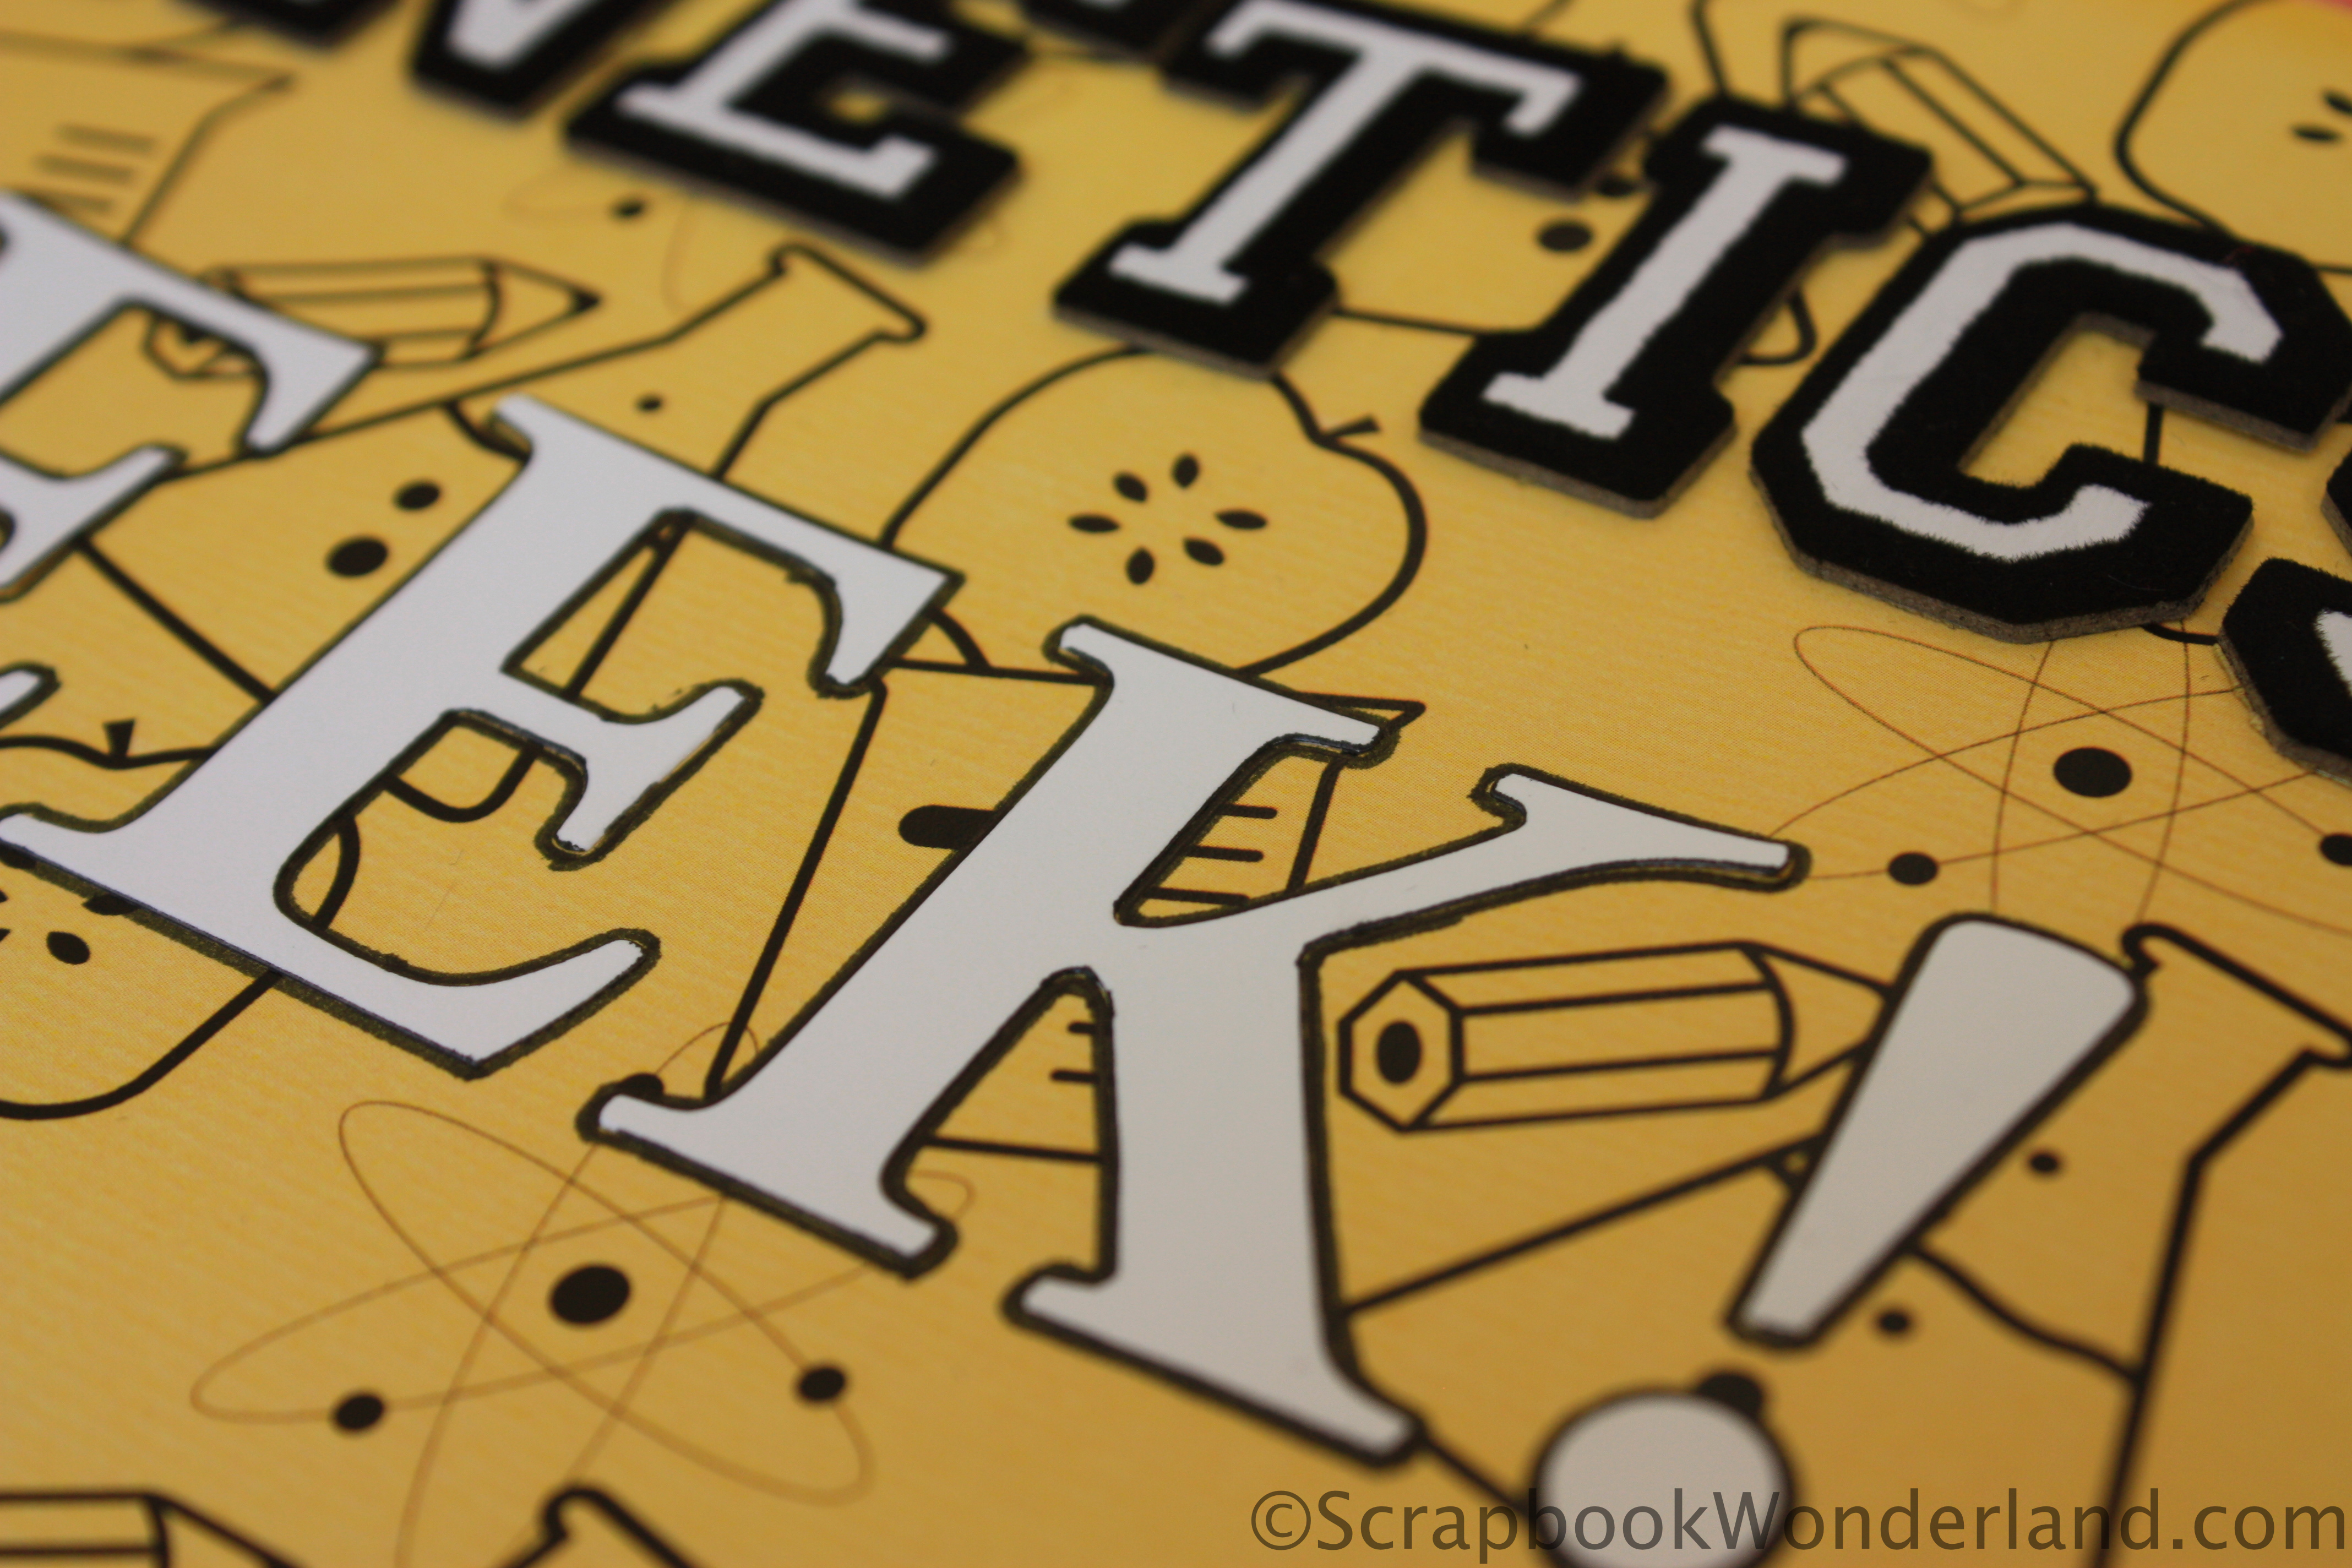
To make the word “GEEK” stand out off of the page I traced around the letters with a black marker.

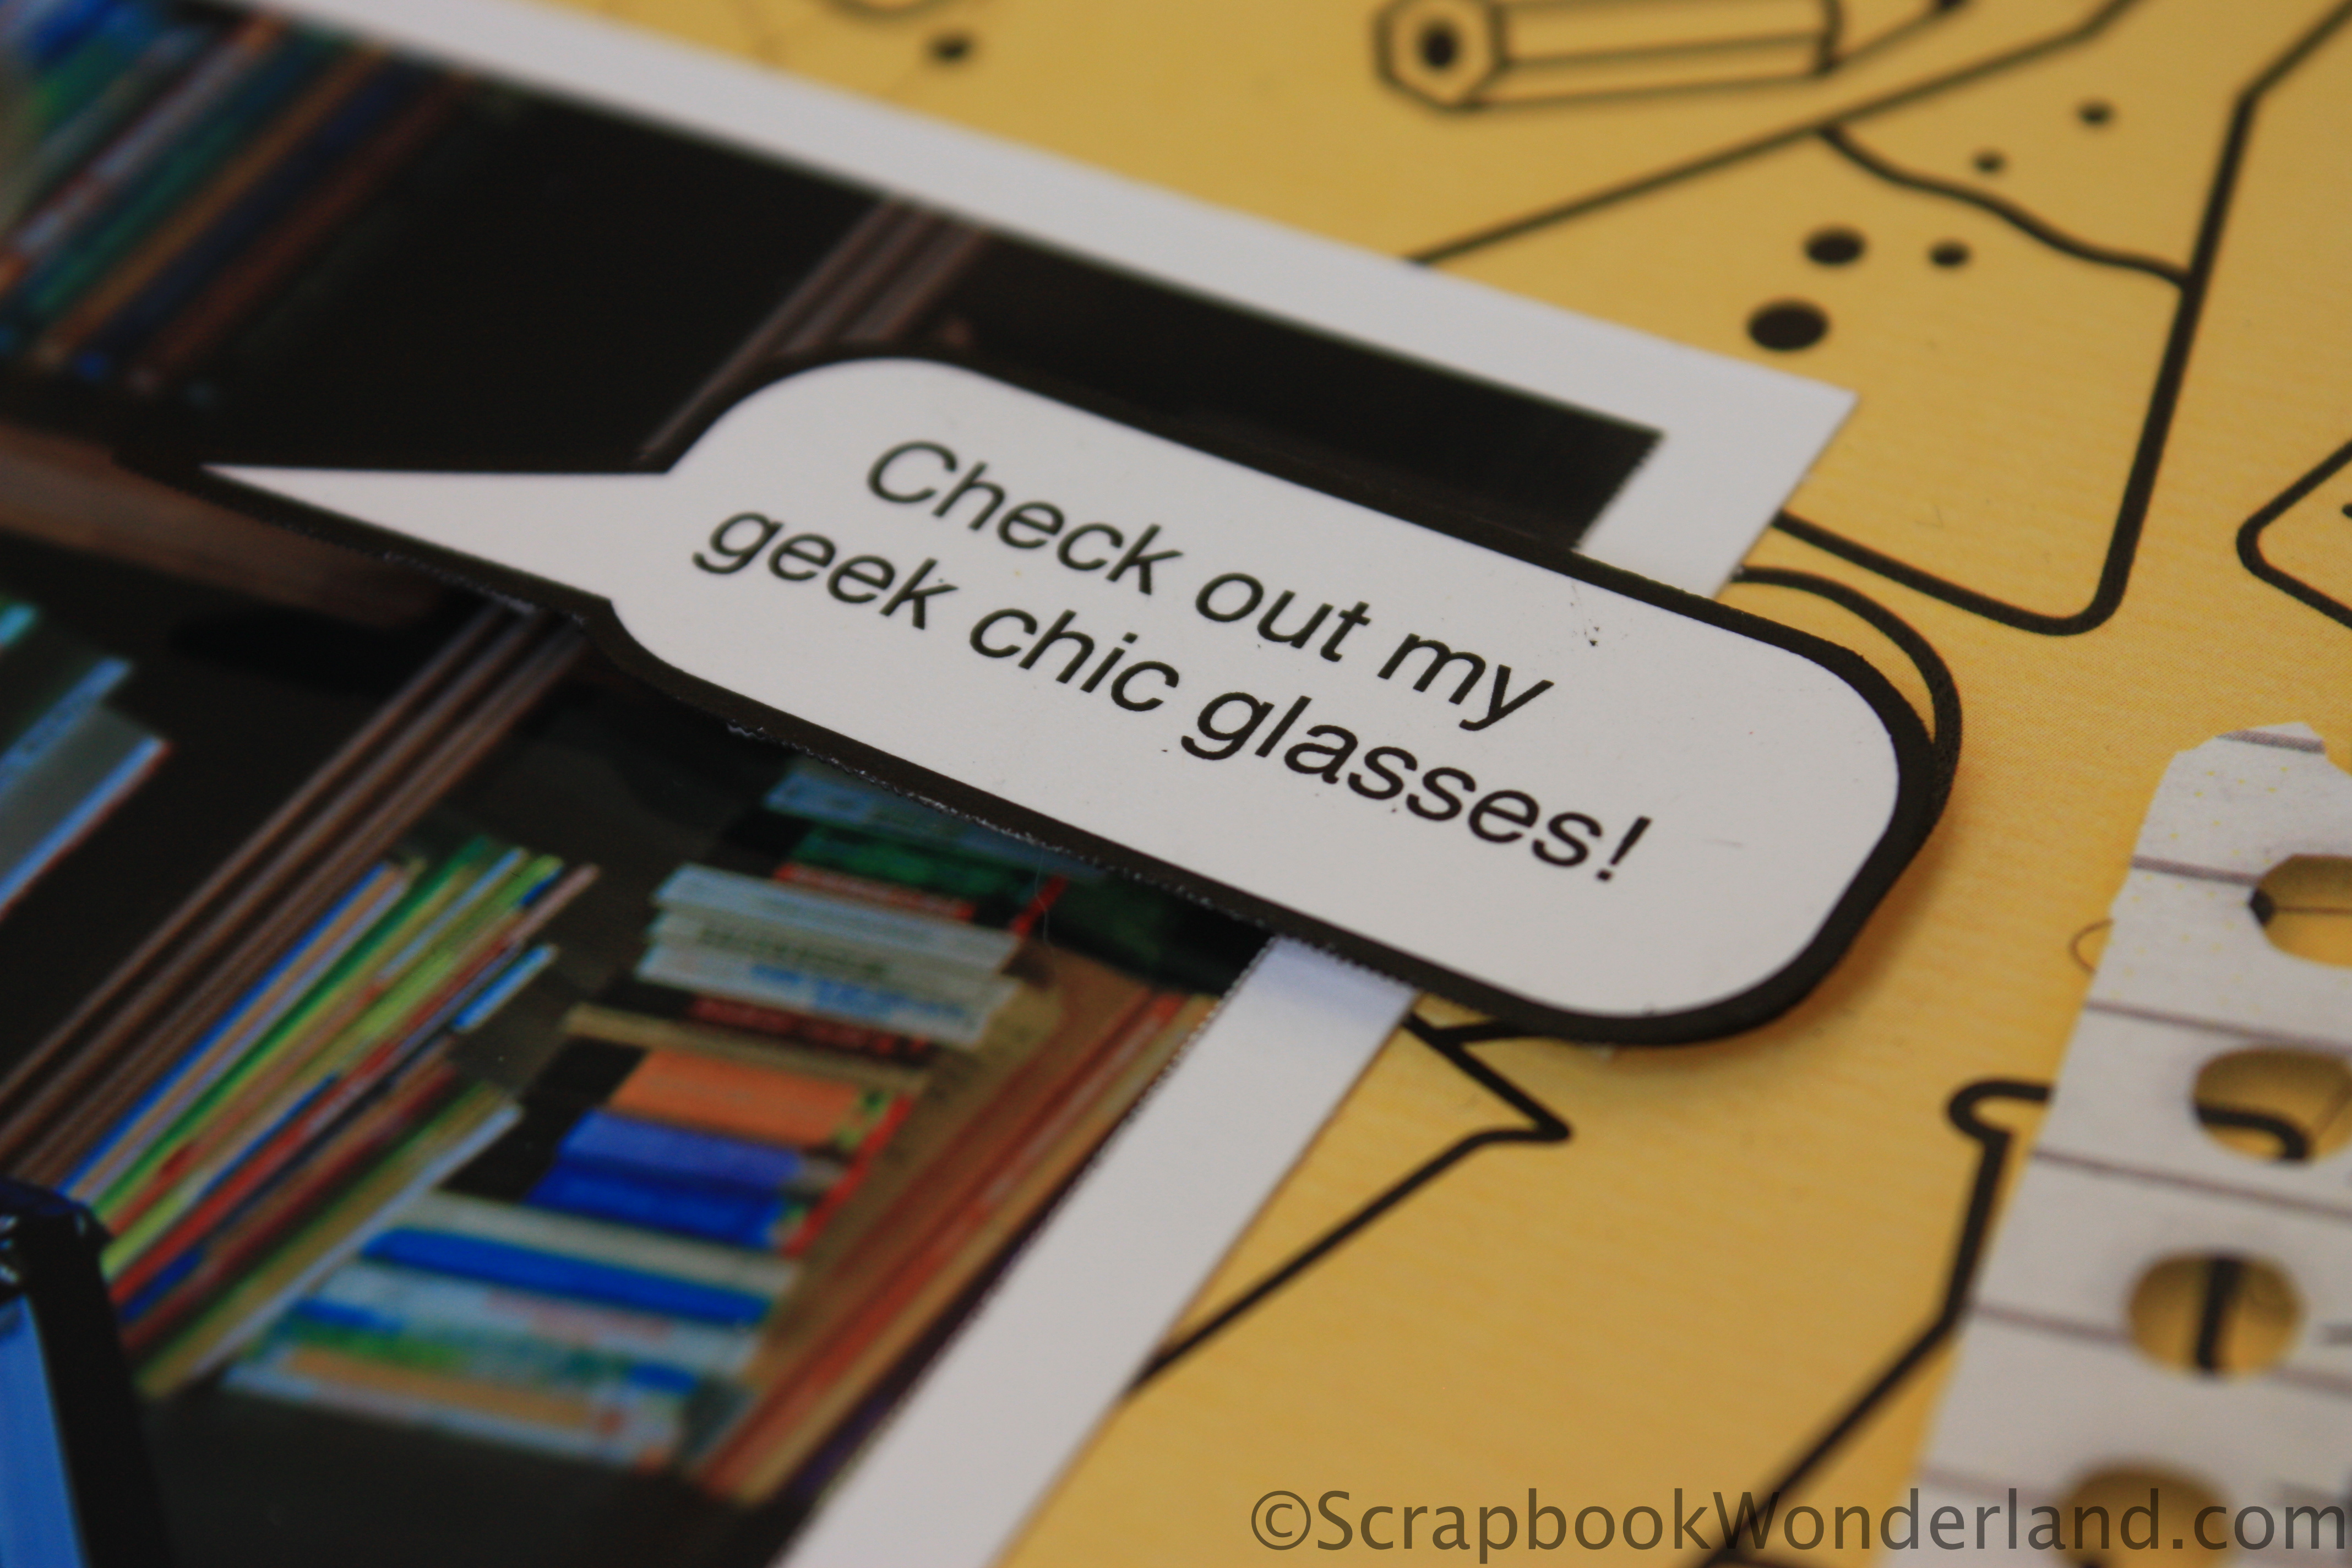
As a fun embellishment I created speech bubbles on the computer.


I hope you’ll be inspired to capture your unique personality quirks for your scrapbooks! There’s more inspiring journaling tips under the “Journaling” tab at the top of the page.

Let your creativity shine!

Alice.


PAGE ELEMENTS

Paper: Chemistry High School paper from FaithfullyYours.net (you can customize the colour!)

Title letters: ‘Genetics’ Letterman Thickers from American Crafts, ‘Geek’ Color Ready Alphabet from Close to My Heart

Speech bubbles: created in Pages on a Mac (Helvetica font)


{ 9 comments }

4 Easy Steps to Organize Punches

Do you have a collection of punches for scrapbooking and crafting? If your collection has grown, it may be time to find a way to get them under control!

I’ve seen several other great ways to organize punches, I’ll share a few of them with you too!

You can organize your punches in 4 easy steps.


Step 1.

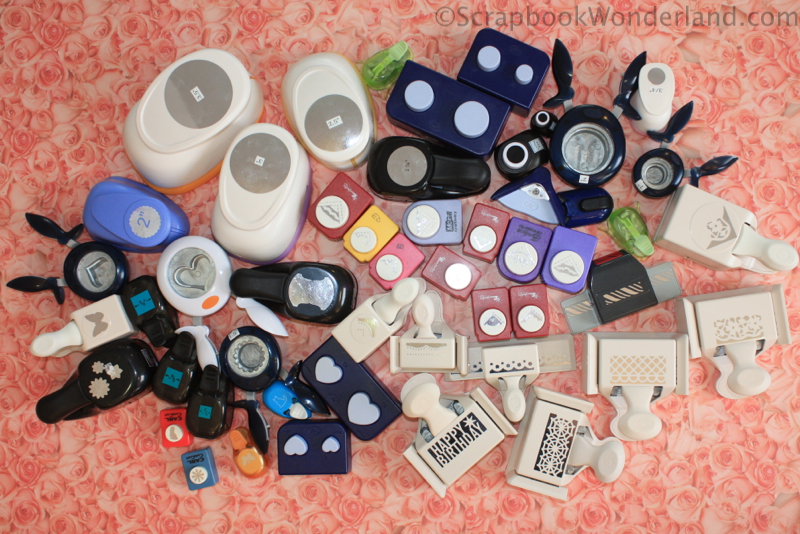
Gather all of your punches. Dig through the piles, the bottom of the bag you take to crops, and the junk drawer to get your punches in one place.

Step 2:

Designate a space for your punches. I wanted my punches on trays that slide onto shelves. This way I can easily move a tray of punches to my craft table, or just pull out the punch I would like to use.

*Note: I purchased the trays from Walmart. I love how sturdy they are, and that they have handles on the sides so they are easy to carry. You don’t need new trays, of course, use seldom used bakeware, or cookie sheets, serving trays, or baskets. Decorate them to match your space!

Step 3.

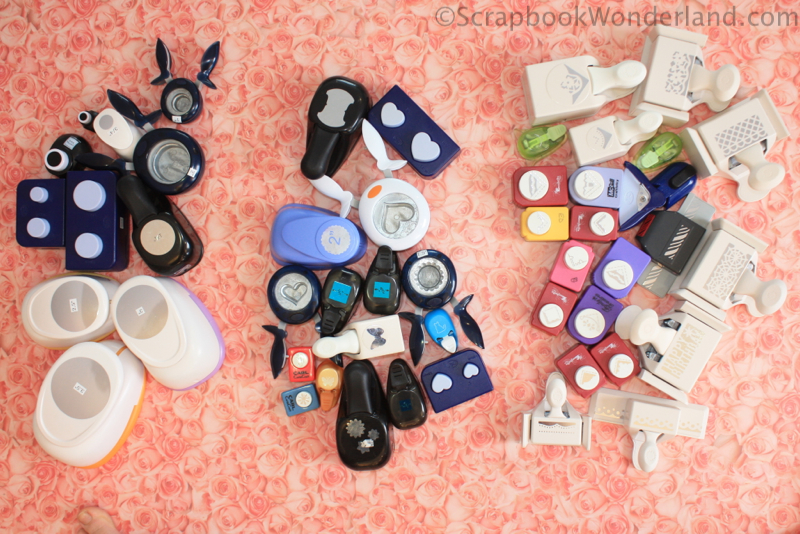
Sort the punches into categories. Have a look at what kinds of punches you collect. I wanted my categories to be broad enough that it was easy to return punches to the right place, but specific enough that I wouldn’t have to search through each tray to find a certain punch. I split the punches into 3 categories: Circles, Shapes and Borders/Corners.

Circles

I love to use circle punches to cut photos or to embellish layouts!

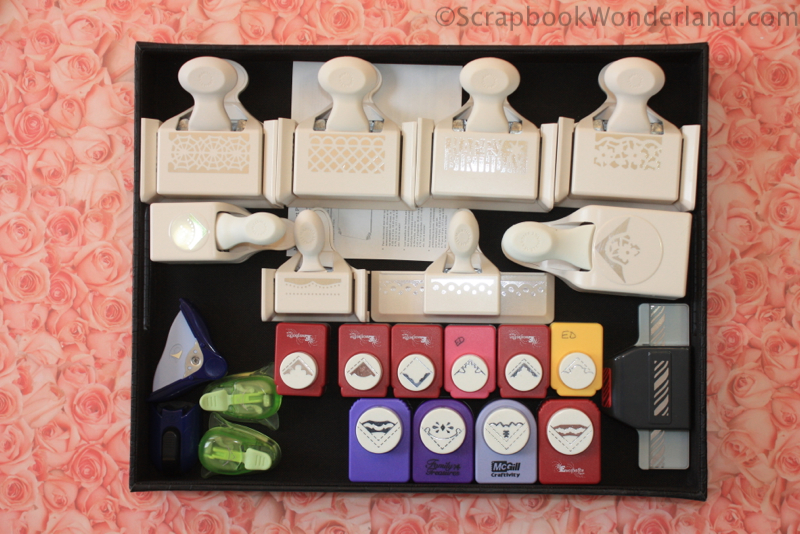
Borders & Corners

My favourite punch in this tray is the EK Success corner rounder. (That’s why I have 2!)

Shapes

I don’t have many shapes … I might want to see if this tray would like a couple additions!

Step 4.

Add a label to the trays and put them on the shelves. You might want to label the shelves too.

Happily organized punches. Yay!

Beautiful!

4 Bonus Organizing Ideas

If you don’t have shelves that would be handy for storing your punches I’ve found a couple of other punch storage ideas that you might be interested in!

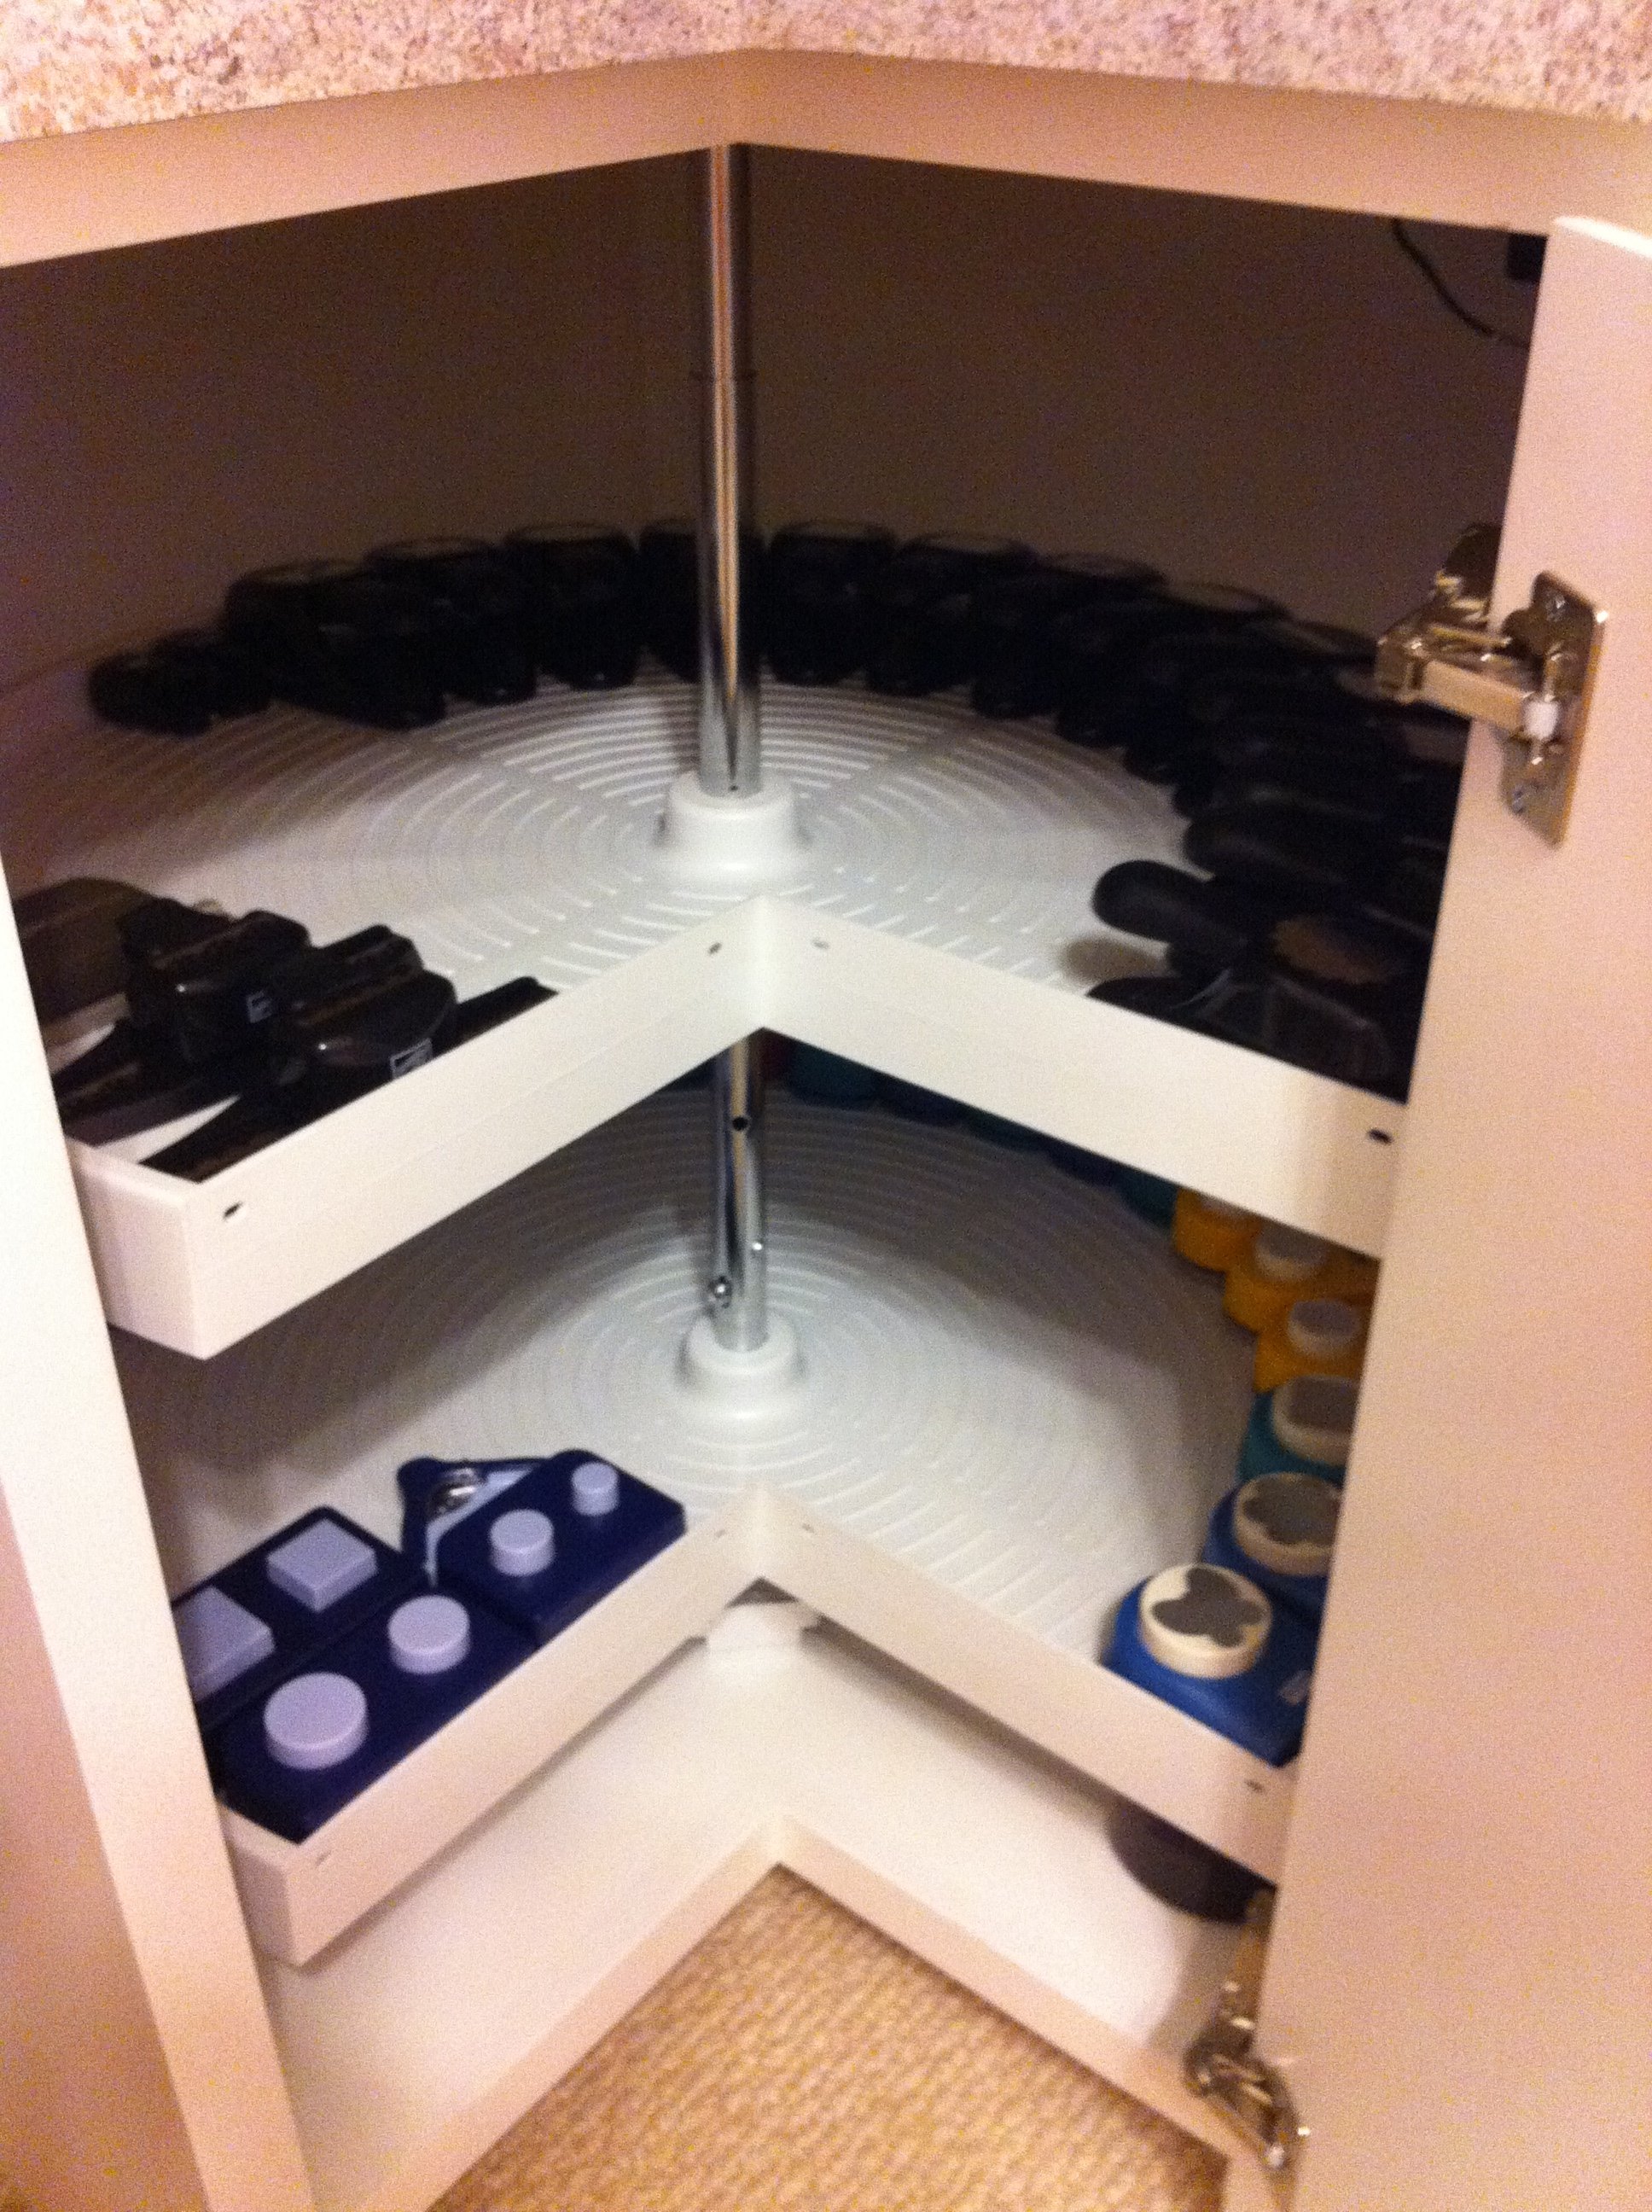
For easy accessibility place punches on a lazy susan shelf.

Source: scrapbook.com

These slide out shelves from Ikea look perfect for punches!

Source: craftystorage.blogspot.ca

If I had the wall space I would love to use rails like these!

Source: kewl-beans.blogspot.ca

Looking for a budget and eco-friendly solution? I love this custom, re-purposed, and redesigned shelving!

Source: randomonpurpose.typepad.com

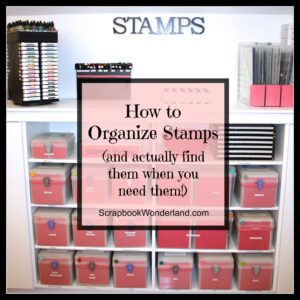
Ready to organize your stamps too?


In this post I share my best tips for stamp organization. You spend a lot of money on stamps… wouldn’t it be nice to find the ones you need when you are ready to use them?

CLICK HERE.

How to Organize Stamps and actually find them when you need them!

I hope you are inspired to get your punches in order today! If you’ve seen another great punch storage idea please share a link in the comments!

Let your creativity shine!

Alice.


{ 20 comments }

Do you love to scrapbook? Are you proud when you create pages that capture your families memories? Do you just not have ENOUGH TIME to scrapbook? Here’s 10 EASY ways you can fit more scrapbooking into your busy life!

1. Make scrapbooking a priority.

Let’s be honest, we make time for the things in our life that are important. If taking kids to soccer, gymnastics, and dance are important to you it gets done! Laundry gets done because we know we will need clean clothes. Put scrapbooking on your list of things that NEED to be done.

2. Schedule a time to scrap.

I know this can be hard. There’s so many other things going on in our lives, but refer back to #1!  If this is a priority it should be scheduled. I tend to scrapbook in the evening, after supper. Maybe that doesn’t work for you, if you are a morning person schedule scrapbooking first thing in the morning. Just imagine how the rest of the day will feel knowing that you have already completed a  layout!

3. Keep it handy.

If you can’t get at your scrapbooking supplies, or you have to pull everything out each time you need to scrapbook you just won’t do it. Make it an easy choice by making it available! This same thinking is used when you buy baby carrots and pre-washed and chopped lettuce, if it’s easy to use, you will!  This involves designating a ‘space’ for scrapbooking. You don’t need a whole room. An accessible shelf or stack of drawers will work just fine.

4.  Set goals.

If you set a goal to accomplish a certain amount of scrapbooking each week you will be more likely to get more scrapbooking done. Make sure that you are setting SMART goals; specific, measurable, achievable, relevant and a goal that has a timeline. For example, you might want to scrapbook 2 layouts each week for 3 months.

5. Scrapbook with a friend.

It’s fun to scrapbook with a friend. I find that although I’m not as efficient, I enjoy the time spent with my friend so much that I’m motivated to continue scrapbooking on my own. If you don’t have a scrappy friend nearby join a club or take a class. By taking part in a scrapbook club or class you will be creating scrapbook pages more often. This can be the start of your inspiration so you will feel more excited to scrapbook on your own.

6. Use waiting time to become inspired.

When you are waiting for dentist appointments, doctor appointments, hair cuts, read scrapbooking books and magazines. Toss some sticky notes in your purse so you can flag pages that inspire you. If you are stuck waiting in a long line at the grocery store find inspiration on a scrapbooking app. (I love the free layoutaday app for my iPhone!) When driving to activities listen to scrapbooking podcasts.

7. Scrapbook in the moment.

Be sure to capture the moment as it happens! When your child says something hilarious jot it down on a journaling card you carry in your purse. When you get home you can simply add that journaling card to the page.

8. Technology is your friend.

I already mentioned my favourite iPhone app, but there’s so many ways you can use technology to make scrapbooking easier; create photo books, type your journaling, upload photos to a photo printer, try an online class. Put your technology to use for you! My friend Beth has created a list of the top 10 apps for scrapbookers at ScrappingWonders.com

9. Turn off the TV.

If you find that you have time to watch your favourite shows, you have time to scrapbook!  Or… Scrapbook WITH the TV! I don’t turn off my TV, instead, I scrapbook with it! I catch up on my favourite shows AND get my scrapbook pages done! (If you’re talking to me, and I’m up to date with every show, you KNOW I’m getting tons of scrapping done!)

10. Involve your family.

If you have kids they might love to scrapbook too. Find specific tasks they can help with. Journaling will have extra special meaning when printed by them. Have them sort embellishments your embellishments by colour. I recently hired (yes, hired) my 14 year old son to photocopy all of my stamp sets so I could make a stamp index book. When I’m stuck for inspiration on a page I’ll ask my husband for ideas. Although he is REALLY not a scrapbooker, his perspective often leads me to try something new or creative. Recently he even sent me a photo and a quote from one of our boys so I could create a layout!

If you are feeling guilty about not scrapbooking enough you might want to check out the Guilt-Free Scrapbooking series here.

I’d love to hear your tips to fit scrapbooking into your life! Post your tips in the comments.

Let your creativity shine!
Alice Boll


Love tips like these? Join the Scrapbook Wonderland email list! It’s free and totally non-spammy!


{ 4 comments }

Feel the LOVE

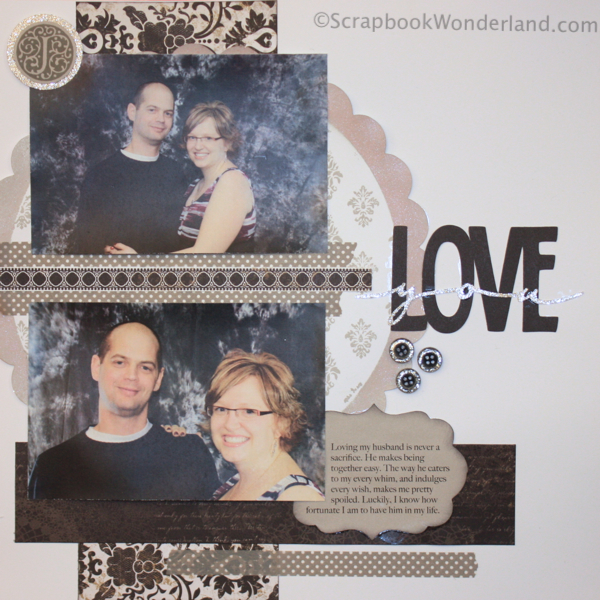
Today I wanted to inspire you to scrapbook a relationship with someone you love. Whether it’s your spouse, child, parent or pooch it’s time to declare your love … on a scrapbook page!

I really like the stamping and masking techniques used! Black, white and grey/silver is a great colour scheme too!

Fun techniques:

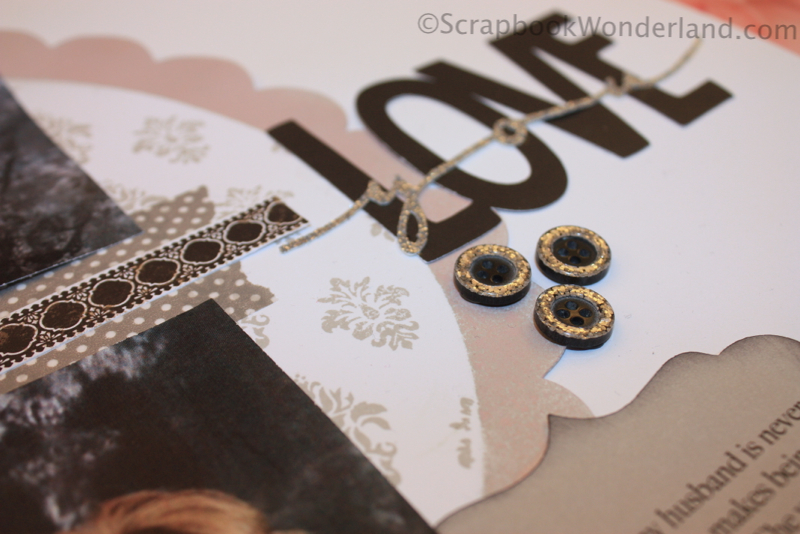
I used a mask to cover the center of the large scalloped circle and sprayed the edges with mist.

Next I masked the sprayed edges so I could stamp the damask pattern in the center. Have you stamped using a mask? It’s so easy, and can create beautiful results.

The words ‘LOVE’ and ‘you’ were cut using the Cricut machine. (Opposites Attract)

Washi tape is everywhere these days. I had to get in on the Washi tape craze and show a little Washi tape love too!

I love to use stamping on my scrapbook pages and I’m always looking for an interesting way to do that. On March 28th there is an amazing one-day event called True Stamp. True Stamp is a live event that will feature six amazing classes, prizes, and freebies. Best part? You don’t have to travel, or even get dressed, you can participate from home with your computer.

If you’d like to kick your stamping up a notch, or 6, don’t miss out!

True Stamp 2015 Blog Button
Click here to view more details about True Stamp

I know that if you take advantage of this deal you will be inspired to add more stamping to your scrapbook pages!

I hope you will feel the love today and share that love in your scrapbook!

Alice.


*All products on this layout are from Close to My Heart.


{ 2 comments }

Journaling Wars! Handwriting vs. Typing

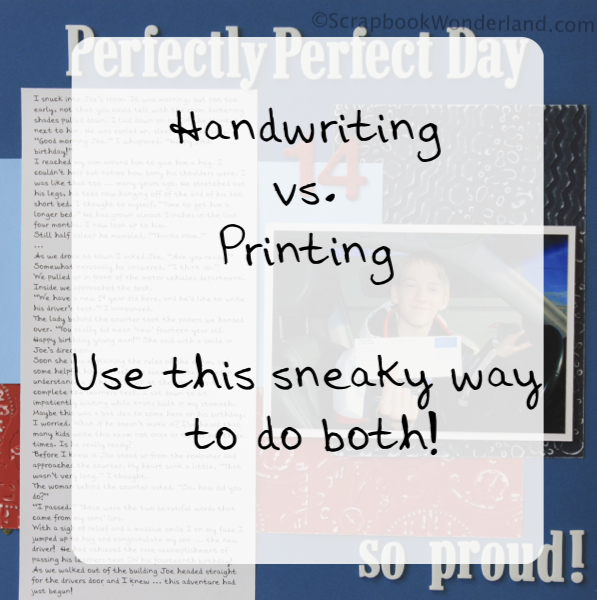
Do you use Handwriting or Printing on your scrapbook layouts? Use this sneaky way to do BOTH!The war is on! Whether you should use handwriting or typing for journaling is a subject of vigorous debate. Everyone has an opinion. This can make adding journaling to your scrapbook page a huge stumbling block.  Just what you need, another problem with journaling!
You’ve probably been told to use your own handwriting. You’ve heard the arguments for using your handwriting on your pages.

  • Your family will appreciate your own touch
  • It is faster and easier
  • It makes your page personal.

You think, “Yeah, but have you seen my writing?”

You’ve also read many tips on ways to improve your own writing, so you will be more comfortable in adding it to your page. Useful tips like:

  • Practice on scrap paper first
  • Give yourself some lines to write on
  • Use pencil, then cover it with pen
  • Try different pens with different point sizes
Do you use handwriting on your pages? I love the simplicity of this design.

I used my handwriting on this page. It’s not awful, but I don’t especially love it either!

Here’s the up close look. I used a pencil to make lines so it would be straight.

These tips help, but you STILL might not be loving your handwriting, so you go back to typing your journaling on the computer. There’s several advantages to using the computer:

  • You can use fonts as a design element
  • You can resize to make it fit the space you have
  • You can shape your journaling
  • You can use spell check
  • It’s nice and neat
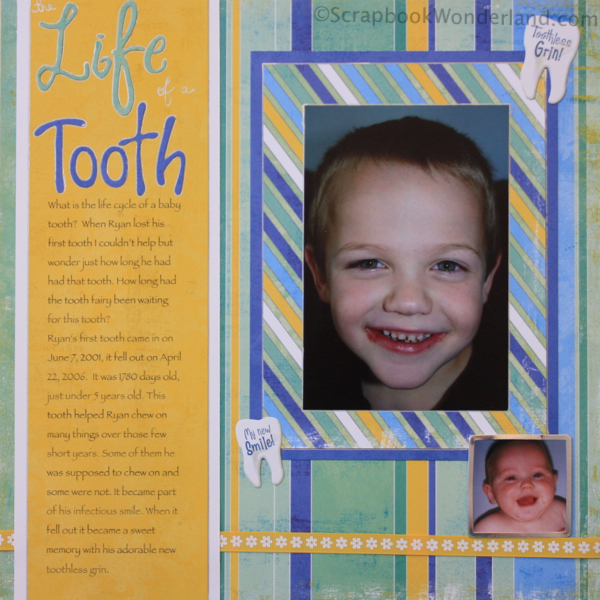
What a fun idea for a page! It shows when he got his first tooth and when he lost his first tooth!

I used typing to help the journaling ‘fit’ the size of the box.

I love the font, it’s easy to read and looks good, but it’s not very personal.

While all of these points are super handy, it still doesn’t give you the personal touch of adding your own handwriting. So, how can a creative scrapper win this war?

Create your own font!

At yourfonts.com you can create a custom font using your own handwriting or printing! The process is very easy. Follow the 7 simple steps and you can create your own font too!

  1. Print Template
  2. Complete Template
  3. Scan & Save Template
  4. Upload Template
  5. Preview Your Font
  6. Download
  7. Install & Use

Here’s a couple tips that made this easier for me.

  • Follow the directions!
  • Read, and re-read the directions for Step 2. Take your time to fill out the template right so you’ll be happy with the font you create!
  • You need to be able to use a scanner, or find someone that can help you.
  • Take the time to check your font over before you complete your purchase. I was unhappy with a few of my letters, so I fixed them on my template and re-scanned it. (I used a white-out tape to cover over my ‘poor’ letters, that seemed to work just fine for me.)
  • Read the instructions carefully on how to install your font. I’ve never done this before, but was able to figure it out by following the directions.

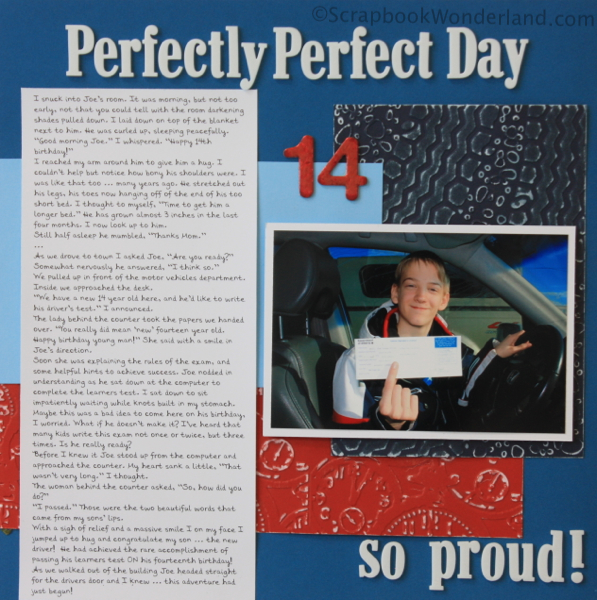
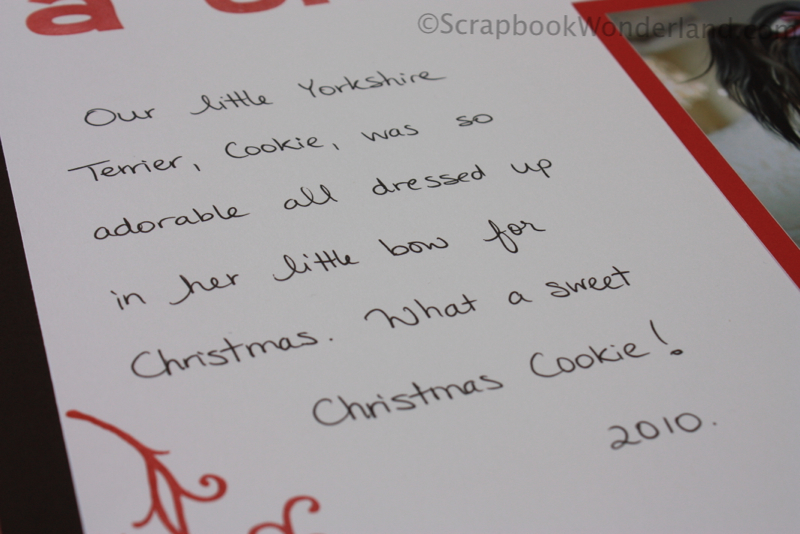
When you are finished you can start using your custom font on your scrapbook pages!  Here’s a page that I created using my own font.

Good idea for scrapbooking teens! Love that tire texture... that's perfect!

I had a lot to say on this layout, so it’s nice that I could write it and edit it as much as I wanted, while still having a touch of personality!

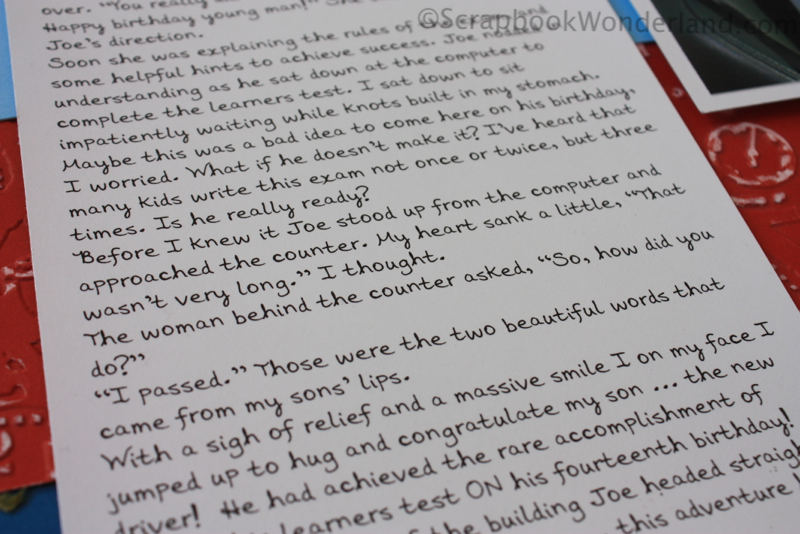
Here’s a peek at my font up close. Every letter is the ‘best’ one of my regular style. My writing is never this straight either!

Here’s what I love about it:

  • Every letter is the best letter I make.
  • I can easily change the size of my font to fit the journaling space on my page.
  • I can edit and make changes to my writing easily.
  • It lines up so straight and pretty!
  • This would be so AWESOME for digital scrappers too!

Consider this the hybrid option between handwriting and typing. This war now ends in a tie!

Now go ahead and have fun creating your own fonts!

Let your creativity shine!

Alice.


Click here to create your own font!


*This post contains affiliate links. I only share what I love! You are free to visit the site without my links, but if you love what I’ve shared I’d appreciate you using my links!

{ 4 comments }