≡ Menu
Create a simple and elegant Christmas card easily with this video tutorial and directions.

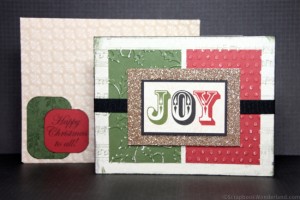
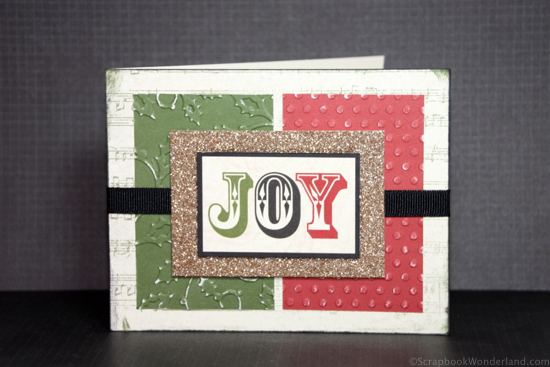
Create a simple and elegant Christmas card easily with this video tutorial and directions.It’s Christmas card time! This card is a traditional paper card created using a digital template as inspiration. What a cool idea!

The credit doesn’t actually go to me. My friend Carol Cassel from Scrapbook Campus is running “12 Days of Christmas Cards” and each day has a free digital template and an example of how you may use it… from 12 different designers! I was excited when she invited me to be one of the designers.

Here’s a peek at the digital template. (If you want the download version you’ll have to be on the email list. Hurry, this will be sent out on December 8, 2014!) To sign up for  the 12 Days of Christmas Cards click HERE.

ScrapbookCampus-Card10

Click to enlarge.

The templates are simple so you can add as much creativity to the basic design as you like! I love having a basic design that can be used over and over. I could easily turn this into a birthday, thank you, sympathy, or get well soon card.
Create a simple and elegant Christmas card easily with this video tutorial and directions.

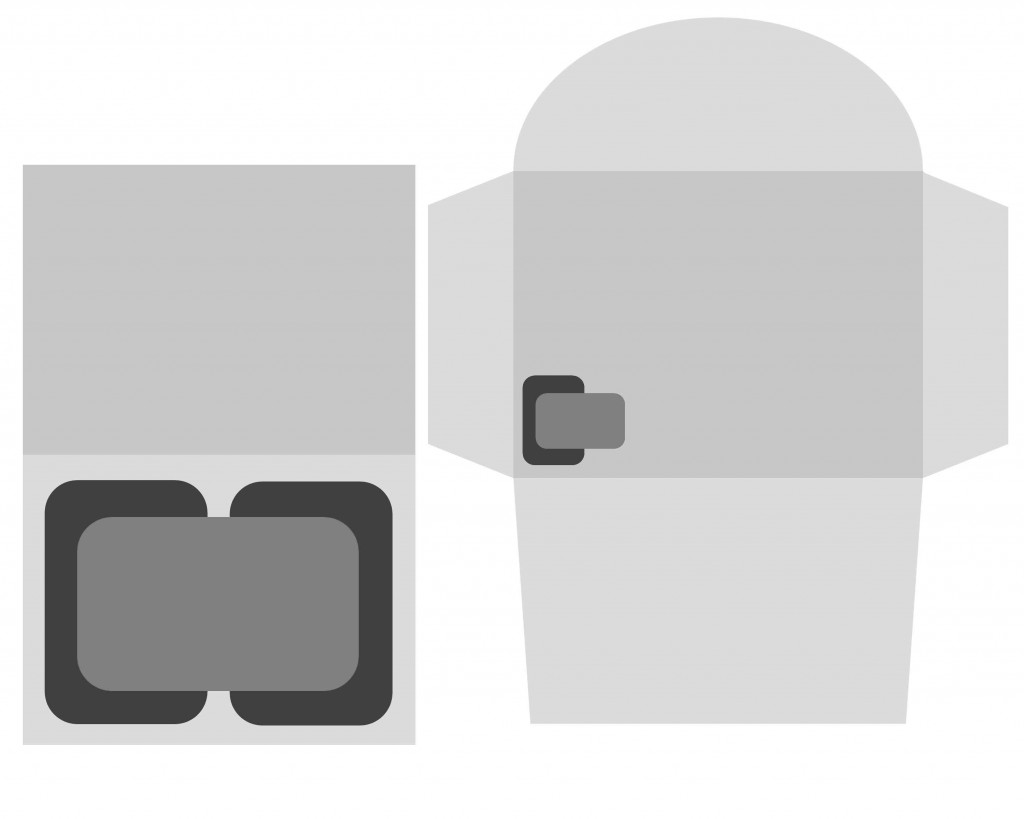
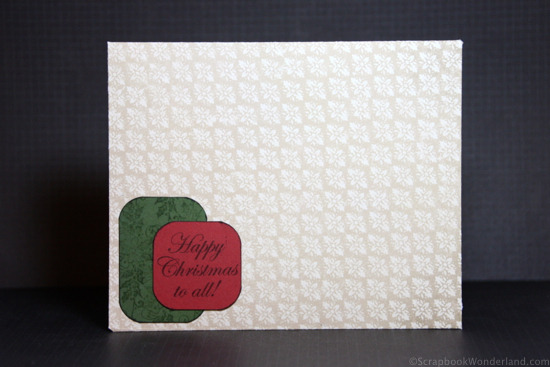
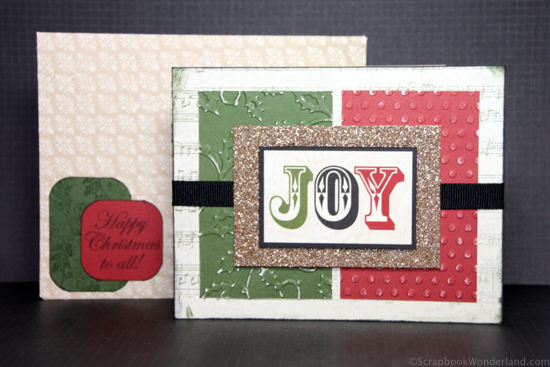
Adding a custom envelope that matches the card makes this extra special.
Create a simple and elegant Christmas card easily with this video tutorial and directions.

Here’s the video so you can see how quickly you can create this simple, elegant card. At the end of this post I’ll share a list of supplies and dimensions.
Create a simple and elegant Christmas card easily with this video tutorial and directions.

To sign up for  the 12 Days of Christmas Cards click HERE. Don’t worry if you’ve missed the first ones, as you’ll receive access to all of them at the end!

Scrapbook Christmas… in January! Make Christmas easier by knowing you'll have the important details ready to scrap in January when Christmas is over!Are you feeling stressed and worried that you won’t be able to get your Christmas scrapbooking done this month?

Get rid of the stress and Scrapbook Christmas… in January! This new class will teach you how to capture the important moments now and scrapbook them after the hustle and bustle of the Christmas season is over… in January! Get more details HERE.

Do you make your own Christmas cards? Do you use templates to inspire your design? Leave a comment to share your method!

Alice.
Alice Digital Signature 2013


Dimensions for card pieces:

  • Card base: 4-1/4 x 11 (fold it in half)
  • Patterned paper base: 4-1/4 x 5-1/2
  • Red rectangle: 2 x 3-1/4
  • Green rectangle: 2 x 3-1/4
  • Gold glitter paper: 2-1/4 x 3-1/4
  • ‘Joy’ image: 1-1/2 x 2-1/2
  • Ribbon: need approximately 7 inches

Dimensions for envelope pieces:

  • Envelope base: 8-1/8 x 8-1/8
  • Green rectangle: 1-1/2 x 2
  • Red square: 1-1/2 x 1-1/2

Supplies:

Most supplies are from Close to My Heart. (in Canada you can order them HERE)

  • Patterned paper: Yuletide Carol (X7187B)
  • Joy sticker: Yuletide Carol Complements (X7187C)
  • Stamp set: Noel (C1598)
  • Red Cardstock: Ruby
  • Green Cardstock: New England Ivy
  • Gold Glitter paper from the Brown and Tan 3 pack (Z1830)
  • Green Ink: New England Ivy
  • Black Ink: Black
  • Foam tape

Non- CTMH supplies

  • Envelope Punch Board
  • Embossing templates: ProvoCraft and Ellison
  • Tim Holtz scissors


{ 1 comment }

Scrapbook Christmas… in January a NEW Class

Scrapbook Christmas… in January! Make Christmas easier by knowing you'll have the important details ready to scrap in January when Christmas is over!
Christmas, the most wonderful time of the year, until you have to cook, clean, go to parties, shop, wrap, and don’t forget… scrapbook your precious memories! Trying to do it all is exhausting.


Why not make Christmas as stress free as possible? Scrapbook Christmas in January!


This new class will show you how to easily record the important moments and capture the photos you need, so you can scrapbook Christmas in January, after the kids have gone back to school, the decorations have been put away, and you finally have time to relax.


Early bird special $10. (Regular price $25)


I hope you will have a happy, peaceful and stress-free Christmas, but if that doesn’t seem likely perhaps you want to give the class a chance! 😉


Let your creativity shine, and get scrapping!
Alice.
Alice Digital Signature 2013
{ 1 comment }

Stamping Beautiful Backgrounds

Make it Monday Blog Circle imageDo you have stamps? I have a giant collection of stamps. The good news is that I use them!
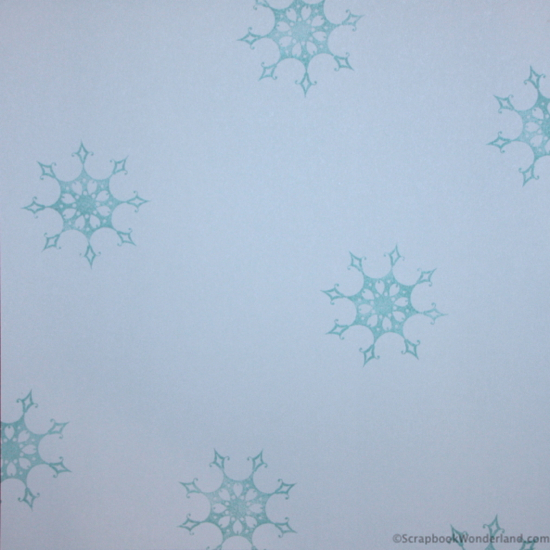
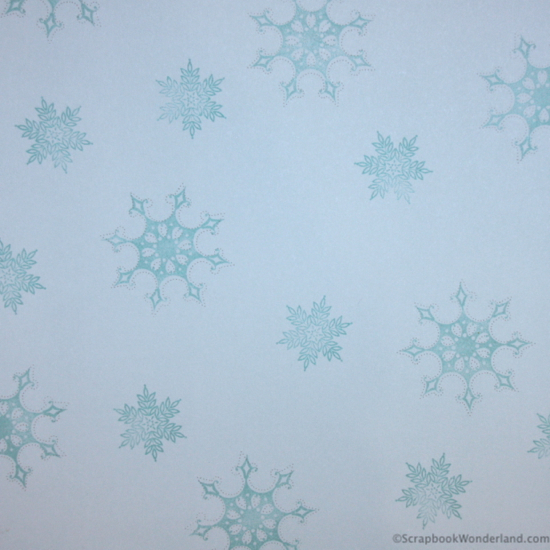
If you have stamps in your collection it’s time to put them to good use. Let’s make some backgrounds!

If you are hopping along the Make it Monday Blog Circle… welcome! You’ll have arrived from Scrapping Wonders where Beth was sharing how to use the Christmas Bundle to prep your December Daily. I’ll share your next stop at the end of this post.

Now, let’s use stamps to create beautiful backgrounds!

Why? Why create your own stamped paper instead of finding a patterned paper that would work?

  1. It can be hard to find the right paper, when you need it.
  2. You don’t have to wait to order it.
  3. You can create the perfect paper instead of ‘making do’ with something that will ‘work’.

Now that you’ve decided, “Yes, I want to stamp a background.” here’s how to start.

Find your stamps and ink. I like to work with at least 3 different stamps if I’m creating a random-looking background. This works especially well with 3 different sizes of stamps.

Create your own custom stamped backgrounds with these simple steps.

Tips for creating a stamped background:

1. Start with your largest image. Spread them around evenly, but there is no need to be exact.

Create your own custom stamped backgrounds with these simple steps.

2. Next use your medium sized stamp to fill in gaps.

Create your own custom stamped backgrounds with these simple steps.

3. Finally fill remaining spaces with your smallest stamps.

Create your own custom stamped backgrounds with these simple steps.

TIP: Be sure to stamp images off the sides of the paper. They don’t have to all fit ON the page, run them right off of the edges!

Create your own custom stamped backgrounds with these simple steps.

Want more?

Watch this video and check out this post!

Stamping Background and Patterned Paper


Now you can create a custom stamped background for your scrapbook layouts! Would you try this? Have you tried this? Tell me about your experience in the comments!

Your next stop on the Make it Monday Blog Circle is Clicky Chick Creates where Connie will show you how to make amazing memories with a fabulous Advent Activity.

Want to see last week’s Make it Monday post? Simple can be perfect.

Like tips like this? Sign up for the Scrapbook Wonderland email list! Subscribe HERE.

Now get get stamping and let your creativity shine!

Alice.

Alice Digital Signature 2013


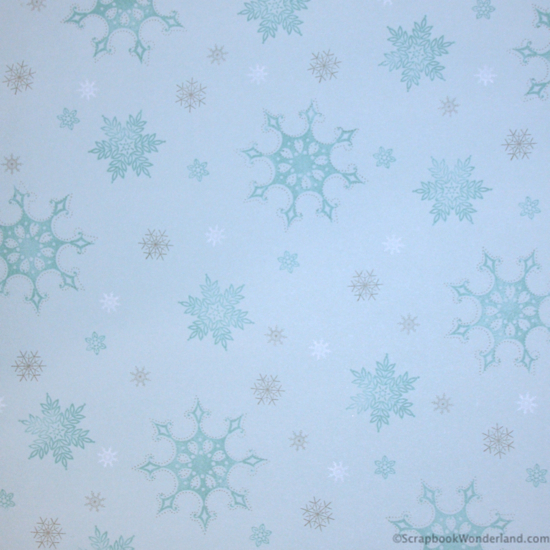
All products used on this page are from Close to My Heart. The patterned paper is called Snowhaven. If you are looking for a consultant in Canada… I’m your gal! Click here to shop online!

{ 5 comments }

Digital Meets Traditional

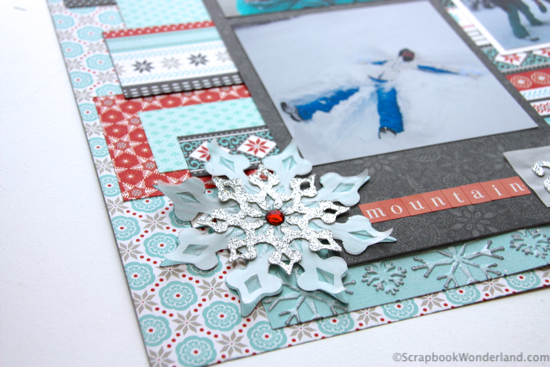
Mountain adventure scrapbook layout featuring products from Close to My Heart
Jen Wright from Jen Wright Designs

Jen Wright from Jen Wright Designs

The scrapbooking world seems divided into two camps, digital vs. traditional. My friend Jen Wright had a brilliant idea to help break down some of the barriers between these two opposing camps when she asked paper scrappers to use her digital templates to inspire layouts.

I was so excited to be a part of this! I don’t know why you have to choose between digi and traditional, I think it’s much more fun to bring both worlds together.

I love using scrapbook sketches to inspire layouts. I’ve even used a card sketch to inspire a scrapbook layout. (Click here to see!) I knew working with one of Jen’s digital templates would be easy and fun.

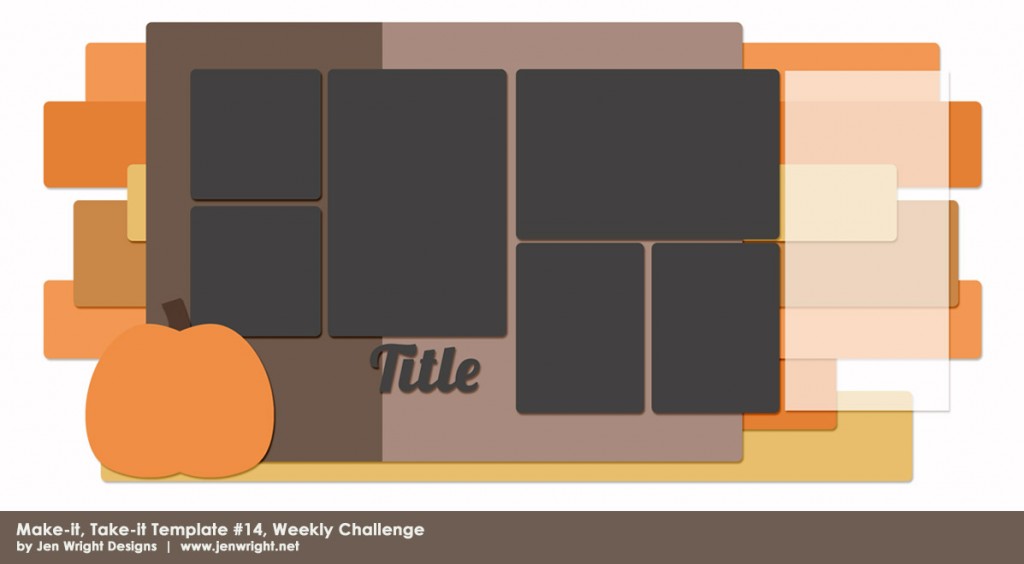
Jen gave me a gorgeous template to work with!

Jen Wright designs template 14

I love the layers and that I could use six photos on the two-page layout.

At first glance this page seems so simple. It’s not overly complicated with tons of embellishments. The layers work to add so much texture and variety without being too fussy.

Here’s a sneak peek at the layout I created using this template.

Mountain adventure layout by Alice Boll of Scrapbook Wonderland

The paper reminds me of a winter sweater.

*For a complete product list see the end of this post.

Were you surprised to see that I didn’t create a fall-themed page? One of the best tips I can share about using a sketch is to repurpose it using a completely different theme! This template would work for birthdays, weddings, summer, etc. Don’t feel that just because it looks like a fall theme that you can only use it for fall!

You’ll also want to see where I decided to place my journaling. I was so happy to have a generous space to tell my story. 🙂


Are you a digi or traditional scrapper? Have you considered scrapping outside your regular style? Have you tried hybrid scrapping?

Personally, I want to learn how to use Photoshop so I can play with some of the amazing digital techniques, and so I can take advantage of the beautiful digital papers, embellishments and templates!

Are you signed up for the Scrapbook Wonderland email list? Subscribe HERE to get your free bonus gift today, and start receiving useful tips that will help you love your scrapbooks.

Let your creativity shine, and get scrapping!

Alice.


Alice Digital Signature 2013


Products used on the “Mountain Adventure” layout:

Snowhaven paper – CTMH

Red sticker letters from the Holiday Happenings Assortment – CTMH

Glitter paper – CTMH

Red sparkles – CTMH

Liquid glass as a glue – CTMH

Vellum- unknown

Snowflake embossing template: Sizzix

Sun Rays embossing template: Craft Concepts

Silver Versa Color ink

{ 2 comments }

When Simple is Perfect

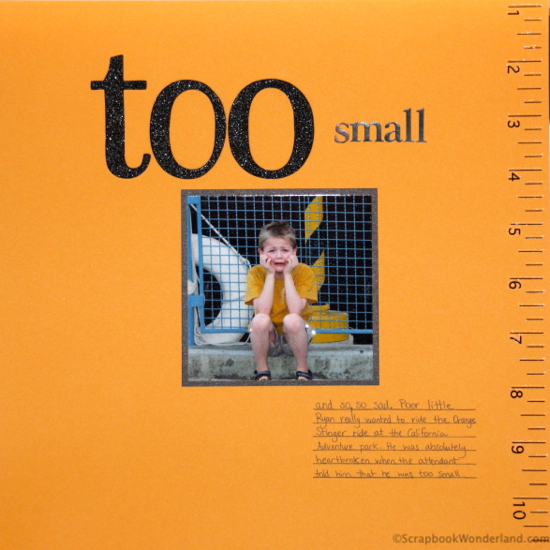
Too Small - a simple but perfect layout

Make it Monday blog hop imageSometimes simple is perfect. Not all layouts need glitz and glam to make them great.

If you want to create the perfect simple page there are three tips to follow to help you get it right.

If you are hopping along the Make it Monday Blog Hop you will have arrived from Scrapping Wonders where Beth was sharing projects she created using the Scor Board. I’ll share the next stop at the end of this post!

Making a simple page can be a challenge. How much is enough? How do you keep from going overboard? Is it too boring?

Here’s the three tips you need to know so you can make a perfect, simple scrapbook layout.

1. KEEP IT SIMPLE:

Keep these elements on your page simple.

  • Colours
  • Patterns
  • Typography/Font
  • Design

2. ADD IMPACT:

These simple but impactful elements will add interest to your layout.

  • Title
  • Embellishments

3. USE EMOTION:

Draw people into the focus of your page by making sure these elements have emotion.

  • Photo
  • Journaling
Too Small - a simple but perfect layout about a moment in Disney

Let’s look at how this example using a moment on a trip to Disney follows these tips to make a perfectly simple layout.

1. Keep it simple. A black and gold colour scheme, no patterns, handwriting on lines and a photo in the center design all work to keep this layout simple.

2. Add impact. The title with a large word and a small word add impact, so does the  ruler along the edge.

3. Use emotion. The photo and journaling finish the page by drawing you into the heartbreaking moment on a trip to Disneyland.

Give these three tips a try the next time you want to create your own perfect, simple layout.

Your next stop on the Make it Monday Blog Hop Connie will show you a twist on the traditional advent calendar. Hop over to Clicky Chick Creates.

Do you have a hard time finding time to scrapbook? Read this post: 10 Easy Ways to Fit More Scrapbooking Into Your Busy Life

Is simple the perfect way to scrapbook for you? What tips do you follow? Share your tips in the comments!

Let your creativity shine, and get scrapbooking!

Alice.

Alice Digital Signature 2013

{ 13 comments }