Raiding your stash of scrappy supplies is a popular thing to do right now. If you are like most scrappers you probably have a “collection” of patterned paper! (Collection sounds so much better than “I have so much patterned paper my family has threatened to call the Hoarders TV show!”)
Since we all like to be trendy, and we bought that paper for a reason, why not get it into our scrapbooks?
Good idea! But…
It can be tough figuring out how to make patterned papers work together. To make it easier I’m sharing 5 super-awesome tips that will help you put that patterned paper to work!
I suffered, so you don’t have to.
How did I come up with this list? Trial and error. I’ve made the mistakes, now you can swoop in and learn from my disasters!
I recently came across 3 sheets of patterned paper. The paper was gorgeous. It had been in my hoard… I mean collection… for a while now.
I really wanted to get as much mileage out of it as possible. This was NOT going to be the paper that I chop up, realize I cut it wrong and end up garbaging the whole sheet, or trying lamely to recover, kind of like when a kindergarten kid cuts their own hair… you know you aren’t fooling anyone into believing you cut their hair into that avant guard cut on purpose, and mis-chopped paper is no different!
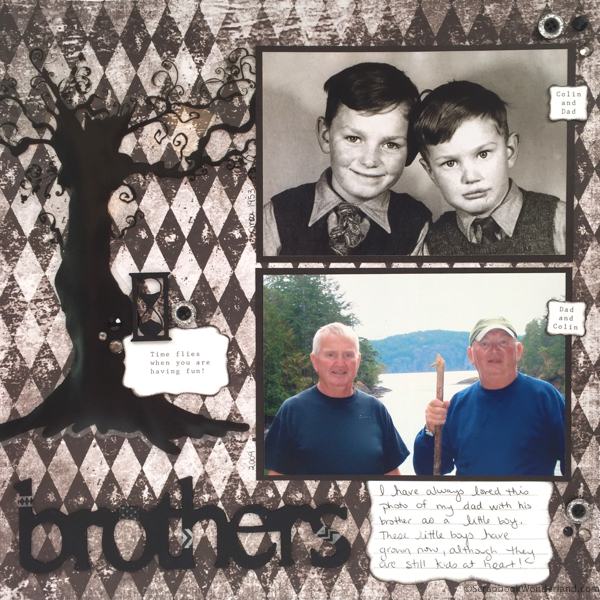
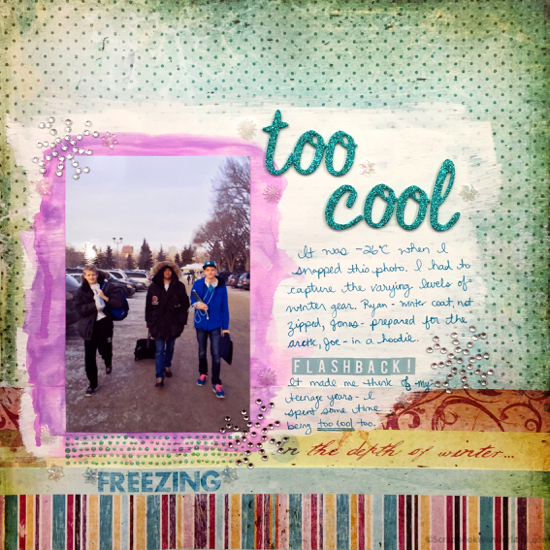
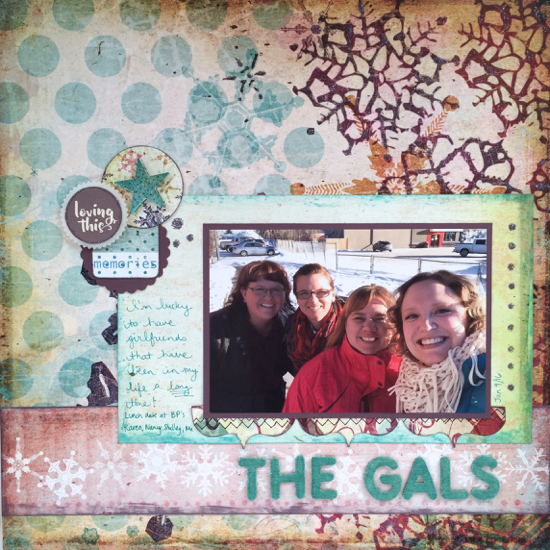
By following these 5 tips I was able to use these three sheets of paper to create two stunning layouts with layers, details and personality, and avoid the frustrated moans of, “What have I done?” (Wasting pretty paper is a total tragedy!)
5 Tips to Put Your Patterned Paper to Work!
1. Go in with a plan for the journaling.
I can’t tell you how many pages I’ve tried to cram my journaling into an area that is too small, or even worse, tried to write over a pattern that just should NOT be written on. If the journaling disappears what good is it? Make sure you leave not only enough room to tell your story, but a spot that you’ll actually be able to read it!
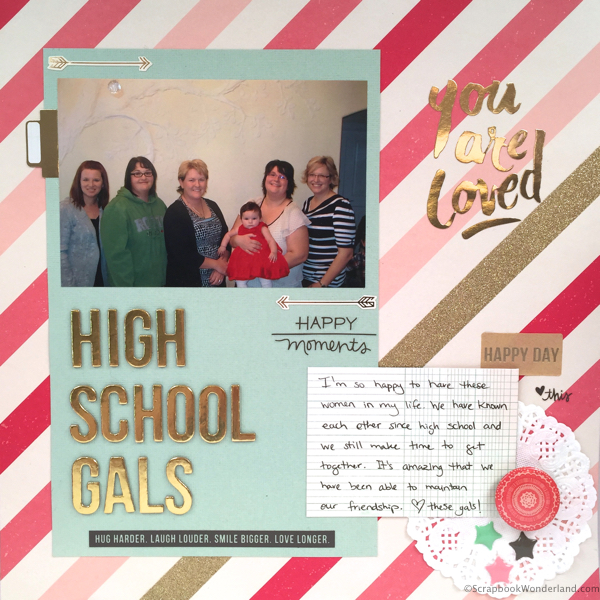
2. Patterned paper with strips are your friend.
One of the best patterned papers in your stash is the one that strips. Um… I mean the one with the strips.
3. Create balance.
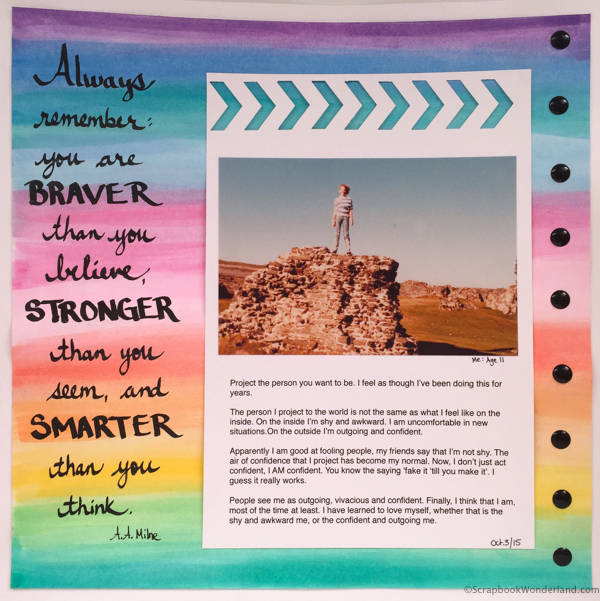
Not all of the patterns can be crazy and wild, but one of them can! Partner a busy pattern with a calm one. Don’t use two that are very similar together. If you’re using dots you probably don’t want another dot pattern, look for a floral or stripe instead.
4. Pay attention to the transition.
When your patterned papers meet are they friendly? Can you easily tell who’s who? If not you need to create a break between the two patterns. You can layer in a neutral or ink the edges to create a bit of contrast.
5. Know when it’s enough.
Be careful about layering embellishments over a busy pattern. You don’t want to lose your embellishments in the chaos! Let your embellishments shine by creating a neutral zone to display them.
If you follow these 5 tips your patterned papers will play nicely together and you’ll be able to put them to work!
Oops! It happens to all of us!
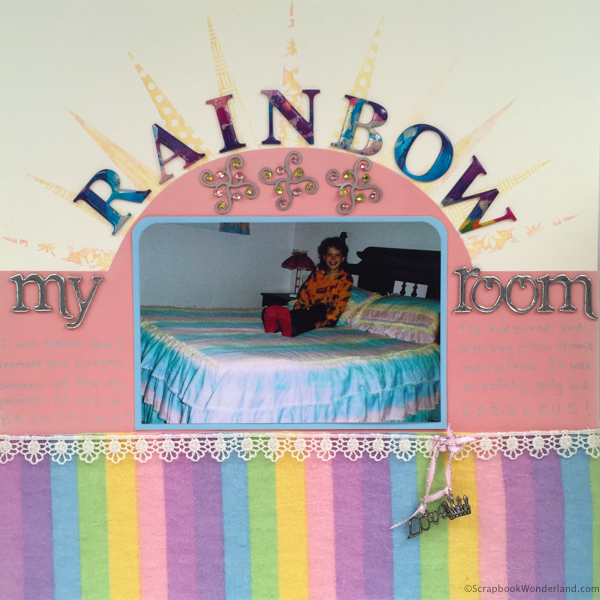
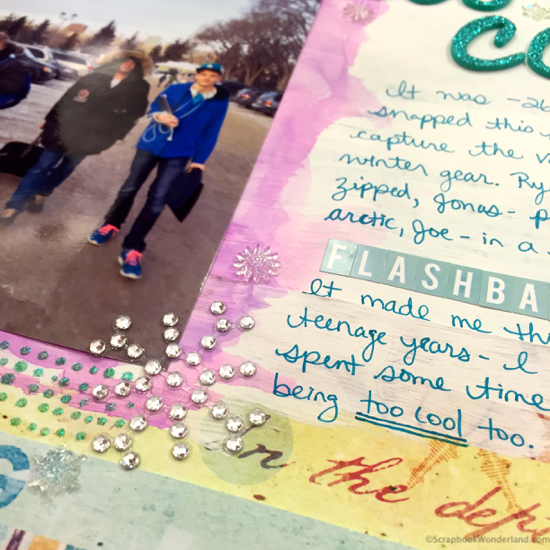
It’s true. We all make mistakes on our pages once in a while. Here’s a page I made that I truly loved at the time, but… check out the journaling!
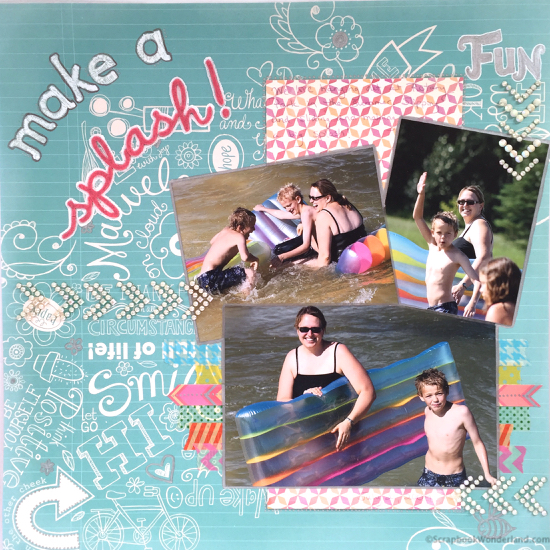
Where is it?
It’s there. It’s just impossible to read because it’s written on a busy pattern.
Don’t stress when things go wrong. I’ll fix this by creating a small journaling card to write the journaling on using some plain cardstock. It’s not the end of the world, it’s just paper.
Need more tips?
I really should have called this post 5 MORE tips for putting your patterned paper to work because I shared another post with 5 tips before! Refer to this post for even more tips (They are different!): 5 Tips for Using Multiple Patterned Papers.
Make it Monday
If you’ve arrived from Alison Day Designs where Alison is featuring simple one-layer Valentine’s Day Cards… welcome!
Your next stop is to KristieSloan.com where you’ll be inspired to change your decor seasonally using… I’m not telling… go check it out!
Now, go and be trendy, bust your stash and use up some of your pretty patterned paper. (Say that 5x fast!)
Alice.
