≡ Menu

Busting Scrapbooking Myths – Using BAD Photos

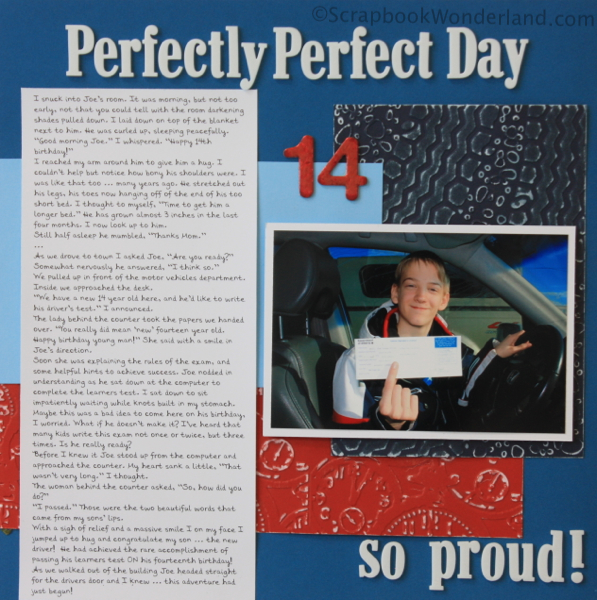
How to use bad photos on a scrapbook layout.

How to use bad photos on a scrapbook layout“My photos suck! I can’t possibly scrapbook them.”

I’ve heard this complaint many times. I’m here to tell you this is a MYTH!

There are a lot of misconceptions about scrapbooking. It can be intimidating when you feel like you are breaking the rules, or that your scrapbooking won’t be good enough because you are not following the rules.

[continue reading…]

{ 9 comments }

LOAD214 Scrapbook Mythbusters

Life’s about to get exciting! I registered for LOAD214!

Last February I joined Lain Ehmann and a few hundred other super scrappers to create a layout every day for the month. Yes, EVERY day for a month. It was AMAZING!

I’m inviting you to be spontaneous, and join me in LOAD214.

Before you get too terrified and run off thinking that I’m a crazy person who spends every waking moment scrapbooking, please know that although I have been called a crazy person, I like to live a life worth scrapbooking! I also have a husband, two kids, a dog and a gazillion after school activities to chauffeur my kids to.

Here’s why I love LOAD.

LOAD is…

…about embracing a new way of scrapbooking.

…about getting something done, everyday!

…about reconnecting with your stories.

…about FUN!

I have a confession to make. I love to scrapbook but I am NOT a prolific scrapbooker. I take a LONG time to complete pages. I struggle with journaling. LOAD helped me break down all of these barriers, for one month. I scrapbooked more in one month than I did in 6 months! I told better stories too.

So, if you’d like to have more fun scrapbooking, learn how to accomplish more than you thought possible and do that all with better journaling, try LOAD214. (You can totally thank me later!)

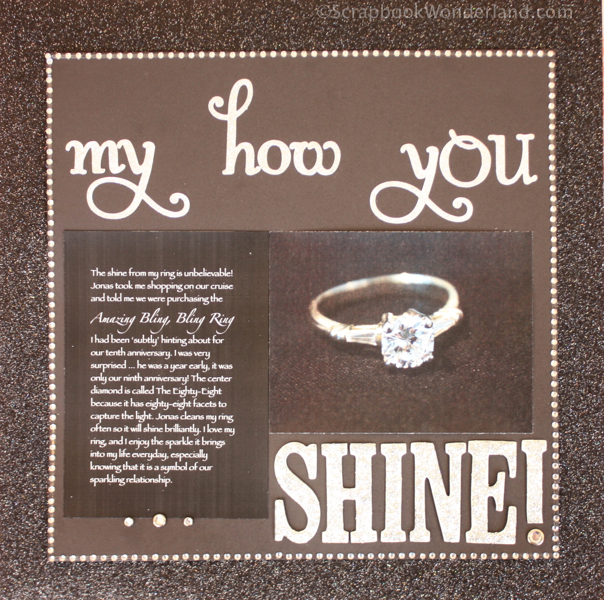
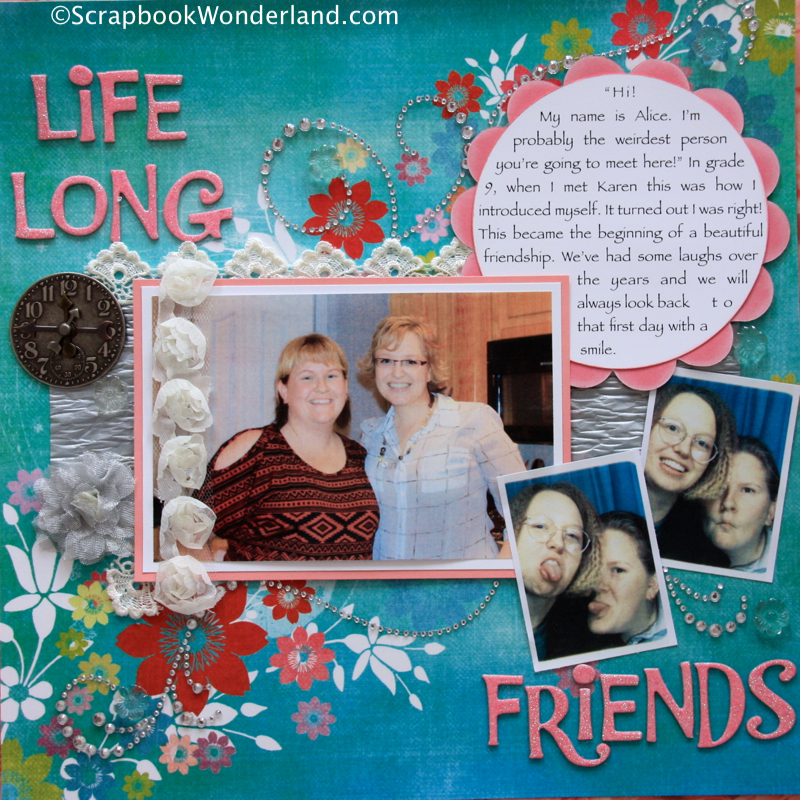
Here’s a sample of the pages I created last year during LOAD213:

One of the pages I completed during LOAD last year.

Another page completed because of LOAD

I'm so glad I was inspired to tell this story during LOAD!

The prompts from LOAD last year inspired me to create pages that were not only beautiful, but pages that shared real heart and soul. That’s why I couldn’t resist being a part of LOAD214.

Still not sure if LOAD is for you? Why not let Lain tell you all about it herself? Click to get the details from Lain.

You also might want to see what I did to prepare for LOAD last year. This year I haven’t prepped anything other than adhesive. (We’ll see how well that works for me!)

Use DISCOUNT CODE: 28DAYS until the end of January 30 to save almost %40!

LOAD214 starts on February 1, so you’ll have to sign up before then.

Click here to register for LOAD214.

I hope you’ll join me on this exciting adventure!


*Affiliate links are used. Please know that I only share items/products I’m personally excited about and recommend fully.

{ 0 comments }

Spray a Quick Card

When you need a quick card using spray ink might not be the first thing you’d think of.

It has to dry, right?

It’s messy to work with, right?

Luckily the answer to both questions is NO!

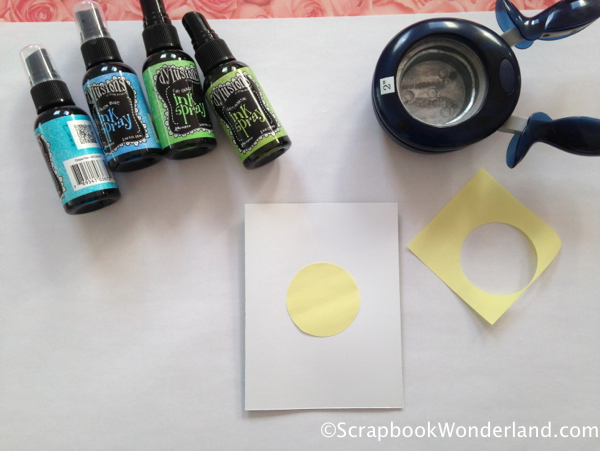
Start with a card base. My favourite size to work with is 4.25 x 5.5, also known as a quarter-fold card.

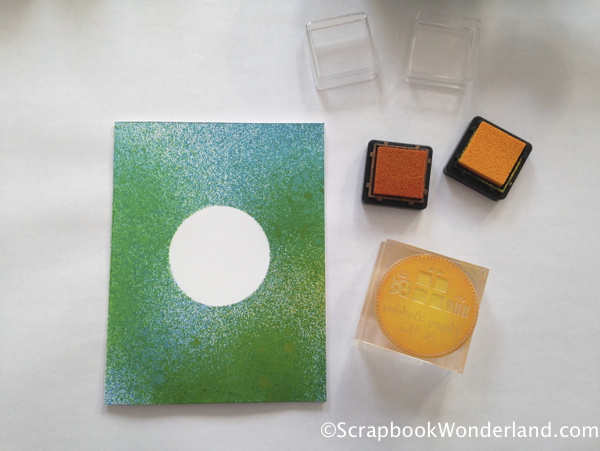
Using a hand punch cut a circle out of a sticky note. Try to get as much ‘sticky’ onto the circle as possible.

Place the circle on the card front to create a mask.

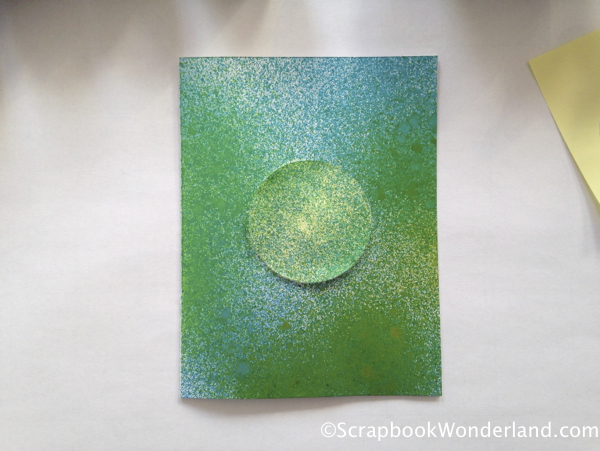
Now add some spray ink!

WONDER TIP: To make clean up a breeze, I dry the bottom of the kitchen sink, place the card in the sink, spray, and rinse the sink immediately after. Most inks rinse away easily. (Try this with caution!)

If you don’t want to mess up your sink, grab a large cardboard box and spray the card in the box. No mess!

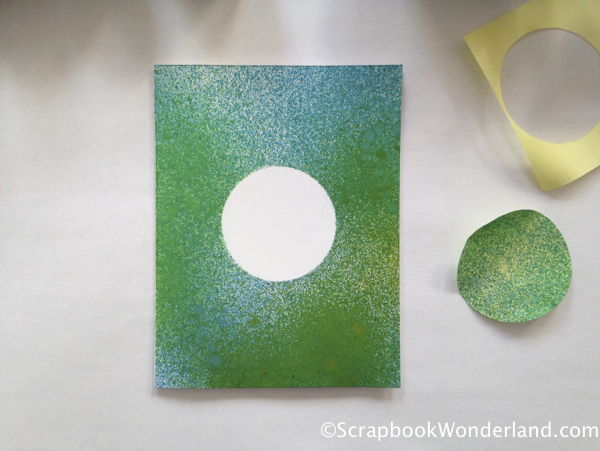
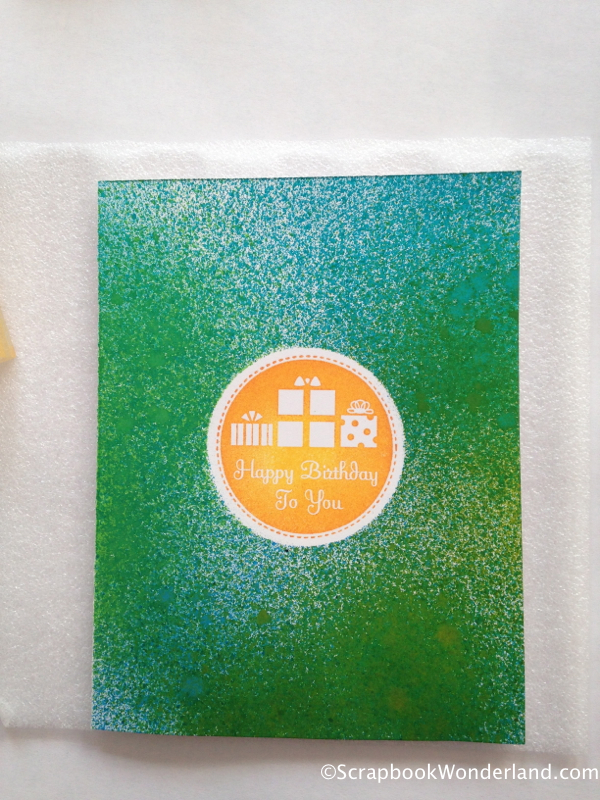
Now remove the sticky note!

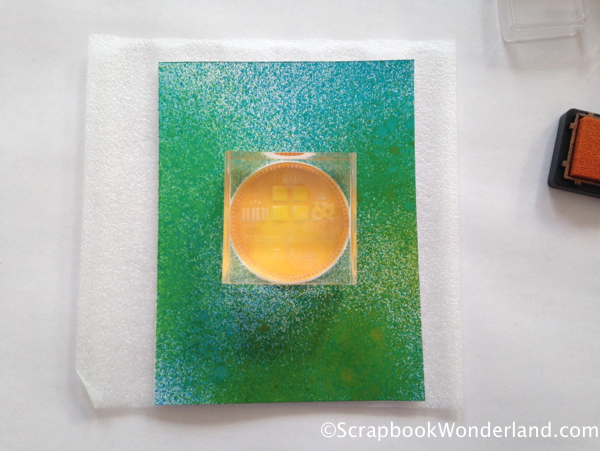
Grab your ink and stamp a greeting in the center of the card. Clear stamps make this very easy to do!

By the time you’ve added your stamped image the spray ink should be dry.

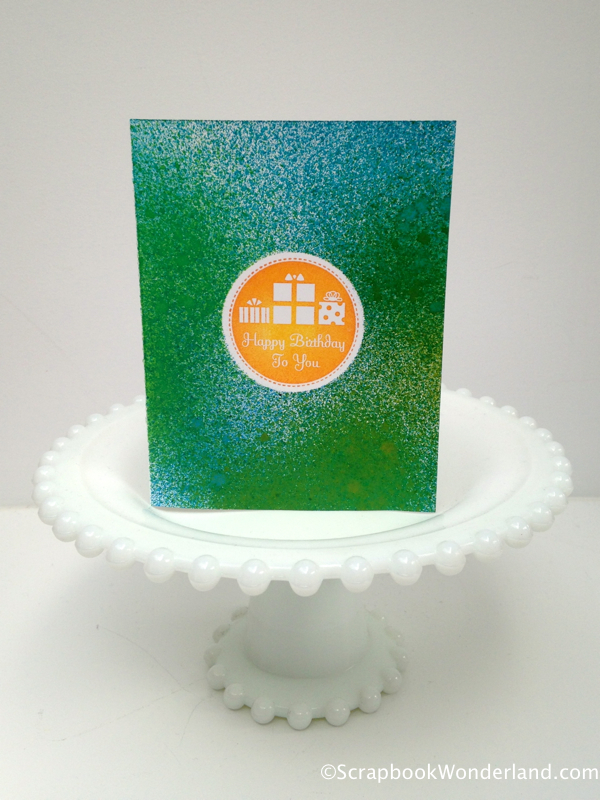
Ta da!

One of the great things about creating a flat card like this is that you can easily pop it in the mail.

This card should take 5-10 minutes to create, quick and easy.

Have you used spray inks? Do you love using them? If not, why not? Please leave me a comment!

Have a wonderful crafty day!

{ 17 comments }

Back to School Scrapbooking for Teens

September is a time of new beginnings. Kids head back to school and family life gets back into a normal routine.

Teenagers can be difficult to capture for that back to school photo. If you can manage to get a photo, I’ve got ideas to help you get them onto a scrapbook page!

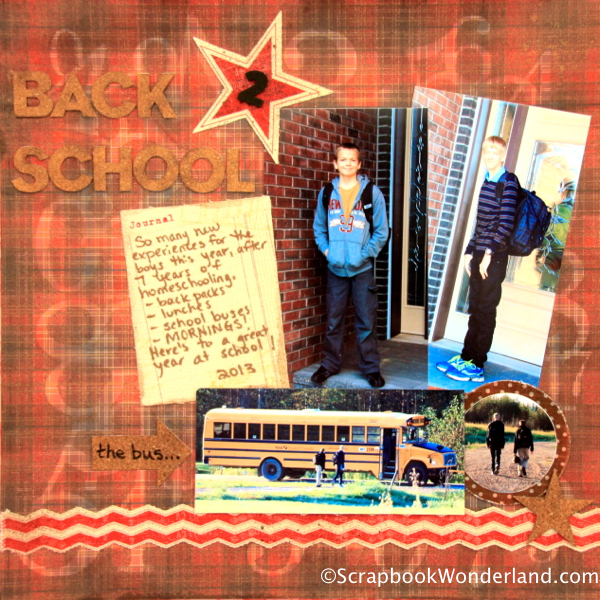
We have been homeschooling for the past 7 years. Scrapbooking the first day of a school is a classic scrapbookers go-to layout, and I have been denied this staple page for 7 years! With my boys heading back to school this fall I was excited to have ‘real’ back to school photos.  I even took photos of them getting on the bus! (With my zoom lens, from the house, I tried not to be totally embarrassing!)

If you have teens, and especially boys, you might be looking for some school-themed options other than apples! Hey! There’s nothing wrong with apples, but we need to branch out a bit! My boys are 12 and 14 so I didn’t want the page to feel too ‘young’ either.

Here’s some fun, but mature ways to play with a school theme.

PLAID

When I see plaid I think of school uniforms and Scotland. We are not in Scotland and my kids don’t have uniforms, but plaid still feels like school, so using it on a school-themed page works well. Bonus for you if your kids do wear plaid uniforms!

NUMBERS

Ah math! You either love it, or wish you could leave it! No matter which side you, or your kids, are on you can add a scholastic theme by ADDING numbers to your layout. 🙂 Try this fun and easy technique. Use a template  and some spray mist to create a numbered background. If you don’t have a template it is super easy to create one using die cut numbers scattered randomly over the page.

CORK

Classrooms always have bulletin boards so the cork on this layout is a natural extension of a classroom. Cork alphabets and shapes are a great way to add texture and embellishment while keeping it more grown-up.

CANVAS

Canvas makes me think of backpacks. Backpacks need to be strong and durable, and although they are not usually made of canvas anymore they do have a similar feel. If canvas doesn’t remind you of a backpack it might remind you of canvas shoes, and that works for kids and school too!

No matter how you scrapbook your back to school photos I hope you have fun with it!

{ 5 comments }

Messy Inspiration: Cathie Allan

When scrapbooking gets messy I get very inspired! I’m sure the level of inspiration is directly related to the amount of ink and paint on my fingers.

Online Graphing
Make a graph

To make sure that I have new ideas for getting messy I love to take scrapbook classes. On Saturday I attended the Great Canadian Scrapbook Carnival in Edmonton, Alberta, Canada. This event is hosted by Canadian Scrapbooker Magazine and it is fabulous! You can crop, shop, and take classes during the two-day event.*

I took a class with Cathie Allan. With over 30 years of experience stamping and creating Cathie’s classes are guaranteed to inspire! The class was called “Joseph Coat Unleashed”. The technique involved layering multiple colours of ink to create stunning works of art, like Joseph’s Coat of Many Colours. (I’ll bet you’re humming the song now, aren’t you?!)  🙂

I have stamped before.

I have layered inks before.

I have never layered THIS MANY colours before!
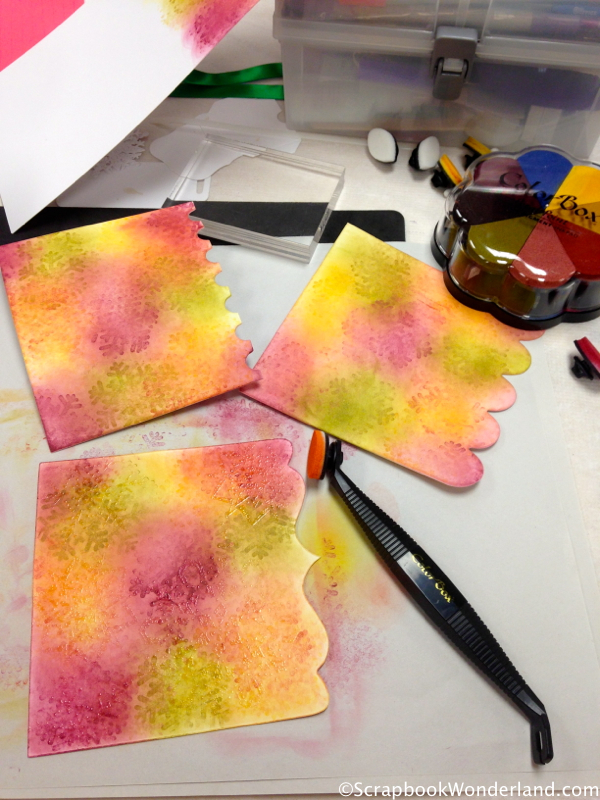
The class was super busy, but I managed to sneak this quick photo!
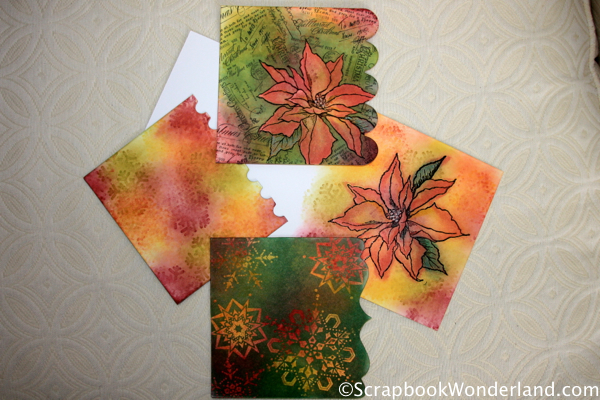
Some of the final pages created in the Joseph Coat class. These all started out as white paper!

The artwork we created in class was gorgeous and we used a cool technique that Cathie calls Smack Down. I found the video for you, so you can learn how to use your stamps in a whole new way! (You’re welcome!) 😉

Smack Down is a great technique for creating custom backgrounds. Have you ever tried this?

Another cool thing we did in class was resist technique with embossing.

New to embossing? I take you through the basics in this 7 minute video:

I’ll make a resist technique video ASAP so you can see how awesome this is! I’ve been using this technique for years but using such vibrant colours in class really showed me that I have not been taking full advantage of this simple stamping method in my scrapbooks! (Just think of all the lost potential!)
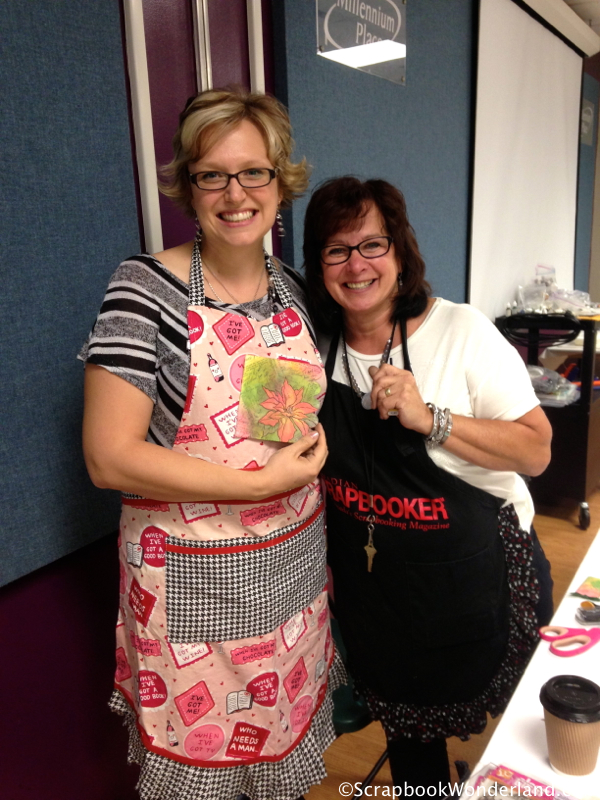
Alice Boll with Cathie Allan

Alice meets Cathie Allan in her Joseph Coat class at the Great Canadian Scrapbook Carnival

One thing that I was very excited about in class was Cathie’s admission that she uses stamping to fix mistakes. She loves saying that if you don’t like your project just add more ink. She also mentioned that you can add more ink to cover up a fingerprint or other ‘mistake’ on your project. I’m always telling scrapbookers, “There are are no mistakes in scrapbooking, only opportunities for new creativity!” It was awesome to hear Cathie sharing the same advice.

When I came home I needed to play in my scrapbook room right away! I had so much fun creating with colours and blending inks. I absolutely love this rainbow arrow paper I designed.
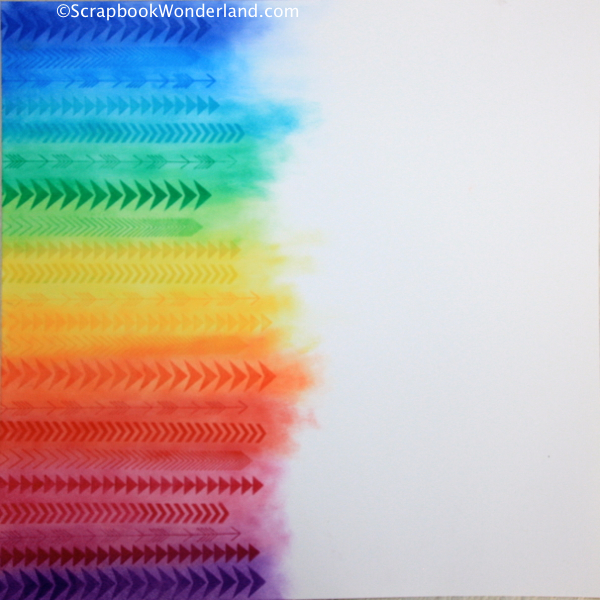
Rainbow Arrow paper designed by Alice Boll from Scrapbook Wonderland

I’ve had a few ideas of what my scrapbook page will be about… come back soon to find out what I decide!

How do you get inspired for scrapbooking? Do you LOVE getting messy? Does stamping intimidate you? Do you worry about making mistakes? I’d love to hear your comments!

Happy scrapping!
 

* (If you are not familiar with Canadian Scrapbooker you should get acquainted! It is more of a book than a magazine and the articles, like Cathie’s “All About Rubber” series, make this a great way to keep up with fabulous techniques and tips!)
{ 5 comments }