If you are new to stamping there are a lot of fun techniques that you’ll be excited to learn. In this post I will show you how to layer your stamps using masking to create fun and creative projects.
 Make it Monday
If you are following the Make it Monday blog circle you’ll have arrived from Jen’s weekly scrapbooking challenge. Join the fun with her free template! She also has a new Facebook group to share and be inspired. Jen Wright Designs I’ll share the next stop on the hop at the end of this post.
Masking Tutorial
When I was creating my Spring Babies layout (you can see it HERE) I used a masking technique to stamp a group of baby chicks. (Fun fact: a group of baby chicks is called a clutch.)
In this project I’m using a foam and rubber stamp that has been in my stash for years. (Yes, I use old stuff. You can read more about that in THIS BLOG POST.) You can use rubber or acrylic stamps, either will work fine, although acrylic are easier to line up where you want them… because they are clear and you can see through them! 😉
Let’s get started with masking!
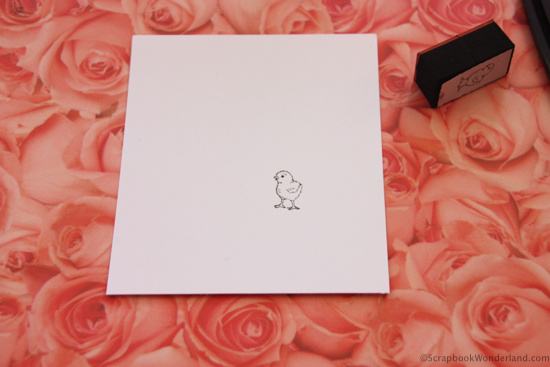
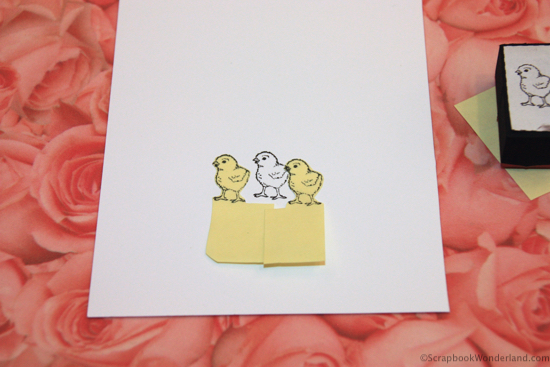
1. Stamp your first image.
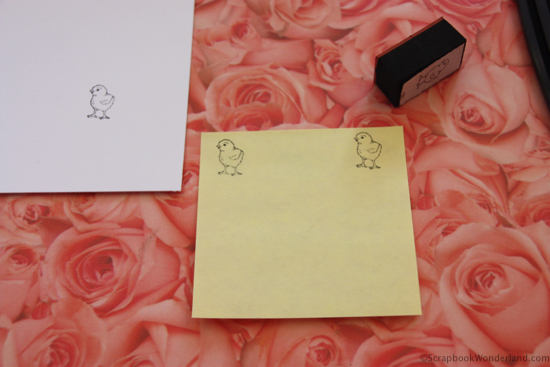
2. Create a mask by stamping the same image onto a sticky note. Sticky notes are perfect for this because they will temporarily hold in place as you stamp the next overlapping image.
3. Cut out your mask and place it directly over the image you just stamped.
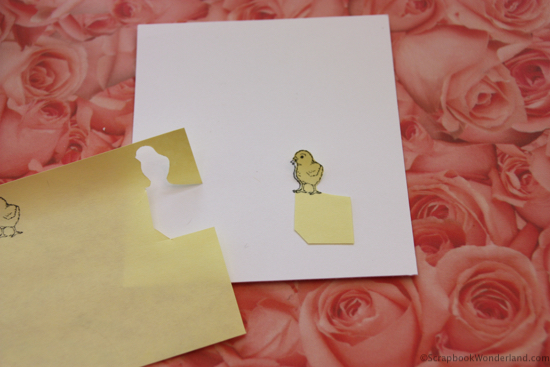
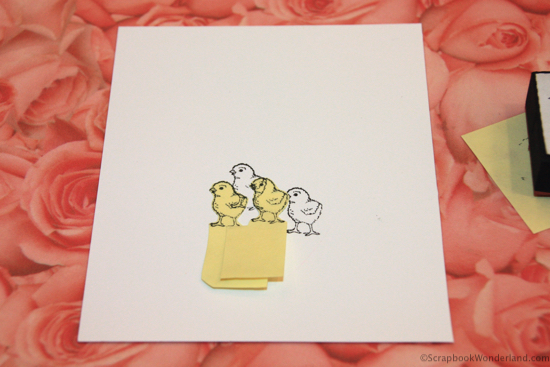
4. If you are creating an image that will be repeated multiple times, like the baby chick in this example, you should always stamp the images that will be in the front first.
TIP: Stamp the images that belong in the front first.
5. You may require more than one mask.
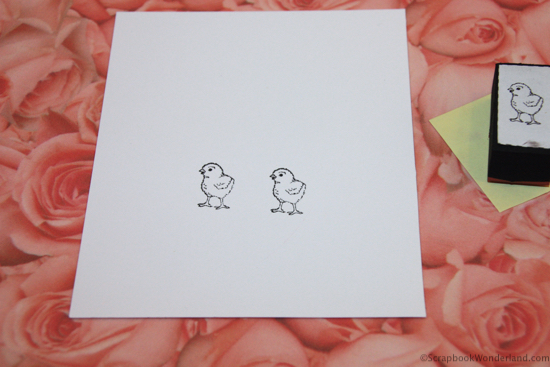
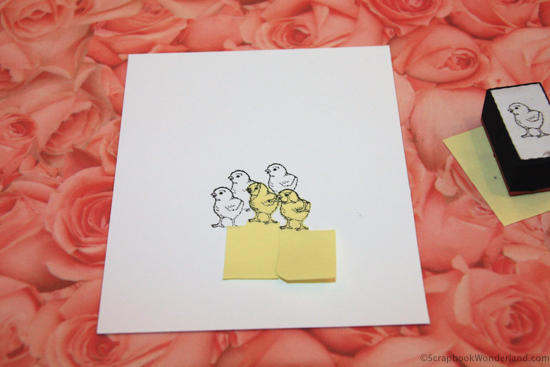
6. As you create your grouping, move the mask to completely cover a previously stamped image before stamping the next one. This is how you stamp all of the background images!
7. Continue moving the mask, or masks, and stamp the image onto your paper.
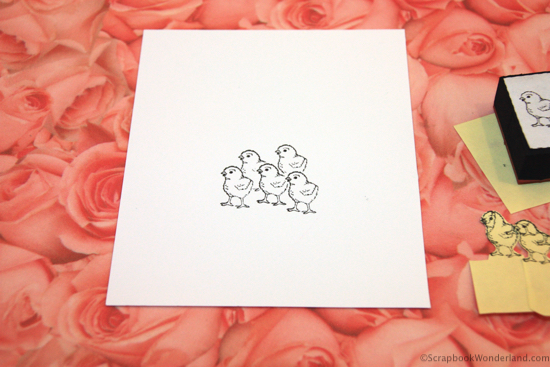
8. When you have completed, you will have a layered image created with a single stamp. 🙂
Fun with Stamps
At the beginning of this post I mentioned fun stamping techniques you’ll be desperate to learn… have you tried heat embossing? Heat embossing was THE reason I fell in love with stamping!
Make it Monday
On your next stop on the Make it Monday blog circle you’ll see a little baby boy and a LOT of pink, in a Digital Scrapbooking HQ layout.
If you have a question about this technique I’m happy to help. Ask a question in the comments or on the Facebook page!
I’d love to see what you create use a masking technique with stamps! You can share a link in the comments or a photo on the Facebook page.
Let your creativity shine!
Alice.