 Do you have stamps? I have a giant collection of stamps. The good news is that I use them!
If you have stamps in your collection it’s time to put them to good use. Let’s make some backgrounds!
If you are hopping along the Make it Monday Blog Circle… welcome! You’ll have arrived from Scrapping Wonders where Beth was sharing how to use the Christmas Bundle to prep your December Daily. I’ll share your next stop at the end of this post.
Now, let’s use stamps to create beautiful backgrounds!
Why? Why create your own stamped paper instead of finding a patterned paper that would work?
- It can be hard to find the right paper, when you need it.
- You don’t have to wait to order it.
- You can create the perfect paper instead of ‘making do’ with something that will ‘work’.
Now that you’ve decided, “Yes, I want to stamp a background.” here’s how to start.
Find your stamps and ink. I like to work with at least 3 different stamps if I’m creating a random-looking background. This works especially well with 3 different sizes of stamps.
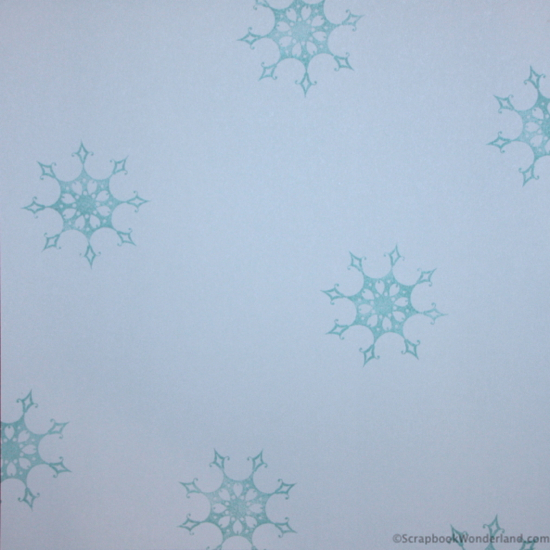
Tips for creating a stamped background:
1. Start with your largest image. Spread them around evenly, but there is no need to be exact.
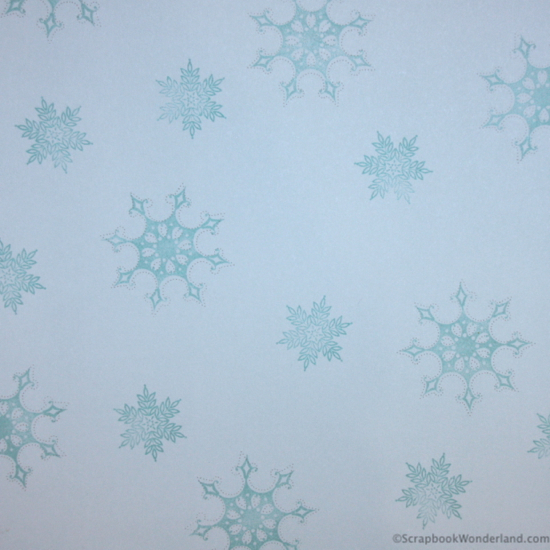
2. Next use your medium sized stamp to fill in gaps.
3. Finally fill remaining spaces with your smallest stamps.
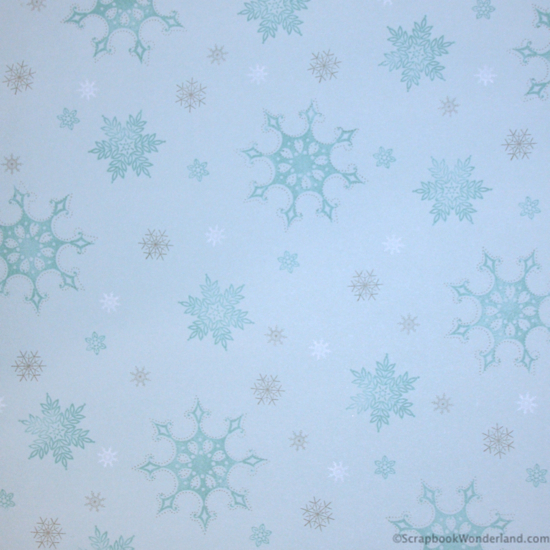
TIP: Be sure to stamp images off the sides of the paper. They don’t have to all fit ON the page, run them right off of the edges!

Want more?
Watch this video and check out this post!
Stamping Background and Patterned Paper
Now you can create a custom stamped background for your scrapbook layouts! Would you try this? Have you tried this? Tell me about your experience in the comments!
Your next stop on the Make it Monday Blog Circle is Clicky Chick Creates where Connie will show you how to make amazing memories with a fabulous Advent Activity.
Want to see last week’s Make it Monday post? Simple can be perfect.
Like tips like this? Sign up for the Scrapbook Wonderland email list! Subscribe HERE.
Now get get stamping and let your creativity shine!
Alice.
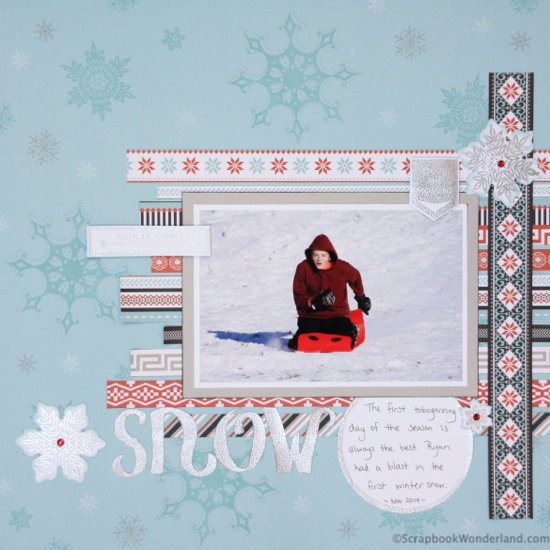
All products used on this page are from Close to My Heart. The patterned paper is called Snowhaven. If you are looking for a consultant in Canada… I’m your gal! Click here to shop online!



Comments on this entry are closed.
Love this idea – mine don’t usually look that good, however. Practice, practice, practice…
That will work Libby! Do you follow the three steps? Starting with the largest image and working to the smallest makes a big difference! Thanks for your comments, I love seeing that you’ve popped by to see what’s new!
I love this technique! I didn’t have much Christmas paper, so decided to make my own for some cards. I used red, pine green and a lighter green (CTMH Pear) and stamped holly in the darker green, swirls in the red, and little snowflakes (for my smallest image) in the Pear ink. It came out darling. Wish I could show you the card but don’t know how to put a picture here in the comments. This technique is really fun! you can play and not worry about making mistakes.
That sounds beautiful Marilyn! If you post any photos on your blog let me know! You can also share photos on the Facebook page: http://facebook.com/ScrapbookWonderland