≡ Menu

Bling Up Your Scrap Easel FRED2

How to easily makeover your FRED2 easel for project designing.I recently discovered the coolest tool for scrappers! Ok, I technically didn’t discover it, my friend Kimberly did, but she was super-awesome and hooked me up with one, so either way I’m happy!

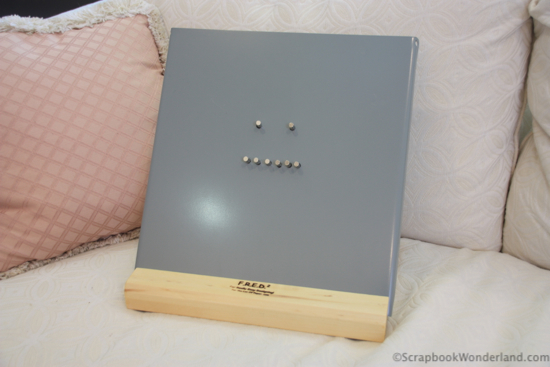
Meet FRED2.

Fred2 is waiting be a useful easel.

Fred2 is waiting be a useful easel.

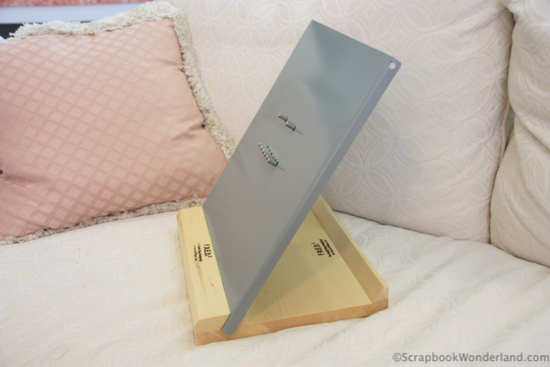
(For Really Easy Designing version 2) It’s a scrapbooking easel that you can set up easily, carry with you, or leave in your crop space.

The cool thing is that you use strong magnets to hold your project together as you create it, and it isn’t taking up all of your table space!
Fred makeover image2

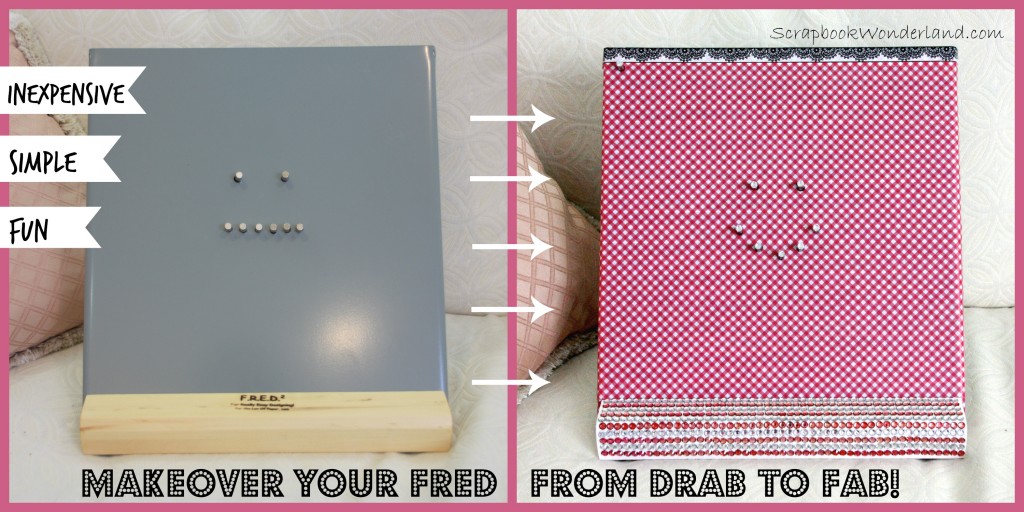
Now, you have to know that I think FRED2 is a brilliant idea, but honestly the colours just weren’t doing it for me. Grey metal with a natural wood base is nice, there’s nothing wrong with that per se.

But I really think FRED2 was just waiting for a makeover, and I just had to oblige!

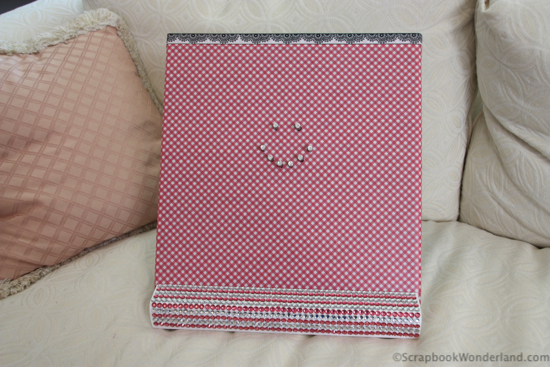
Feast your eyes on this!
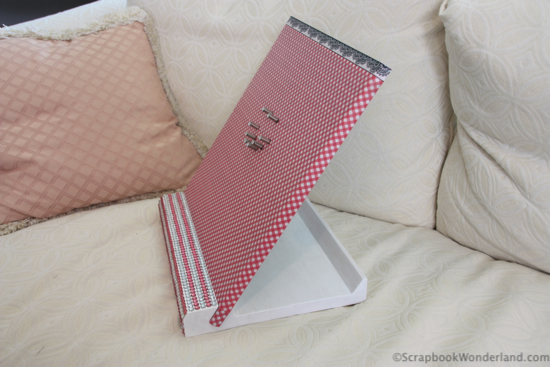
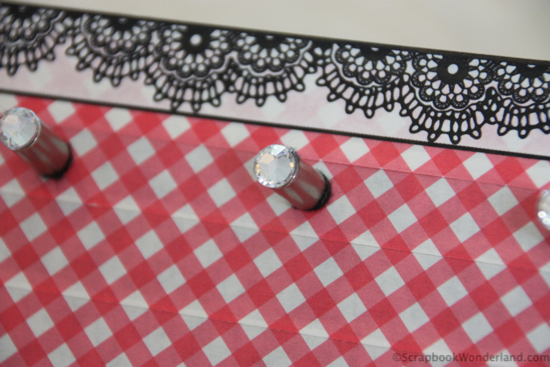
I added sparkles to the magnets!

I added sparkles to the magnets!

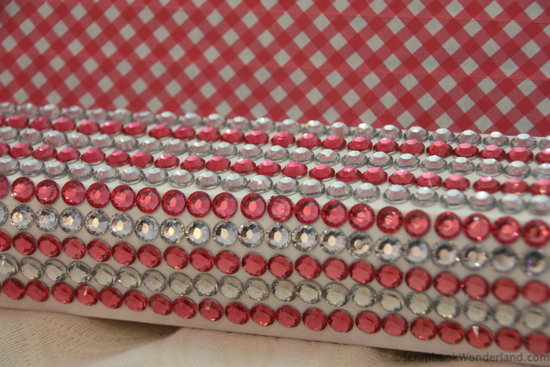
I painted the wooden base white and added more sparkles.

I painted the wooden base white and added more sparkles.

I covered the whole board with washi tape and finished the top with a decorative layer of washi too.

I covered the whole board with washi tape and finished the top with a decorative layer of washi too.

Does this makeover change the functionality of FRED2? No.

Does this makeover make FRED2 way more awesome? ABSOLUTELY!

Now Fred2 is a happy and useful easel!

Now Fred2 is a happy and useful easel!

Would a FRED2 make your scrapbooking easier? If you’d like to get one you can find it here: fortheluvofpaper.com LINK BROKEN

EDIT: It appears the company has gone out of business. 🙁

If you like the magnetic easel idea you might want to look at the Scrap N Easel instead. Find it on Amazon here:
http://bit.ly/scrapneasel
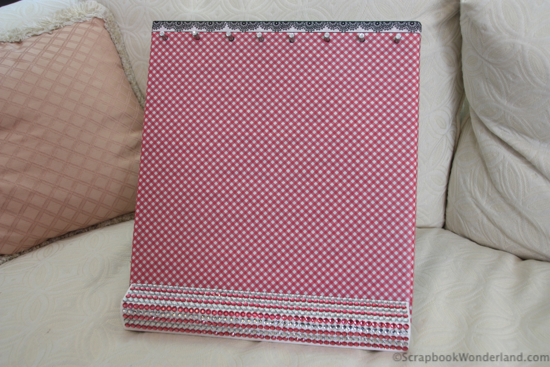
Fred makeover image7

The great thing about this makeover is that it was inexpensive, simple and fun! The sparkles and washi tape were from the dollar store and I used a bit of paint that I had on hand. My total cost for this makeover project is easily under $5! The great thing is if I decide I need to change it I can remove the washi tape and try something new.

Now that my FRED has had its makeover it is the perfect addition to my scrapbook space, it is both useful and beautiful!

If you like this project you might want to check out how I blinged up a clipboard in this post HERE.

I hope that this project will inspire you to look at the items around you and realize their potential to add both function and beauty into your life!

Let your creativity shine!

Alice.
Alice Digital Signature 2013


Love this idea? Want more great tips to make scrapbooking more fun AND easy? Sign up here for our email list. We only send out cool and useful ideas because we hate spam as much as you do.
{ 7 comments }

Curiouser and Curiouser 2014 WINNER!

Congratulations to Danielle, the winner of the Curiouser and Curiouser 2014 Contest held on the Scrapbook Wonderland Facebook page!

You can get more details HERE.

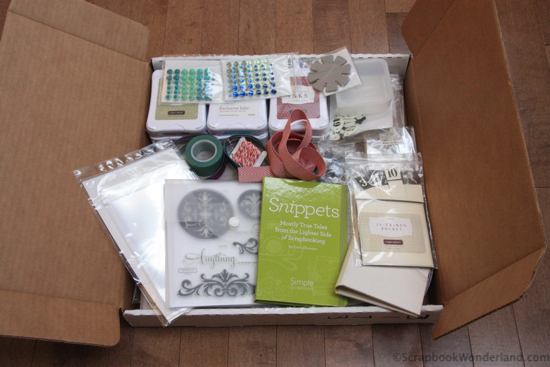
Here’s a quick photo of the GRANDE PRIZE (worth over $200CAD).

Curiouser and Curiouser 2014 prize image

Curiouser and Curiouser 2014 contest prize worth over $200.

Every day the contest was running an item was added to the prize box.

Watch for the Curiouser and Curiouser 2015 contest next August!

Keep up with Scrapbook Wonderland on Facebook HERE.

Let your creativity shine!

Alice.

{ 0 comments }

Curiouser and Curiouser 2014 CONTEST!

Bigger and better! Curiouser and Curiouser, the question and answer game is even better this year! NOW there’s PRIZES!!

Here’s how it works.

I asked a question every day in August.

Curiouser 2014 question 1 Curiouser 2014 question 2 Curiouser 2014 question 3

These are just 3 of the 31 questions asked in August.

CONTEST! If you’ve answered EVERY question before 9 pm MDT September 2, 2014 you will be entered to win the grande prize!

Go to the Scrapbook Wonderland Facebook page, be sure to ‘Like’ the page.

Here’s a direct link to the Curiouser and Curiouser 2014 photo album. CLICK HERE.

Hurry and don’t miss out! Good luck!

Alice.

{ 0 comments }

Heart Cards with Stephanie Ackerman

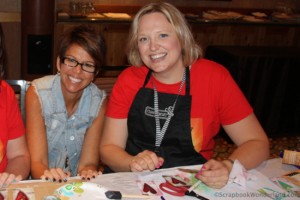
Stephanie Ackerman and meAh-maze-ing!

I recently went to Phoenix, Arizona to participate in a scrapbook gathering with about 25 ScrapHappy members. We took a class with Stephanie Ackerman from Stephanie Ackerman Designs. This engaging woman with a unique sense of fashion and bright sparkly eyes captured my attention quickly.

I think I was hiding under a rock, because I wasn’t very familiar with Stephanie’s artistic endeavours. I had definitely heard of her, but boy was I in for an exciting surprise! Class started with a palette of paint in front of us, along with a jar of mixed media medium and a deck of 52 playing cards.

“Ooh! This looks interesting!” I thought.

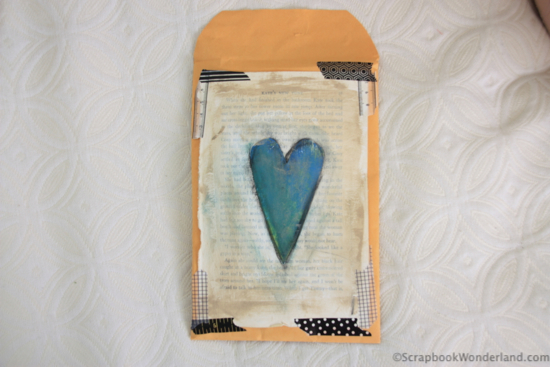
Stephanie Ackerman envelope

Stephanie gave everyone a hand-decorated envelope of supplies.

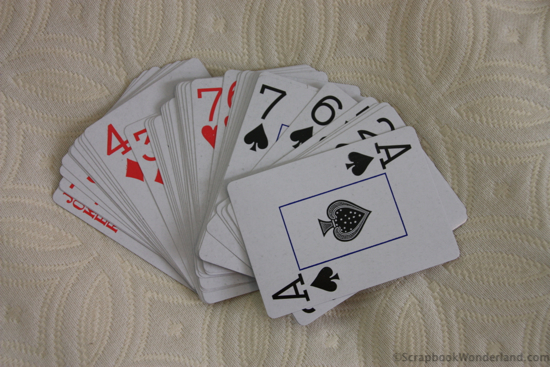
playing cards for class

These playing cards became the base of the heart cards we created.

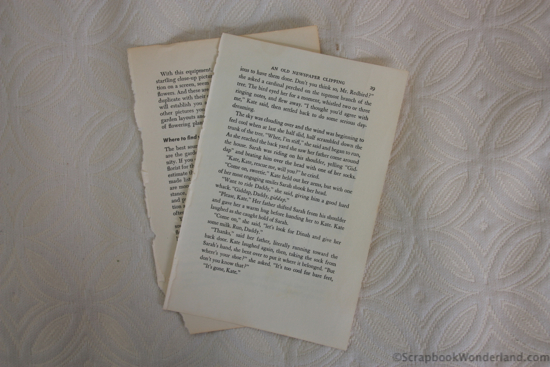
Then she did the unthinkable. She pulled out old books and started ripping out pages! For real!

ripped from an old book

Rip! Stephanie tore the pages out of old, unloved books and passed them out.

Soon Stephanie had us covering the cards with book paper, playing with gesso, paint, multi-medium and then she won over any last hold-out corners of my heart… she pulled out… WASHI TAPE!

Have I confessed my love washi? Yes, I LOVE this stuff. But I’m getting distracted…

After adding washi tape to our already fun project I was totally into this. Then  Stephanie taught me a bold application method, using my fingers.

She said, “SWIPE that gesso on, don’t dab it!”

She had me attacking my project with (nearly) reckless abandon.

I was painting with baby wipes.

It seemed the crazier I went with the paints and goops the better the project looked. Awesome!

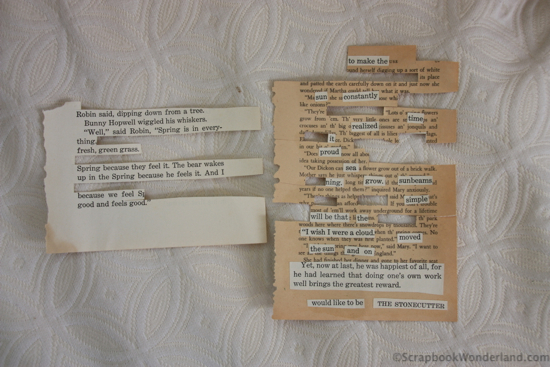
The next step involved adding words from old book pages. She recommended a large print book, because the words would be a better size to work with. She explained that we were going to read for words and phrases that inspired us, not for the story.

Stephanie Ackerman book paper

Then we cut them out and pasted them on another old piece of book paper so we wouldn’t lose the little bits. Later, when we chose the words we wanted to use we had a sheet that contained tons of great choices. (She’s so smart!)

Soon we had added hearts, more layers of paint… the secret is all in the layers, and ink for shadowing. The results were gorgeous!

Another  thing I loved about the class was what Stephanie called, “Open House”. We would all straighten out the cards we’ve been working on and we’d get up and walk around to admire everyone else’s projects. It was so cool to see the variations and uniqueness of each project, even though we were all taking the same class!

Confession: I think I really loved it because I’m a bit snoopy and I want to see what everyone else is doing… kind of like peeking around at an open house! 😉

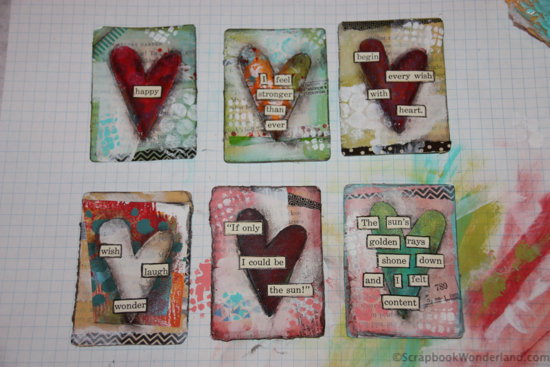
Stephanie Ackerman heart card tutorial

The cards I created in Stephanie’s class.

I am in love with these cards!

I am in love with these techniques!

I am in awe of the genius of Stephanie Ackerman!

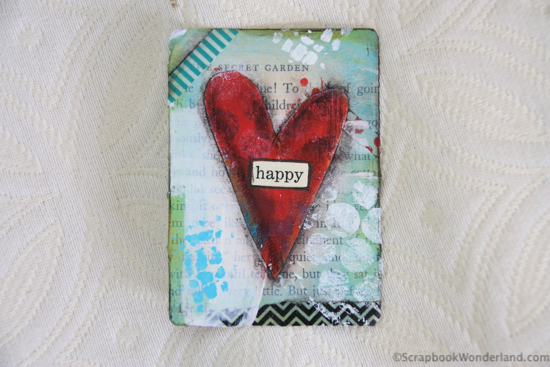
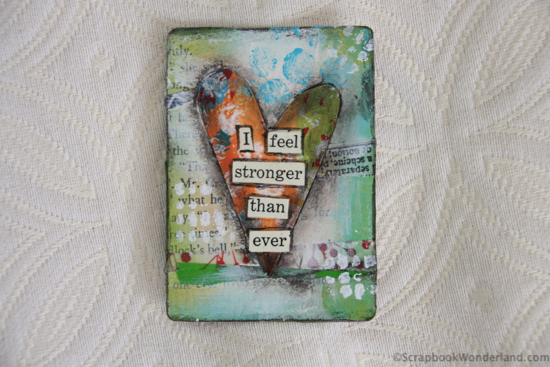
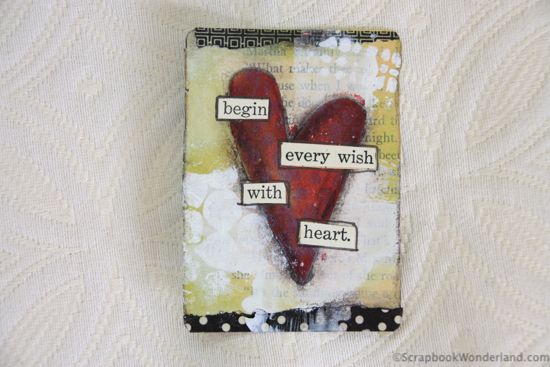
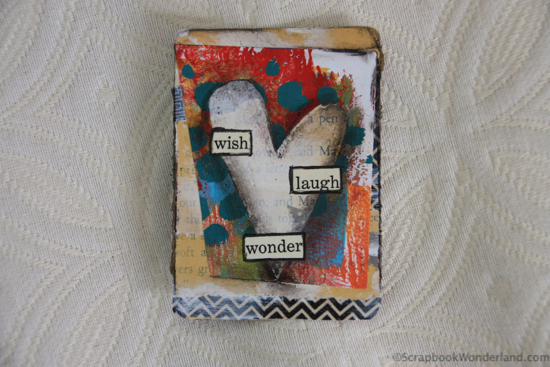
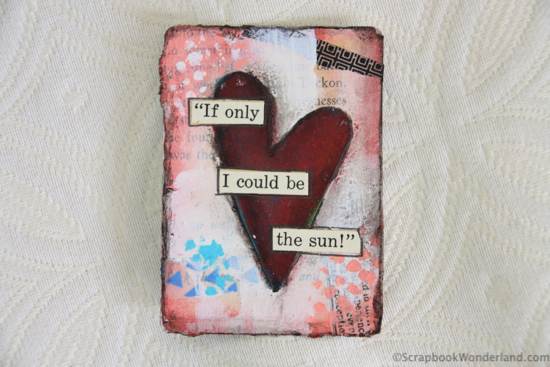
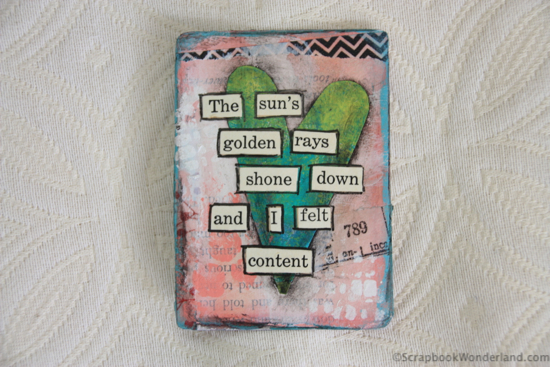
Here’s an individual photo of each card so you can see how the layers and details make the cards so enchanting.

heart card by Alice happy heart card by Alice i feel stonger heart card by Alice begin every wish heart card by Alice wish laugh wonder heart card by Alice if only heart card by by Alice the sun's golden

If you’d like to try these techniques, and learn how to do this from the pro, Stephanie has an class! It’s called 52 Pick {Me} Up. Click HERE for details.

If you’d like to experience a smaller class with Stephanie there is a great one in the Layout A Day store called ‘A Few of My Favorite Things’. Sign up for immediate access to this class! *affiliate link

I can’t wait to use these techniques in my art journal!

Let your creativity shine!

Alice.

Alice Digital Signature 2013


{ 8 comments }

Let Me Take a Selfie

I have a confession. I am a selfie-girl! I’ve been taking photos of myself for years, long before this became a craze, and well before the name ‘selfie’ came along.

If you are not sure what a selfie is… where have you been hiding? LOL! A selfie is simply a photo you take of yourself, usually at arm’s length.

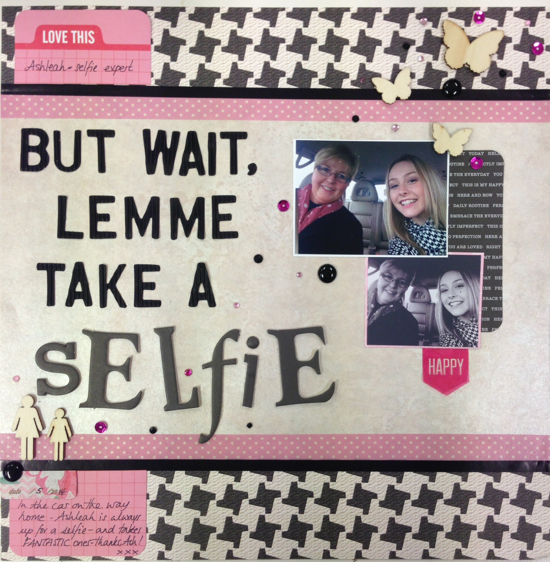
I was thrilled when my friend Claire Cummings shared her selfie scrapbook page on Facebook the other day. Immediately I asked her if I could share it here.

Claire Cummings lemme take a selfie

But Wait, Lemme Take a Selfie scrapbook layout by Claire Cummings

Storytelling Tip:

Use pop culture, like Claire did by using selfies and the chorus from the song #Selfie by the Chainsmokers, to capture a moment in your life, or the life of your kids. These pop culture of today will make this moment in time memorable, so make sure you use it in your scrapbooks!

Design Tip:

By splitting this page into sections Claire was able to add interesting pattern and keep a large area available for a title with impact. A simple colour scheme makes this page eye catching and will save time when you are embellishing.

A Sneak Peak at My Next Project!

I’ve been planning on creating an “Alice’s Greatest Selfie’s” scrapbook for a while. After years of taking photos of myself I thought it would be fun to gather them all up in one scrapbook. I’ve put off starting this project because I just haven’t seen a book that made me think, “This is it!”

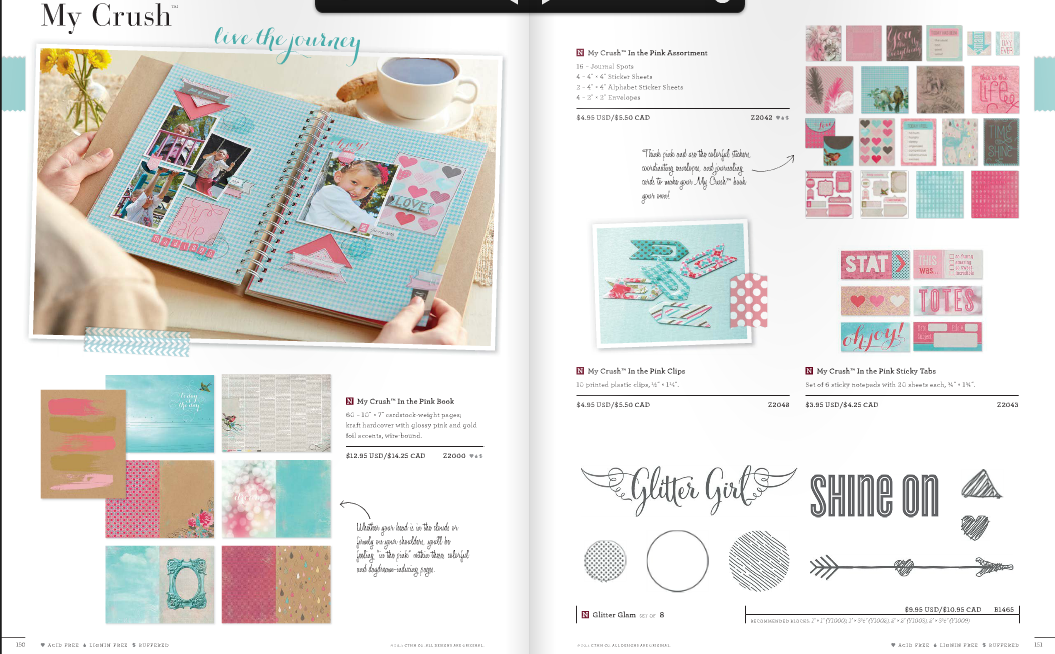
Close to My Heart is releasing a new My Crush book called In the Pink Book. When I saw it I knew it would be perfect for my selfie collection!

My Crush In the Pink Book CTMH

Close to My Heart My Crush: In the Pink Book to order in Canada visit alice.ctmh.com

Isn’t it pretty? I love how gorgeous the pages and embellishments are for this adorable book! I’ve ordered it and I’m gathering up some of my selfies so I can get started on this project. Here’s a sneak peek of some of the photos I’ll be using.

Selfie of Alice at the Taj Mahal in India

Selfie at the Taj Mahal in India

Selfie of Alice with her two boys.

Selfie with my boys back when they were little!

Selfie of Alice flying with her husband.

Midair selfie while flying with my husband in his plane.

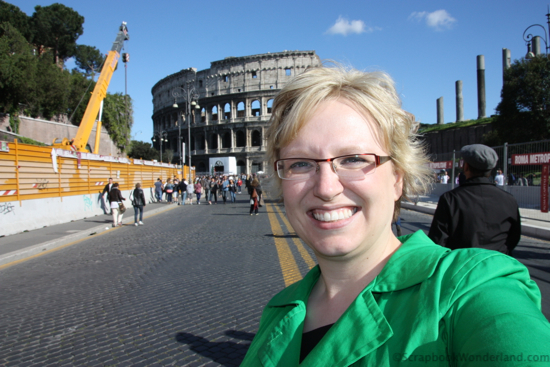
Selfie of Alice at the Colosseum in Rome

Selfie time at the Colosseum in Rome.

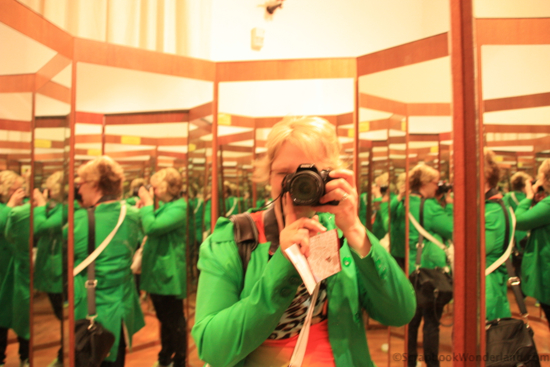
Selfie of Alice taken into a mirror with multiple reflections.

Bonus points to me for my multi- selfie!

I can’t wait until I can share this project with you, so cross your fingers that my order arrives quickly! I’d love to see your selfies too, post one, or more on the Scrapbook Wonderland Facebook page! HERE  Please leave a note to let Claire know if you love her page too!

Let your creativity shine!

Alice.

Alice Digital Signature 2013


{ 4 comments }