≡ Menu

Scrapbooking Bucket List Part 1

Do you know what a bucket list is?

It’s a list of things to do before you die, or before you ‘kick the bucket’.

Yeah, it’s kind of morbid.

But, it’s also kind of brilliant.

Whether you agree with the idea of a bucket list or not, it all comes down to creating a list of things that you would like to do… sometime. Call it what you like; bucket list, goals, to-do list, hope to do’s, I should’s, but be sure to make a list!

In this 3 part series we will look at 3 ways you can make bucket lists a part of your scrapbooking.

1. Create a Technique Bucket List

1. Do you have a list of things you’ve been wanting to try in your scrapbooks?

Have you considered creating your own scrapbooking bucket list?
bucket list technique

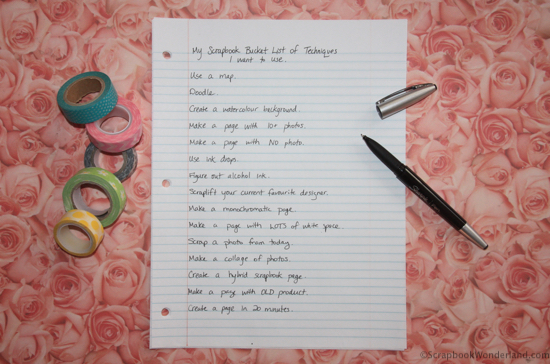
Want to see what’s on my ‘Scrapbooking Bucket List of Techniques I Want to Use’?

  • Use a map.
  • Doodle.
  • Create a watercolour background.
  • Make a page with 10+ photos.
  • Make a page NO photos.
  • Use ink drops.
  • Figure out alcohol ink.
  • Scraplift your current favourite designer.
  • Make a monochromatic page.
  • Make a page with LOTS of white space.
  • Scrap a photo from today.
  • Make a collage of photos.
  • Create a hybrid scrapbook page.
  • Make a page with OLD product.
  • Create a page in 20 minutes.

Why?

Having a list of techniques or styles you’d like to use in your scrapbooking will help you:

1. Be more creative! This list will help you to challenge yourself to try something new. When you see an idea you’d like to replicate add it to your list.

2. Get past scrapbooker’s block. When you can’t figure out what you’d like to do, or where to start a scrapbook page, take a look at your list and try something new. This is a great way to begin a page!

3. Create variety in your books. Have you ever worried that all of your pages look the same? You won’t have to worry about that if you mix some different styles and techniques into your albums once in a while.

4. Stay motivated. Trying something new is the best way to stay motivated to keep scrapbooking. Doing the same thing all of the time can become monotonous and boring. Scrapbookers that have been scrapbooking for years are often people that try new styles, techniques and play with new trends.


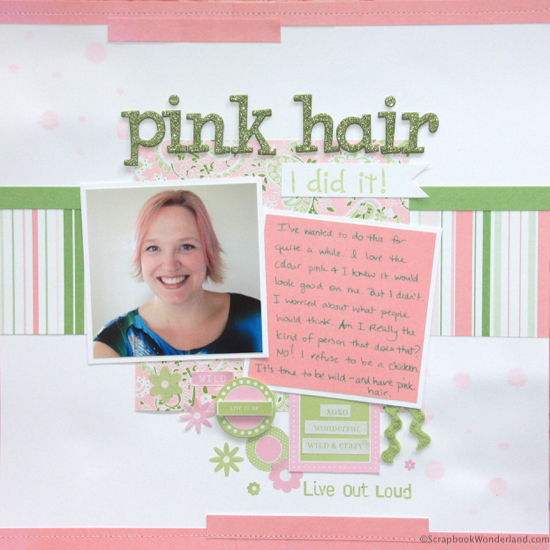
I’m starting to cross things off of my technique bucket list. Check out the ink drops I used on this layout!
pink hair layout image1

What are you going to put on your list? Share it in the comments!


Make it Monday! 

Make it Monday Pink Circle

If you’ve arrived from the Make it Monday Blog Circle… welcome! You’ll have arrived from Photos Kept Alive where Karen is sharing some layouts from her new Creative Team role.

Your Next Stop is…

Go up, up, up with some hot air balloon cupcake toppers with Connie from Clicky Chick Creates

and then on to…

Melissa from Digital Scrapbooking HQ creates a simple birthday scrapbook page with a free template!


Bucket Lists… Part 2

Check out the next part of this bucket list series! We are talking about another type of bucket list. 😉

CLICK HERE FOR BUCKET LISTS PART 2


Let your creativity shine!

Alice.
Alice Digital Signature 2013


{ 5 comments }

Make Dad a Simple Mini Album

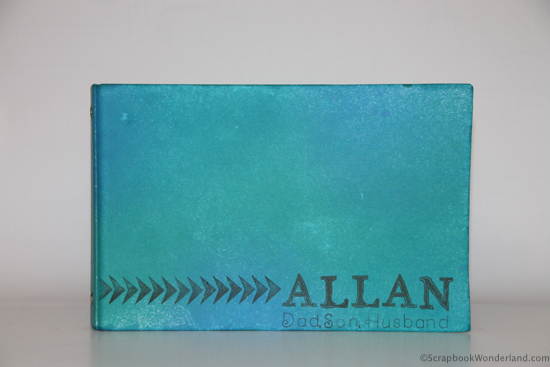
Need an idea for Father’s Day? Make Dad a mini album! You’ll be surprised at how special it will be to him.

Fathers Day book 1

There’s one important rule when scrapbooking for a man.

Keep it simple.

As much as you might enjoy the creative process that is probably not going to be the most important thing to Dad.

Focus on your photos and add a short story or sentiment.


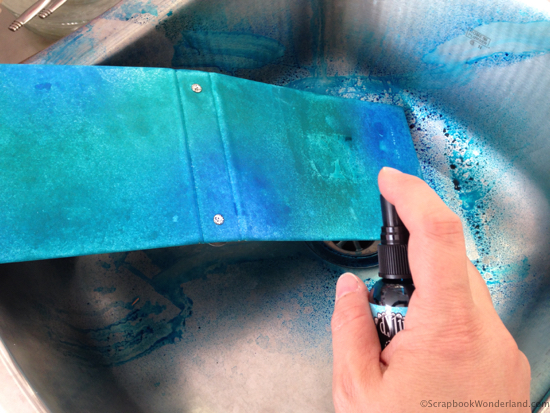
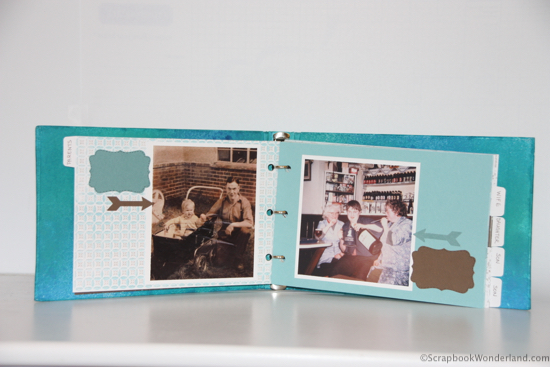
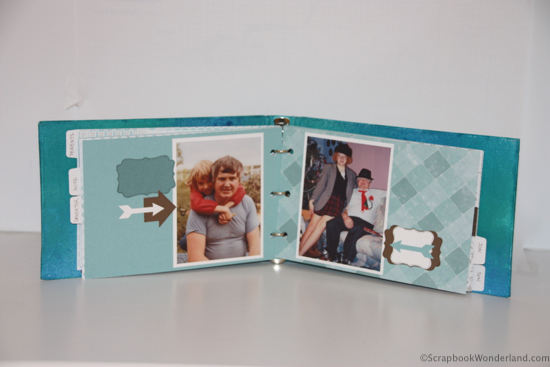
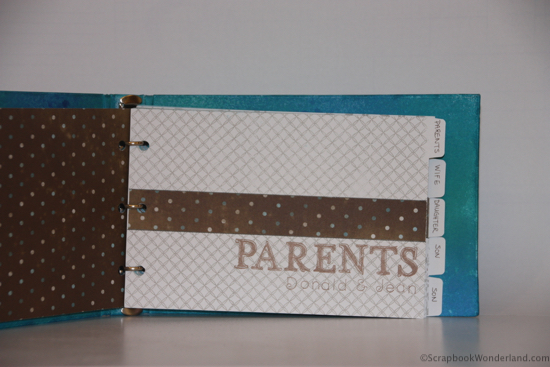
For this sample project I took a white album and sprayed the inside and outside using 3 shades of blue Dylusions spray ink. This was a super easy way to decorate the book while keeping it simple.

Fathers Day book spray binder

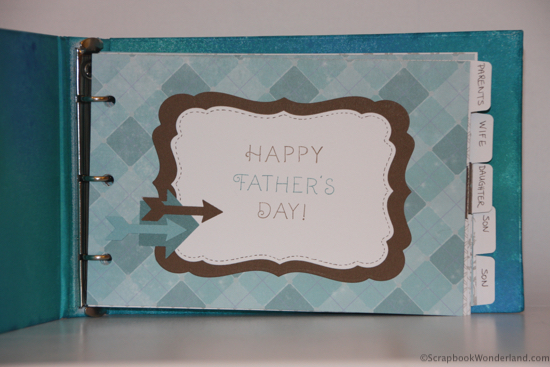
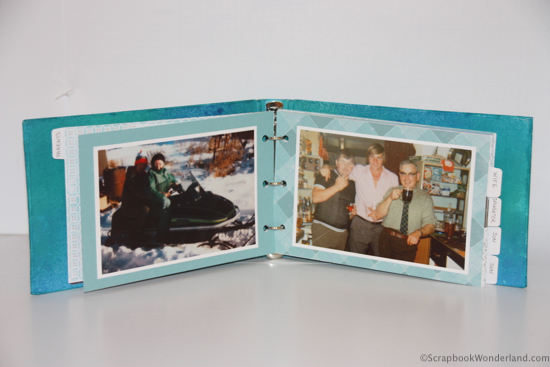
Another way to keep it simple is to pick a line of coordinating patterned paper and use it throughout the book. In my sample I used a paper pack that includes cardstock from Close to My Heart. (Wonderland)

Here’s a sneak peek to see how I’m finishing the inside of my book:

Fathers Day book 2


Fathers Day book 3

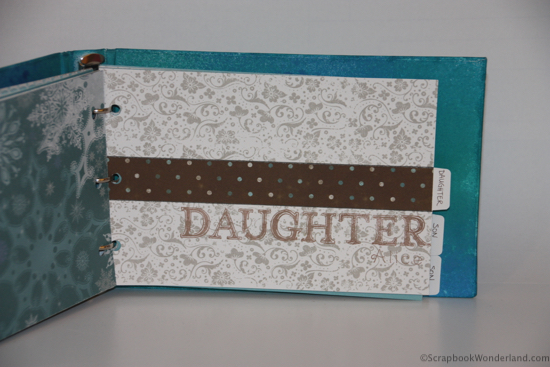
Each section has a title page.

Fathers Day book 4


Fathers Day book 5


Fathers Day book 6

The design for each of the sections is the same. This helps to keep it simple!

Fathers Day book 7

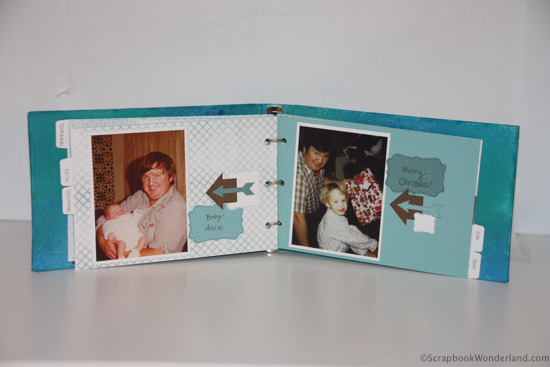
The pages inside are decorated simply using labels and arrows punched from cardstock.

Fathers Day book 8There’s still plenty of room to add extra sentiments and memories to the pages.
Make it Monday Pink Circle

Make It Monday Blog Circle

If you are joining us for this Father’s Day Make it Monday blog circle you’ll have arrived from Artful Adventures where Kristie was showing how to create a great folded shirt card, perfect for the guys! Added Bonus: it holds a gift card!

Your next stop is to Photos Kept Alive where Karen is trying some new techniques with Panstoria Artisan while making a digi Father’s Day card.


Are you ready to make Dad an album for Father’s Day? How will you keep it simple?

Alice.


{ 1 comment }

Washi Tape Background and Patterned Paper

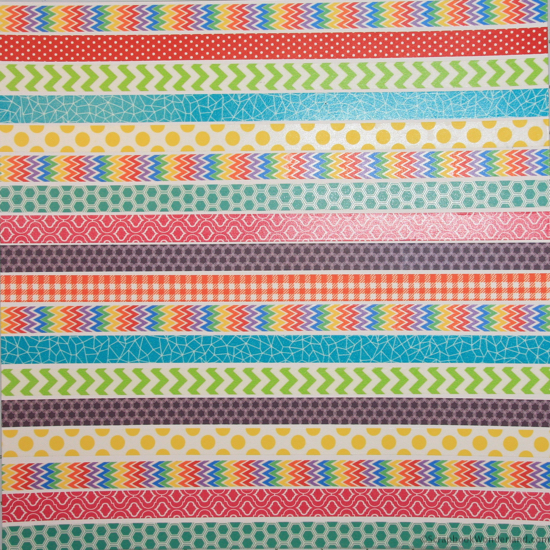
Let’s use up some of your washi tape hoard… or stash… to create gorgeous background and patterned papers for your scrapbook projects.

Watch this short video to learn the tips and tricks to put this quick and easy technique to use!

Technique for adding washi tape to make background or patterned paper:

1. Choose your washi tape. Will you use a repeating pattern or random placement?

2. Choose one washi tape and find others that work with it. Pay attention to colour, style, and width.

3. Will you leave space between the layers of washi tape, butt them up next to each other, or overlap them?

4. Will your washi tape be placed horizontally or vertically, or both?

TIP: If you are worried about making straight lines with your washi tape put a grid pattern behind the paper you are using, or use light pencil marks so you can make sure that your tape stays straight.

When you are done fold the edges of the washi tape around to the back of the paper. This will help to prevent the edges from folding up on the front of your paper.

Create your own background or patterned paper easily with washi tape!

Create your own background or patterned paper easily with washi tape!

DIGITAL WASHI TAPE PAPER

Would you like to create a digital version of this washi tape paper? My friend Karen from Photos Kept Alive uses Panstoria Artisan and she can show you how to create a digital version of this! How cool is that?!! CLICK HERE TO CHECK IT OUT!


I hope you are ready to get creative with your washi tape! Feel free to share your creations in the comments or share them on the Scrapbook Wonderland Facebook page.

Let your creativity shine!

Alice.
 

{ 3 comments }

Create a Garden Journal

If you have a yard or garden that you enjoy you should definitely document it. Try creating a garden journal or scrapbook.

I have recently started a garden journal. I want it to be more than a book that keeps track of my plants or than a scrapbook filled with pictures of my garden. I want it to be inclusive.

How do you do that? How can you combine functionality and make it pretty? What garden stories should you share in your garden scrapbook?

Here’s some topics you may wish to include in your garden journal.

  1. How did you prepare your garden?
  2. An overview of your yard or garden space.
  3. Diagrams of your garden plan.
  4. Who has helped you create your garden?
  5. Scrapbook pages that share photos of your garden.
  6. Tags and growing information about your plants.
  7. Successes and failures.
  8. Your favourite plants and why you like them.
  9. Memories of family member’s gardens and why they were special.
  10. Your gardening secrets.

Want to take a peek into my garden journal?

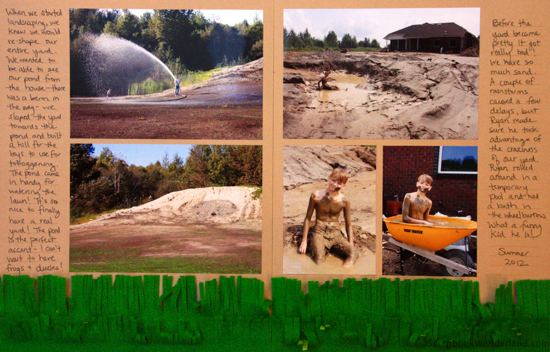
Garden journal landscaping

Landscaping


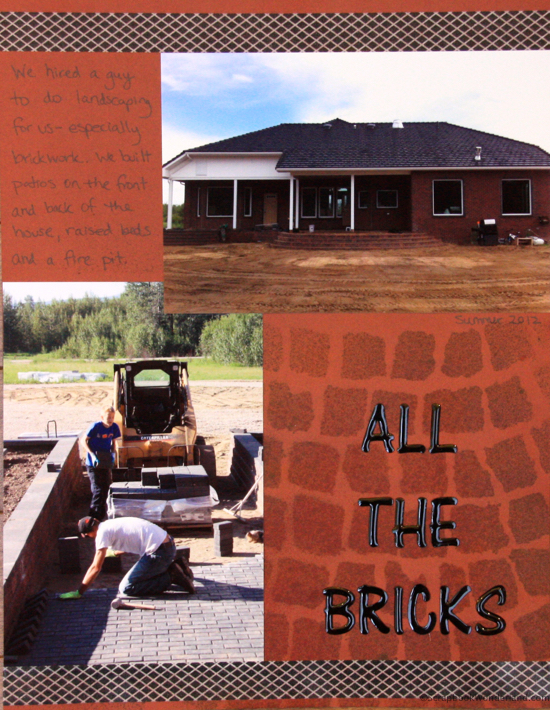
Garden journal bricks

Brickwork


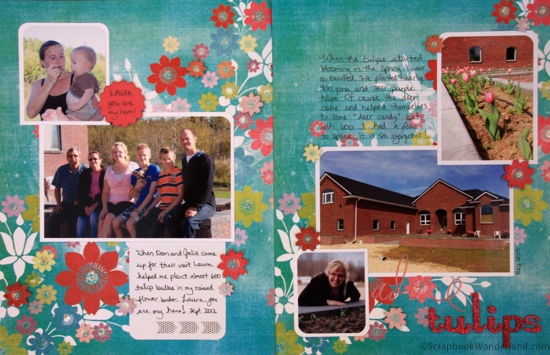
Garden journal tulips

Tulips


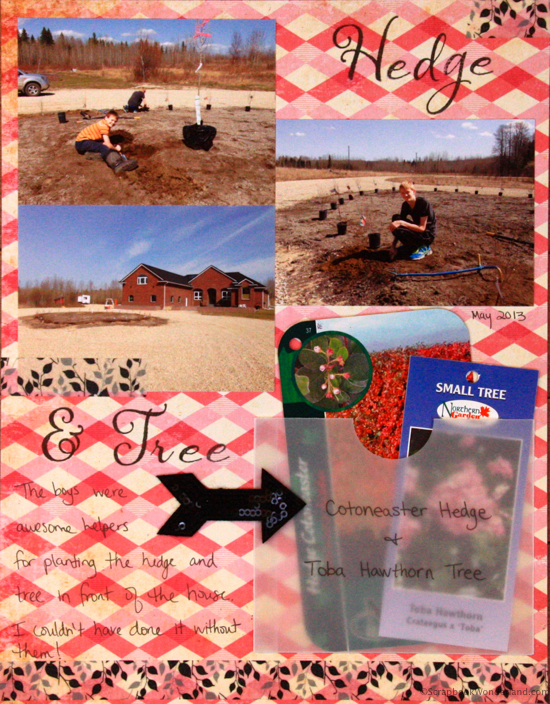
Garden journal hedge

Hedge and Tree


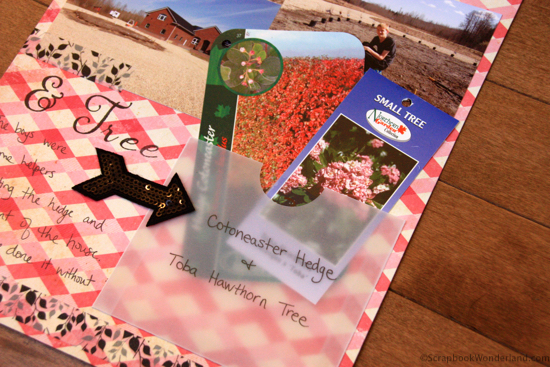
Garden journal hedge detail

I created a vellum pocket to hold the garden tags from the plants so I’ll be able to refer back to them later.


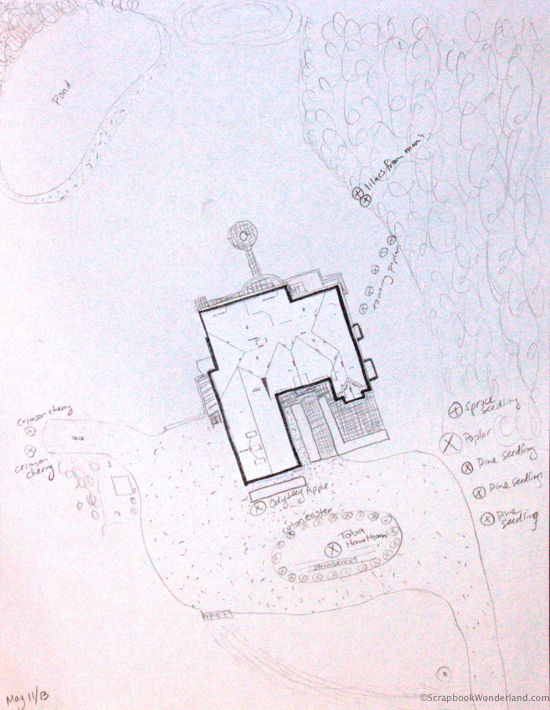
Garden journal sketch

Sketch your yard or garden space to create a record of your plants.


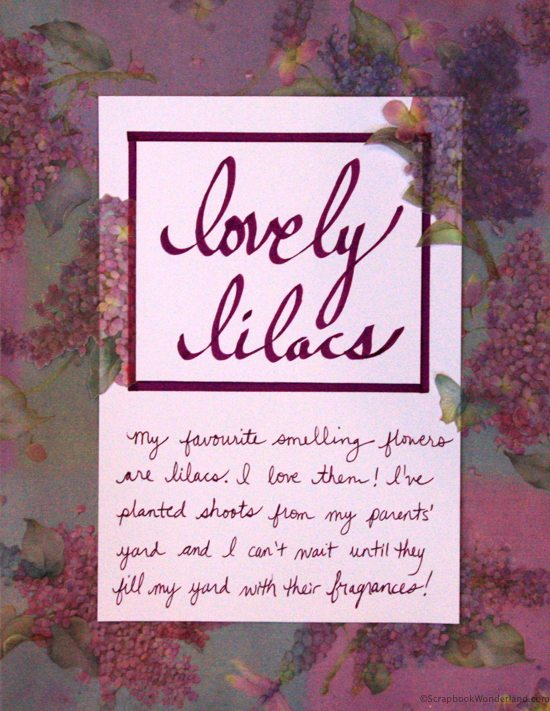
Garden journal lilacs

Lilacs


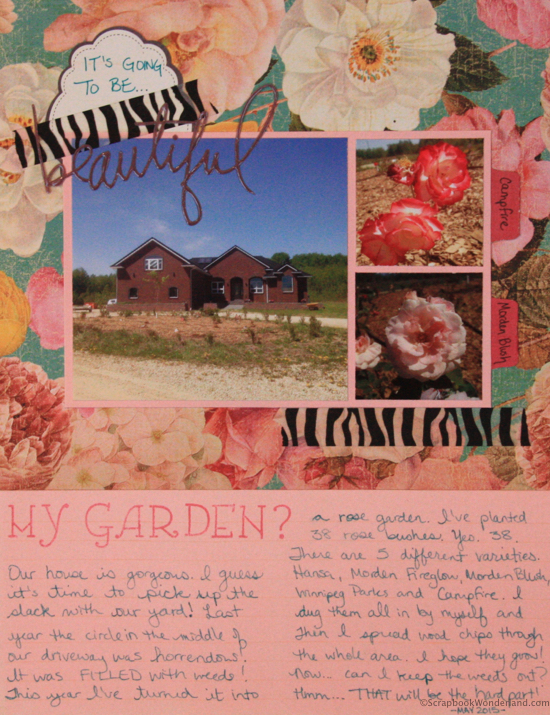
Garden journal my garden

My Garden?


Make it Monday Pink CircleMake it Monday

Are you hopping along the Make it Monday Blog Circle? You’ll have arrived from Digital Scrapbooking HQ where Melissa collected some fave daddy and daughter pics for a happy layout.

Your next stop will take you to Messtaken Identities where Gina has joined the Pocket Letter craze putting her own UPcycling spin on it.


I hope you’ll be inspired to create your own garden journal or scrapbook! If you have one share a link in the comments or share it on the Scrapbook Wonderland Facebook page.

Have a wonderful day!

Alice.

Alice Digital Signature 2013
{ 4 comments }

Two Page Travel Scrapbooking Tips

Are your travel adventures filled with photos and stories? Perfect!

Two page scrapbook layouts are a great to document your travel. Let’s talk about ways that you can use 2 page layouts for travel scrapbooking.

SPACE

Two page layouts give you a lot of space to you can include a lot of information on one page.

This may be journaling, photos or both!

BIG PHOTOS

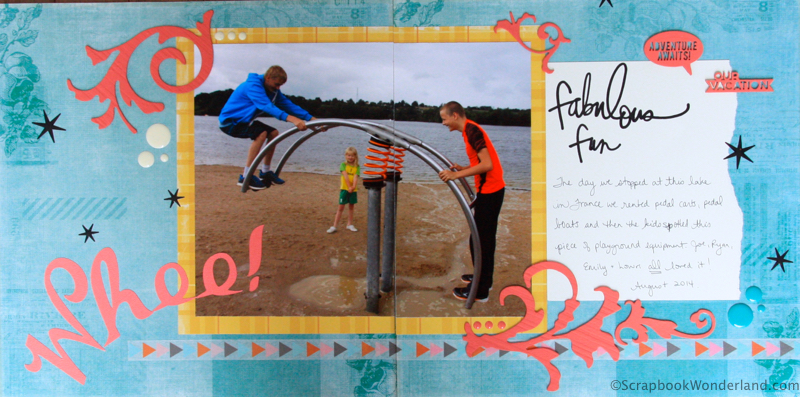
When you have two pages you have plenty of space for a big photo. This sample layout has a large photo that spreads across two pages.

If you’d like to add a lot of impact to a layout enlargements make it easy! Here’s a couple tips to keep in mind:

  • Try to pick a photo that has a natural place where you can cut it.
  • Remember, you don’t have to cut the photo down the center.
Fabulous fun two page travel scrapbooking layout with one large photo

Click to enlarge.

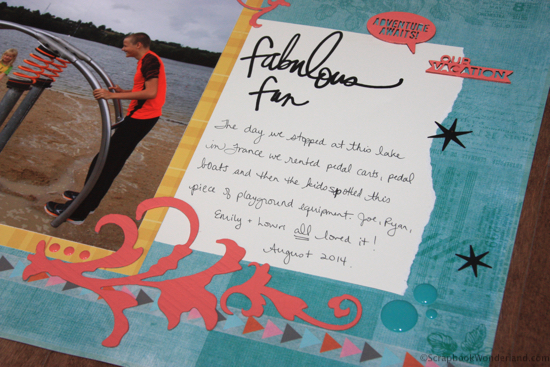
Fabulous fun travel lauout details

Journaling reads: 

The day we stopped at this lake in France we rented pedal carts, pedal boats and then the kids spotted this piece of playground equipment. Joe, Ryan, Emily and Lowri ALL loved it!

PHOTO CLUSTERS 

What if you don’t scrapbook with large photos? How can you use this design?

You can create the feeling of photos crossing over two pages without cutting them at all!

Matte a group of photos together and divide the group over the two pages.


How do you tie it all together?

  • Use the same background paper on the left and the right.
  • Use elements that pull your eyes across the page. The washi tape in the sample layout stretches across both pages and helps you connect the two pages. Also try ribbon or strips of paper.
  • Use groupings of embellishments on the left and right pages.
  • Create a visual triangle of similar embellishments. In the sample layout the coral coloured swirls draw your eye from one page to the next.


Make it Monday Pink CircleMake it Monday

If you are hopping along the Make it Monday blog circle you’ll have arrived from  Photos Kept Alive  where you found digi scrapping tips on using ephemera like maps and tickets in your digi-layouts.

Your next stop on the Make it Monday hop is to Scrapping Wonders where Beth will show you how to create a bucket travel list mixed media style.


Have a wonderful day!

Alice.

Alice Digital Signature 2013
{ 3 comments }