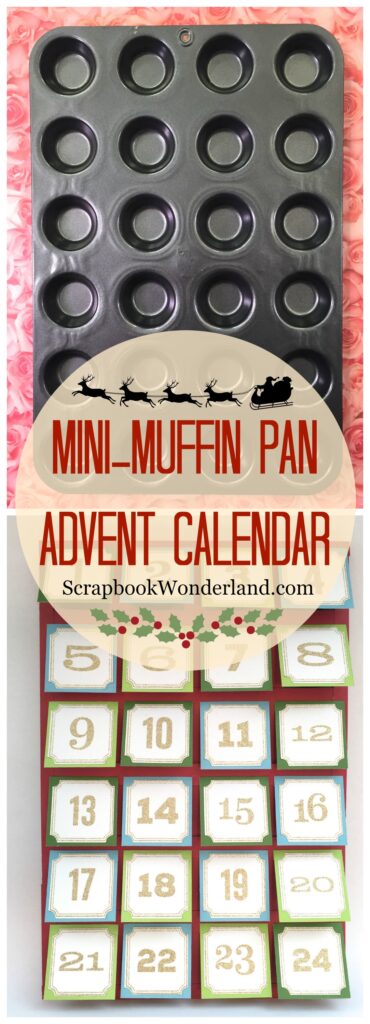
 If you like advent calendars then you’re going to love this!
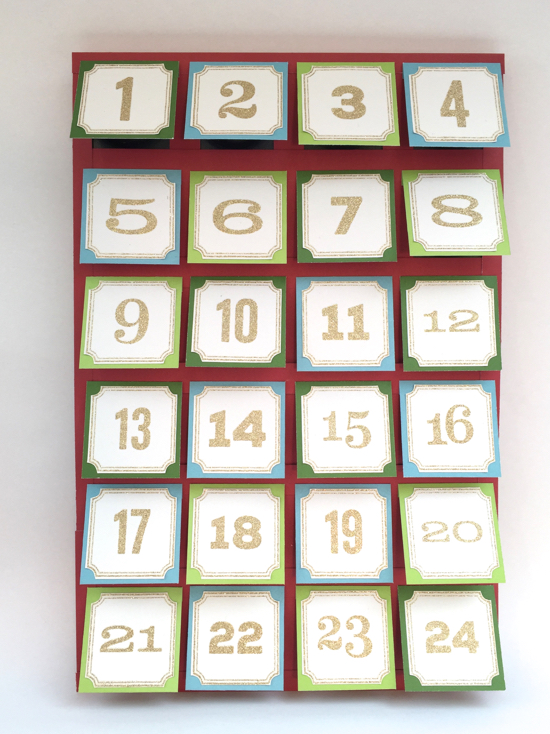
I turned a mini-muffin pan into an advent calendar.
It is brilliant, if I do say so myself!
It makes the perfect gift for a friend that enjoys baking too! It’s like giving a gift within a gift, as she has all the fun of the advent calendar and then keeps the muffin pan in the end!
I’m not going to take all of the credit, I’m sure I saw this idea somewhere… Pinterest maybe? I don’t know, I’ve had this idea in the works for over 2 years, so I can’t remember!
Here’s the backstory…
I bought the pan 2 years ago, but didn’t get it turned into a calendar in time to gift it to my friend. Oops!
This year I was determined that I was going to create this calendar, so I’m thrilled to finally see this project completed!
Create a mini-muffin pan advent calendar.
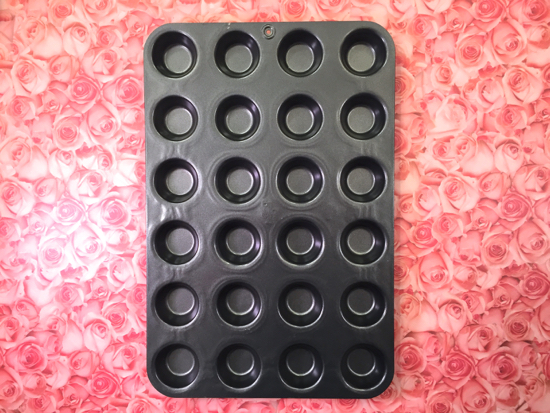
Start with a mini-muffin pan. This one is from Pampered Chef and makes 24 mini-muffins.
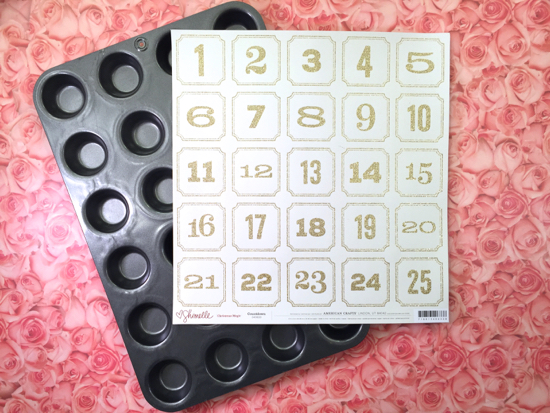
To make the numbers on the doors I found this gorgeous paper from Shimelle’s Christmas Magic line. It’s called Countdown.
It’s cream-coloured cardstock with beautiful gold-glittered numbers.
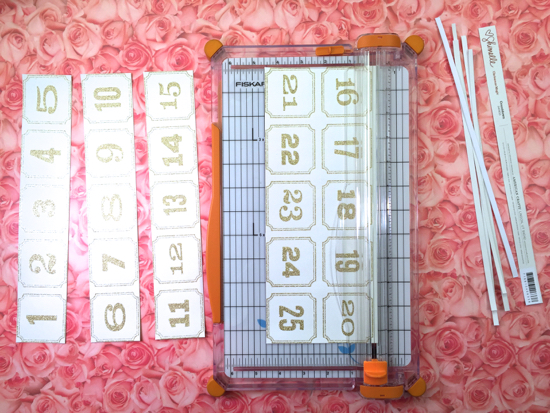
I began cutting apart the sheet into strips of numbers. My Fiskars trimmer has a wire that show you exactly where the cut will be made and that made it super easy!
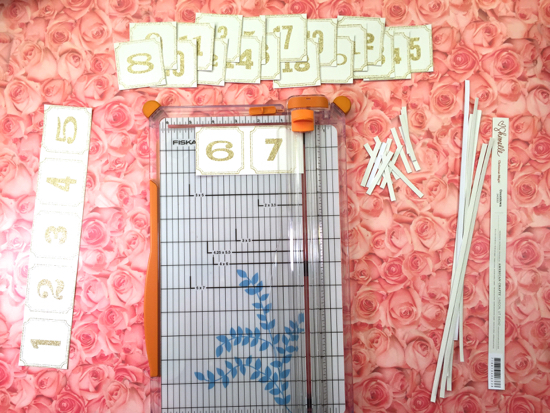
Next I took the strips of numbers and cut them apart.
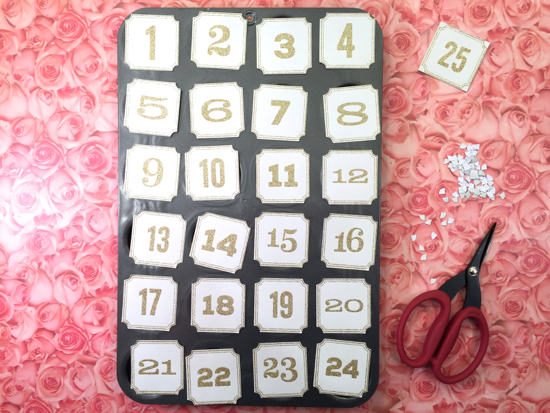
I used my Tim Holtz scissors to cut the little corners off of each square. I set the number 25 aside for use in my scrapbook! 🙂
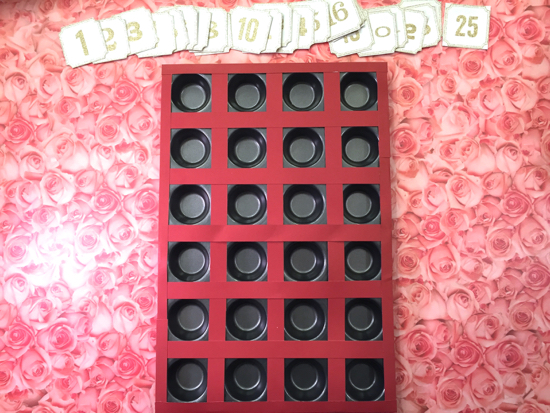
This next part was a bit tricky. I measured to see how far apart the muffin holes were, then I cut strips of red cardstock that were the right width.
The paper wasn’t long enough to reach the entire height, but that was okay, I just spliced it together.
I wrapped the strips around to the back.
I didn’t want to get a bunch of glue on the pan, so I used scotch tape to temporarily stick it down and removed it once the grid was made.
The top/bottom and sides are all wrapped around the edges. This is the only thing holding it on, but it is pretty secure.
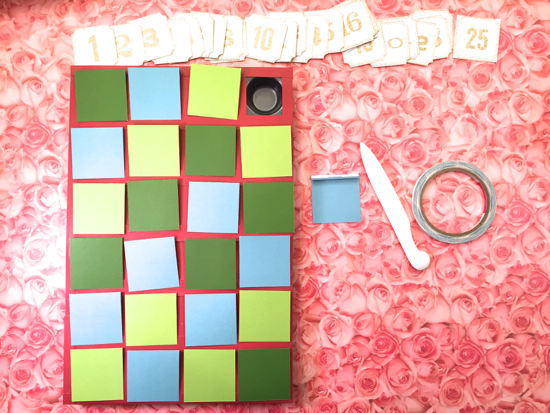
I picked some cardstock for the door flaps. I cut it to a size that would work and then folded an edge over.
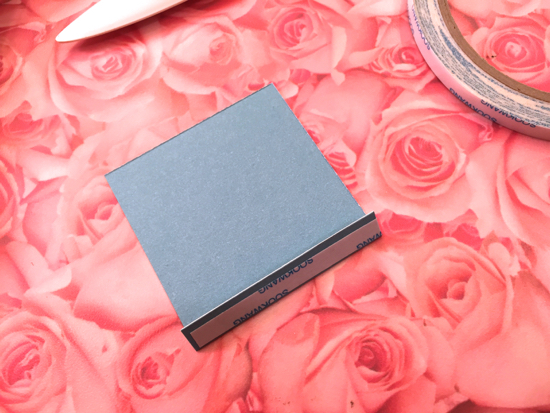
I applied a strip of adhesive to part of the door flap.
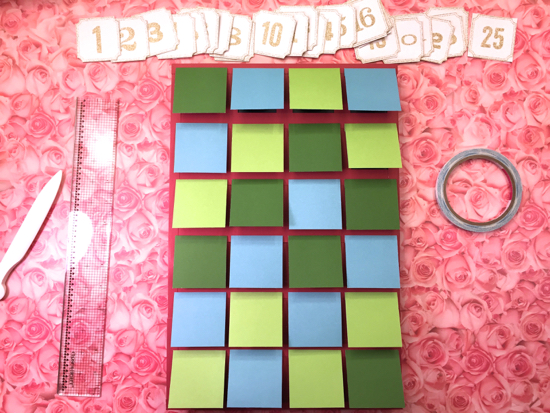
After lining everything up I started sticking down the flaps. I used the ruler to hold the flaps down flat as I adhered the next ones. This helped me to keep them as straight as possible.
I had debated about which way the flaps should open. In the end I decided that they would open up, so that the opened days would hang almost closed.
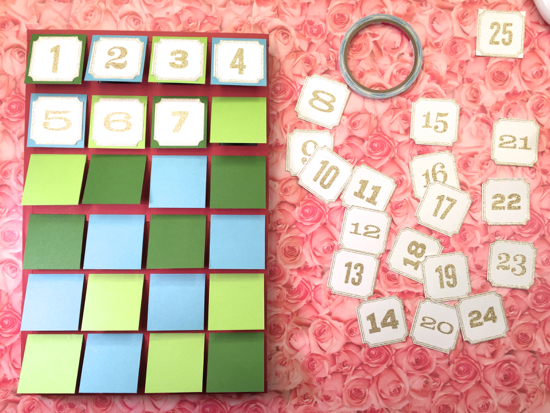
Next I glued the numbers onto the door flaps.
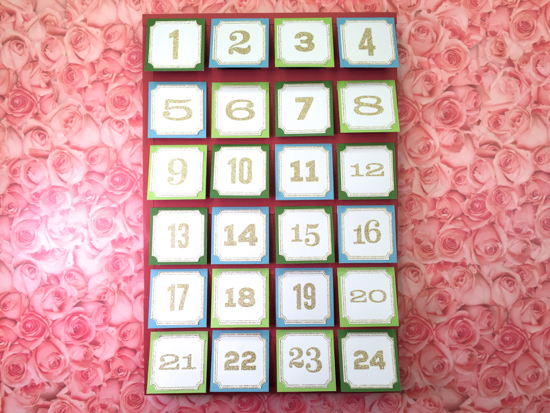
That turned out good!
The obvious next question…
What do you put inside?
I thought it would be fun to have little gifts that you unwrap, so I wrote little notes that hinted at the content of the gift that would be unwrapped each day. A few of the days had small chocolates hiding behind the doors too!
I hope this mini-muffin pan advent calendar helps to bring a bit of extra joy into my friend’s December.
What gifts are you excited about giving this year?
Are you ready to capture the magic of your Christmas?
This class will help you do the bare minimum you need to in December so you can scrapbook your Christmas in January.
Click here to Scrapbook Christmas in January.

Still need to make Christmas cards?
Check out these tips for MAILABLE Christmas cards!
Let your creativity shine!
Alice.





Comments on this entry are closed.
What a wonderful idea Alice I think that this is just darling. Did you hang it up in your house?
I filled it and gave it to a friend for Christmas! She loves to bake so when she’s finished with the calendar she’ll have the pan as a final gift!