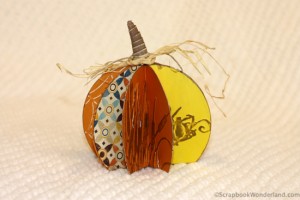
I have two rules for crafts that I plan to make.
- A craft I make must be as nice as something I could buy in a store. (otherwise I’ll just go buy something instead)
- It must be simple and easy to make.
(Yes, I’m also the mom with the last minute Halloween costumes. You can see what I came up with HERE.) 😉
When I saw this pumpkin decoration I thought, “Hey! This is gorgeous and it’s easy, this is the craft for me!”.
Here’s an easy to make paper pumpkin that looks like you did a lot of work.
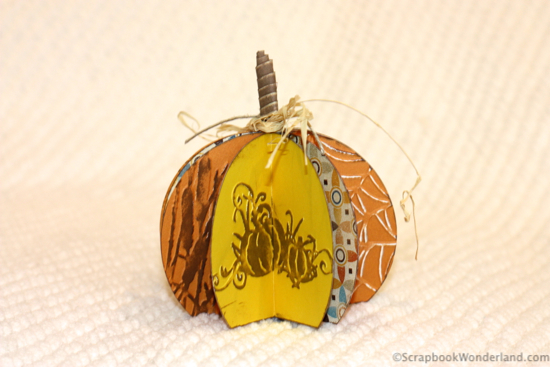
Directions:
- Make about 9 circles. This sample was created using circles that were 4″ diameter. Depending on the size of circles you may need more or fewer circles. You can use other sizes. Try using several different patterned papers and some cardstock.
- Cut a small section off the bottom of each circle.
- Use different patterned papers, or get fancy and emboss and ink some cardstock with fall images.
- Ink or distress the edges, only if you like.
- Wrap a strip of distressed cardstock to make the stem. (I used a strip that was 1/2″ by 7″.)
- Fold the circles in half .
- Glue the circles together at the edges. You don’t really need to glue the center parts, because that’s where you’ll be tucking the stem in. A tape runner works well to tape the edges.
- Glue the stem into the top of the pumpkin. Try a liquid glue like Liquid Glass from Close to My Heart.
- Finish by wrapping a piece of raffia around the top.
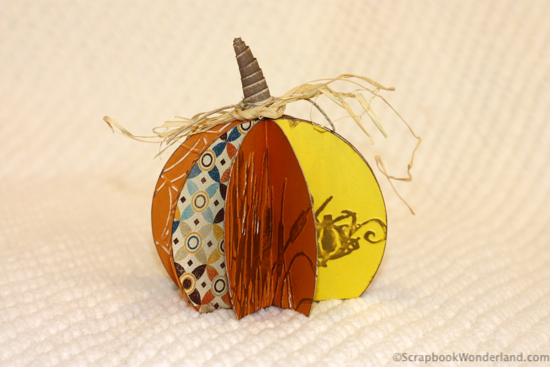
Enjoy your beautiful paper pumpkin!
Don’t forget to get tips, tricks and techniques that will help you create scrapbooks you love by signing up for the Scrapbook Wonderland email list: HERE.
Let your creativity shine, and get scrapping!
Alice.


Comments on this entry are closed.
Very cute! I would never have thought to flatten the bottom of the circles, then I would have been annoyed that it didn’t stand up right… 🙂
Thanks Libby! I had seen one that someone had made with full circles and it had that very problem. I knew there had to be a better way! Thanks for commenting!