 Technology can be an amazing tool for scrapbooking! I wrote a guest post for Melissa Shanhun from Digital Scrapbooking HQ featuring 7 Tech Tricks to Improve Scrapbooking. (You can find that post HERE, or read on for the bonus trick and I’ll remind you again at the bottom of this post!)
If you are visiting from Melissa’s site, welcome! I’d like to thank you for visiting. As a thank you for being here I have a BONUS tech trick for you!
Bonus Tech Trick: Photo Editing.
Put the power of technology to work for you editing your photos! Improve your scrapbooks today with these easy to use, fun and simple ways to edit photos.
You don’t have to be a photoshop genius to achieve awesome results with these tips. Shhh! We won’t tell on you!
1. Convert a colour photo to black and white.
Many photo storage applications allow you to make this simple conversion.
Tips:
- Duplicate the photo you are converting so it is easy to use either the new black and white copy or the colour original.
- Play with the contrast and saturation to get brighter whites and darker blacks.
2. Add text to a photo.
Here’s two super easy ways to add text:
- You can use the photo kiosk when you are printing photos at the lab. (Walmart makes this very simple.)
- From your computer try PicMonkey. PicMonkey is a free online photo editing website. You’ll be amazed at how simple it is to use and how many different edits you can make to your photo.
3. Add overlays and decorations to a photo.
Photo editing apps for your mobile device are easy to use. You can add filters, borders, text, doodles and so much more to your photos.
Two mobile photo editing apps that I love are:
- A Beautiful Mess
- Rhonna Designs
They are both available for iPhone and Android. Download them and start playing with your photos!
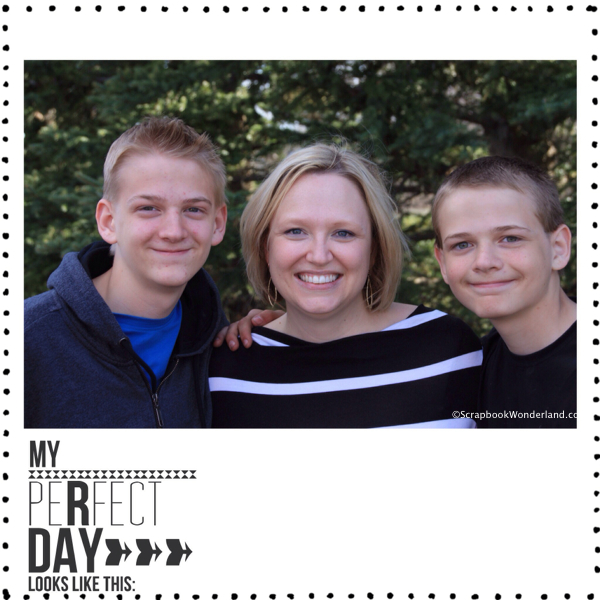
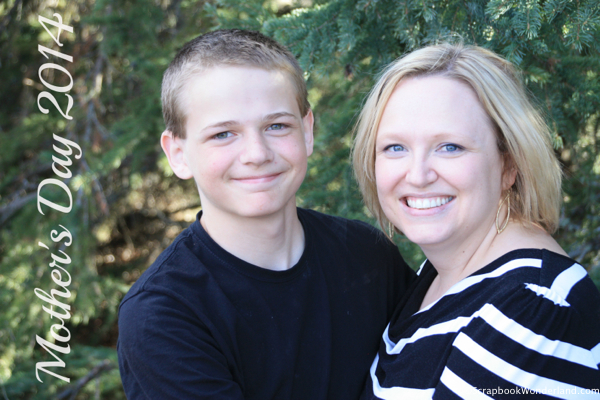
This image was created and text was added using the Rhonna Designs app. The dots were added with A Beautiful Mess app.
Now that you’ve seen the bonus trick don’t miss the 7 Tech Tricks shared on Digital Scrapbooking HQ. I’d love it if you’d leave a comment there with the trick that inspires you the most, or that you find the most useful.
Check out the 7 Tech Tricks HERE.
Like what you’ve seen? Like Scrapbook Wonderland on Facebook, it’s easy! There’s a handy button in the column on the right, or you can go HERE.
Want more great scrapbooking tips like these? Sign up for the Scrapbook Wonderland email list and start creating scrapbooks you’ll love! Sign up HERE.
Let your creativity shine!
Alice.





Comments on this entry are closed.
I absolutely love your ideas/tips, as always. They’re wonderful. I was wondering if you have any tips for using the cricut to make overlays. Specifically for a cricut w/all the perks.
Thanks for asking Lois!
One of the best tips I can give about cutting overlays is to make sure that your Cricut mat isn’t too sticky! When you cut a delicate overlay it will stick too much and be hard to remove.
I also like to cut a test out of a plain paper to make sure the size turns out the way I expect. Then if I will re-cut it with the paper I want to use on my project.
I also have a little basket where I keep cut outs that don’t turn out in the sizes I want to use. (Just shapes, banners, or tags.) This makes them quick and easy to use on other projects or cards.