
 Don’t you love it when inspiration strikes and you feel like you can take on the world?
This RARELY happens, but if the magic strikes I’m going to run with it!
Yesterday I was hit with a mega dose of inspiration and I was able to create an entire mini album IN ONE DAY!
See the video below!
Here’s the backstory.
A few years ago I’d seen a brilliant idea, probably on Pinterest (but I can’t find the pin), to create a mini album out of the Christmas cards you receive each year. Then you can pull out the album every year and it’s full of beautiful greetings from loved ones. Awe!
I’ve been saving my cards every year with the intention of putting one of these albums together. Let’s be real. It never happened.
I was chatting with my friends from ScrapHappy the other day and we talked a bit about whether or not we’d be doing a December Daily project this year, or about other holiday scrapping plans. I kind of hate talking about Christmas in September, but this is when the companies are releasing all of their gorgeous products so we couldn’t help ourselves! 😉
Yesterday I went up to my scraproom and decided that it was time to make one of those albums. I grabbed the cards, just the ones from 2016, and started cutting the holes with my Cinch.
I had a kit from December Daily sitting almost completely unused on my desk. I thought it was from 2016, but I recently remembered that I did have an album for it that I used for a different project and it has a 2015 tag on it… so it was even older. (Yes, it was still sitting on my desk… don’t judge!)
The products would be the perfect filler for this mini album of Christmas cards. As I looked through everything in the box I thought, “I should just print a few pictures to include. That would be cute!”
lol.
Just a few.
Next thing you know I’d used half a pack of photo paper and replaced the Yellow ink in my printer.
I printed photos from every holiday-related event we’d been part of.
I printed in various sizes, lots of 3×4, a few 4×6 and even a couple of 6×8’s.
Looking at the 3×4’s I thought I’d grab some page protectors and use them too.
Suddenly this project had become much bigger, and much more complicated. I was like a weightlifter in the gym just adding a bit more weight until I was staggering under the mass of it all.
And I still wasn’t worried. I was going to “keep it simple”.
lol.
I started tackling the pile of photos. I went from the end of the month and kept moving forward. After I’d get a section of photos done I’d add some cards and move to the next event.
I was keeping it pretty simple.
It was kind of amazing how smoothly it was going.
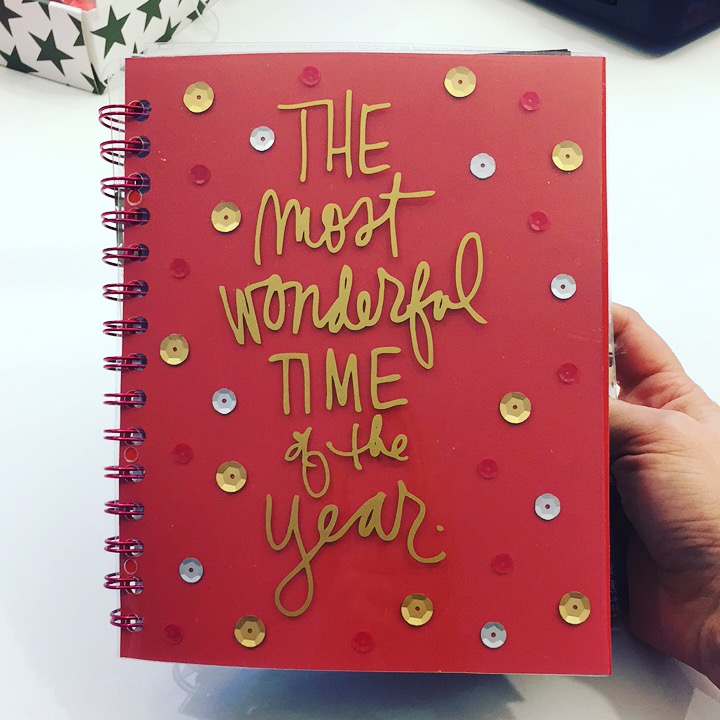
Eventually I realized that the beautiful bronze-coloured coil was going to be WAY TOO small. (It was only .75″)
I went digging through my supplies and found a bright pink 1″ coil. Perfect!
Well, not quite. It’s way too small too, but I didn’t have a larger one, so it works for now.
Then I had to take my son off to swim practice. We were gone for hours, but my excitement for this project didn’t wane. As soon as I was home, it was now 11pm, I started back up.
Around 1am I was finished. Every photo, card and embellishment had been placed in the album. I squished the bright pink coil to close the album.
Success!
Flipping through it I could barely believe how well it went. I was holding a finished album in my hand. From the conception of the project, to printing photos, to gathering supplies, to completion took about 7 hours.
Watch the Flip Through:
7 Tips to Get it DONE Fast:
- Use a kit. Everything is coordinated, matches and is easy to work with.
- Gather all of the photos, cards and supplies. Get it all ready first so you don’t get distracted looking for anything!
- Just start. I started at then end and moved to the beginning. I think it tricked me into believing I’d finish, since the end was done!
- Keep it simple. By keeping every page simple I was able to complete the project quickly. I added most of the embellishments after the base of ALL of the pages were complete.
- Break it into mini projects. Each section of the album was based on a single event. I’d complete an event quickly, separate that section with some cards and move onto the next event.
- No excuses. When I realized the coil wasn’t large enough that could have stopped me in my tracks. I pushed on and the project is DONE! Even if I never replace the coil it will still be done.
- Let nothing stand in your way! Even though I couldn’t get it done in one sitting I kept it in mind and went back to finish up right away!
Now I’m looking around my scraproom and I’m wondering which project I should tackle next!
I’m going to try a December Daily album this year too. I’ve ordered my kit and I was excited that Ali re-stocked the supply of the album and transparency sheets so I was able to order them too.
What are you holiday scrapping plans?
Alice.


Comments on this entry are closed.
This is AWESOME! This is MY ideal “December Daily” collection of memories. I think I will still do mine as the December section of my PL album for the year, but I love the way the cards are there as well as the Christmassy things and the daily life things. No pressure to do day-by-day pics or journaling, but an accurate representation of the routine and the fun of the season. LOVE LOVE LOVE this! Thank you!
Thanks Kathy! I feel it’s a true reflection of our Christmas. I’m excited to see your pages, I hope you’ll share them on your blog!
I just love this!!! We get so many Christmas cards with photos on them and I never know what to do with them after we take them down from the display!! I am definitely going to do this! I have a few technical questions for ya! You had small pages with pockets for pictures… Is that a product with the Cinch?
You are a rockstar!!! Beautiful work!!!
Hi Heather! Thanks for the kind words. I’m so happy to finally give my cards a place of honour.
The pocket pages are from Project Life and/or Close to My Heart. (I used a couple of different designs and have some from a few companies. They are considered a 6×8 pocket page, but they are wider than 6 inches as they will hold 6×8″ of photos and cards, and there’s room for the binding.) I used my Cinch to cut extra holes in the plastic protectors as they only had three holes.