
I’m so excited to share my first video tutorial with you. In this video I will walk you through the basics of embossing with stamps, AKA heat embossing.
In this tutorial video you will learn how to Emboss Using Stamps, also known as Heat Embossing. Heat embossing is an awesome technique that allows you to add a thin layer of plastic on your project.
Tools Required:
- Embossing Powder
- Heat Tool
- Stamps
- Ink
Embossing Powder:
Embossing powder is a collector’s dream, so BE careful! 🙂 You don’t need every single colour and type that is available! You want versatile ones to get started. (After that you can go a little bit crazy!)
Versatile colours:
- Clear detail
- White
- Black
- Silver
- Gold
That’s all you ‘need’ to get started!
Heat Tool:
Heat tools are designed for embossing. They heat to the right temperature and they do not blow too much air, so they don’t blow the powder off of your project. If you try to use your hair dryer it will blow the powder off of your page and you are not going to be very happy with the result. Get the right tool, save yourself some time, and they are not very expensive! ***NOTE: They do get VERY HOT, so be careful!
Stamps:
Both acrylic and rubber stamps work well for embossing. Most designs will be fine. Watch out for extremely detailed stamps. You will need a very fine embossing powder and you may still be dissatisfied with the results. Generally most stamps are fine!
Ink:
You need a ‘sticky’ ink. What does that mean? You need an ink that stays wet long enough to hold the powder for embossing. Versamark works very well, as do craft/pigment inks.
Other Handy Tools:
Paintbrush: to brush off extra embossing powder that sticks where you don’t want it
Tool: to hold down a small piece of paper you are embossing (I use a paper piercer)
Embossing Buddy/Magic: chalk bag to coat your project to prevent embossing powder from sticking to any fingerprints or other unwanted areas of your paper.
(If you don’t have an embossing buddy/magic you can rub a USED dryer sheet over the paper to reduce static cling)
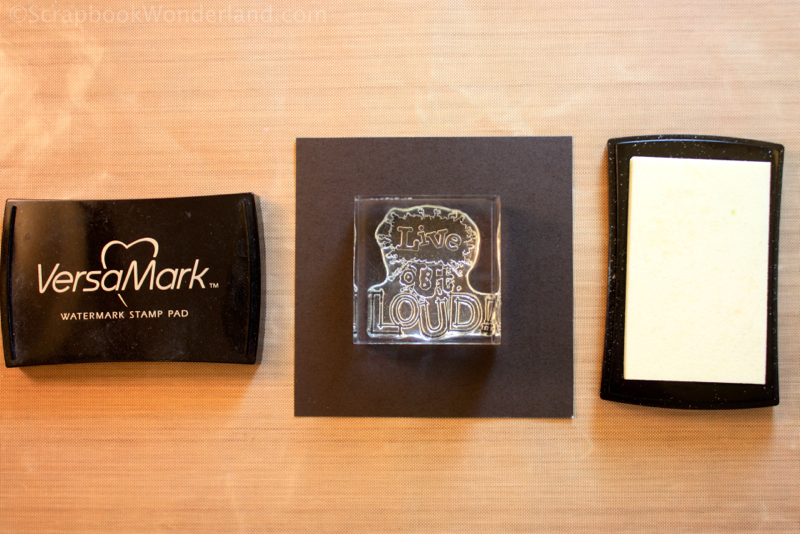
Stamp your image with sticky ink, such as Versamark, or pigment ink
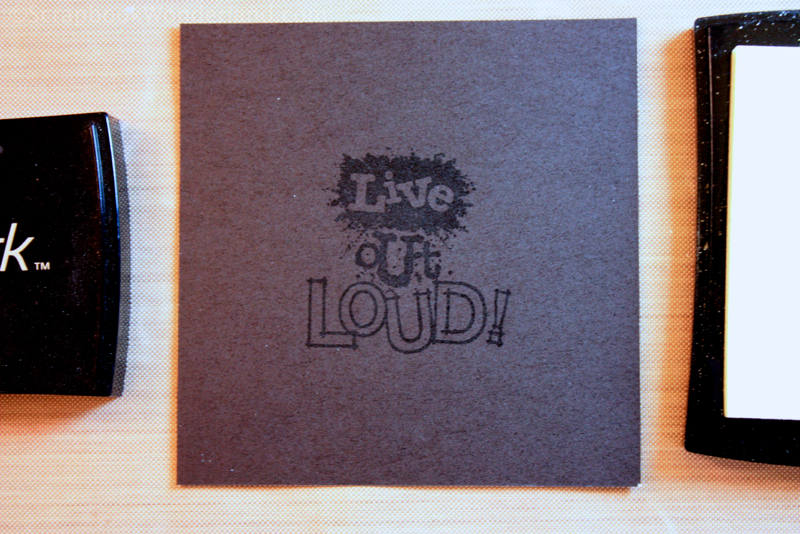
Versamark will make the paper have watermarked or wet look
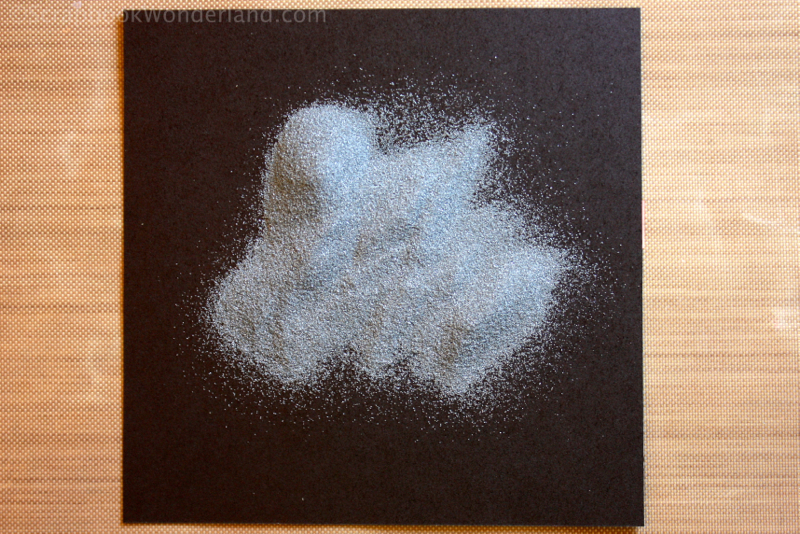
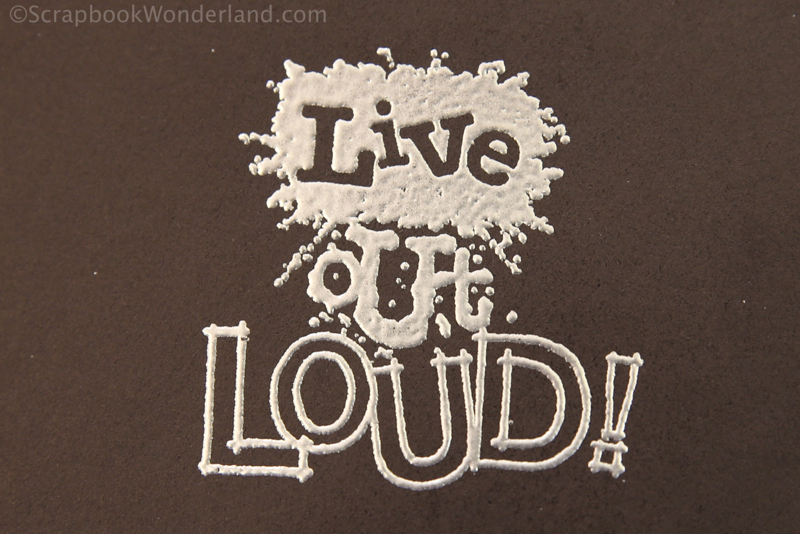
Generously pour embossing powder over the stamped image
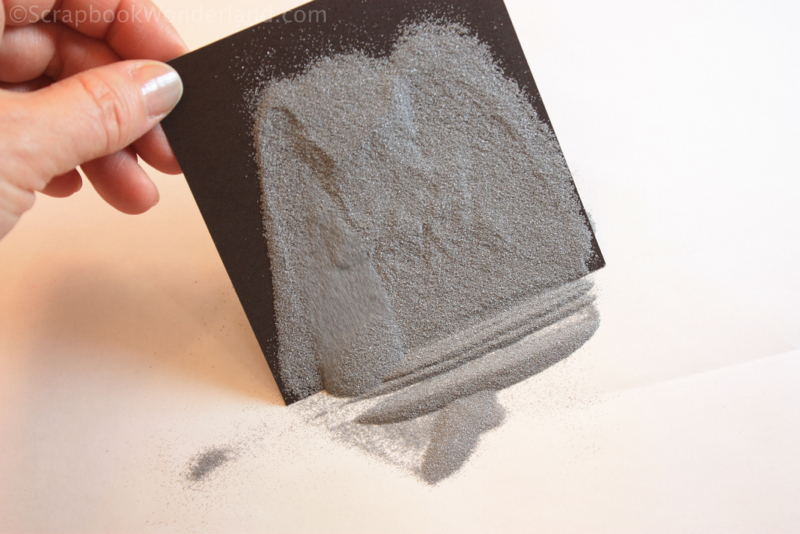
Tap off excess powder onto a sheet of paper so it can be reclaimed
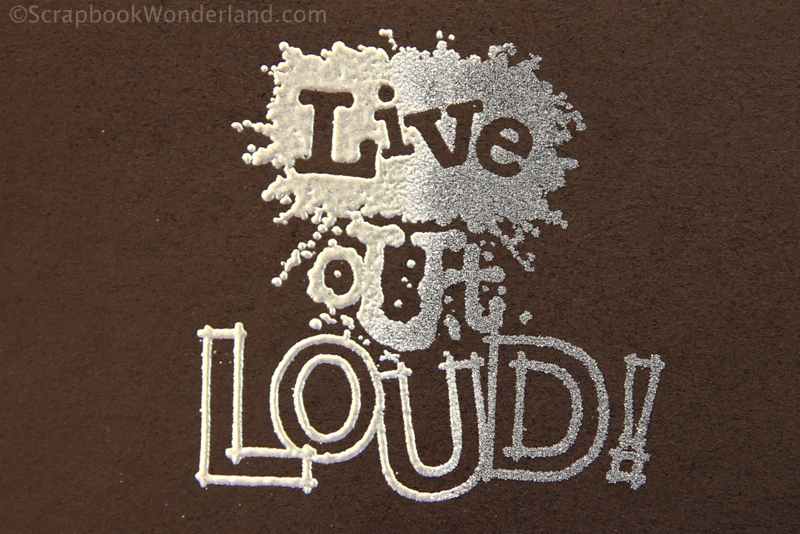
Begin to heat emboss, moving the heat tool around to avoid scorching
You are finished embossing when all of the powder is melted completely!
Ideas for Using Embossing:
- Titles
- Custom Backgrounds
- Add shine to page embellishments
- Add texture to cards
- You can emboss on vellum paper
- Create custom embellishments
- Make a border
- Mix embossing powders (colours and textures) to create a custom look
- Emboss on an album (TEST a hidden area first, and be EXTRA cautious!)
Look for more embossing techniques under the TUTORIALS tab at the top of the page.
Have you tried heat embossing before? Did it feel like ‘magic’ the first time you saw it? Are you inspired to give embossing a try? If you have questions or would like to share a story about embossing, please leave it in the comments!
Let your creativity shine!
Alice.
Amazon.com
Amazon.ca (For Canadians!)


Comments on this entry are closed.
Most interesting Alice, I don`t scrapbook but still enjoyed your video. May also have to give embossing a try on another project. Great Job!
Thanks for the comment! Embossing is a lot of fun!
Thanks Alice, I appreciated the visual of the melting powder.
Do you like a certain brand of detail embossing powder. What is the difference between the detail one and ‘normal’ powder. My LSS only has no-name brands and I wouldn’t know what brands to search for online.
The difference between most embossing powders and a ‘detail’ powder is the size of the granules. Think about the difference between table sugar and icing sugar, although the difference in the powders is not quite that extreme. The smaller granules will show more details when they are melted because they are small enough to stick to the fine lines.
There is also ultra thick embossing enamel (UTEE), which has very large grains. These will provide a different level of coverage too! And you can get really playful with layering… oh! the possibilities!! 🙂
I use several powders from Close to My Heart (I am a Canadian Independent Consultant there is a link to my online shopping site under “Shop”). They are very good quality, opaque coverage powders. The white powder is one of the best whites I have used.
However there are many other options… more important than specific brands look to see if the powder is ‘opaque’ or ‘transparent’. These will give you very different results! I’ll edit the post and add some links to some powder options!
Great video Alice I really like how you did the two screen thing and I love versamark for embossing. I haven’t a great embossing powder yet though. Which embossing powder is your favorite? I also never thought about embossing on albums before I might have to give that a try!!!
Embossing on the albums was very easy. I’d be especially careful when doing this though! If you can… test inside the back cover or a similar out of the way area! The purple album shown was linen that I painted purple, then embossed. The brown one is faux leather.
I really do like the Close to My Heart powders, (I’m an Independent Consultant for any Canadian orders 🙂 but I also use other brands… wouldn’t want to limit myself too much!
The products from Amazon.com (and Amazon.ca) at the bottom of the page are my personal favourites!
Alice, thanks for sharing your tips! I love your examples on pages you have done. I never thought about using it on an album, either! Hmmm….. wonder what else we could emboss? (Putting thinking cap on!)
Oh boy!! I can tell this has started something exciting! Hope you share you projects! If you do please share a link here!
Wow! I love your scrapbook room!
Your Battery changer guy looks pretty good too!
Thanks Pamela… I have to say my AV guy is pretty spiffy!! 😉 There will be tour of the room coming up next week!
Hi, I’m just wondering do you think this would work on leather? Thank you