 Are you curious about alcohol ink markers but you’re not quite sure where to get started? There’s so many fun ways to use them! But first…
Welcome! If you are participating in the Make it Monday Blog Hop then you’ve arrived from UseYourStash.com and Margareta has inspired you to use Project Life cards in new ways. I’ll share links to the rest of the stops along the hop at the end of this post so you won’t miss out!
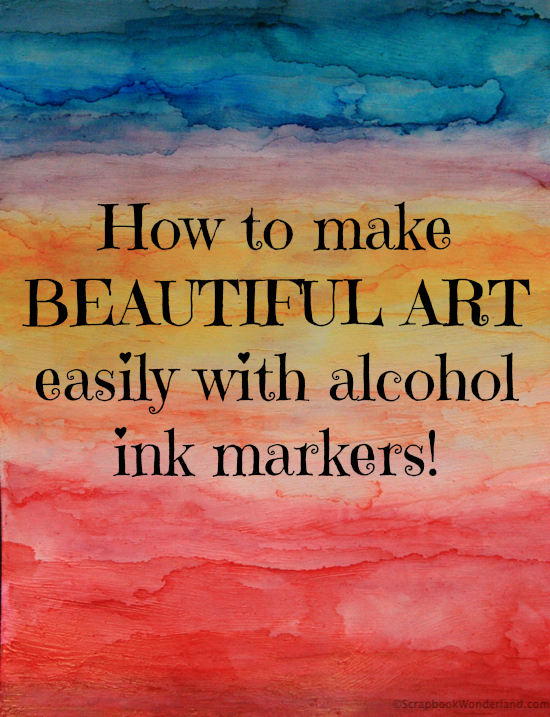
Alcohol markers are very popular in the world of scrapbooking these days. In this post I’ll show you a simple art technique using alcohol markers that doesn’t require many supplies or artistic ability. This is a fun and easy way to play with your markers and make some art!
Let’s get started with this 5 step photo tutorial.
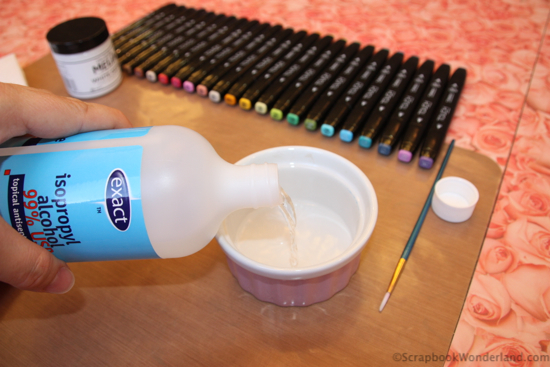
Step 1: Gather supplies
- White Gesso
- Alcohol
- Brush
- Markers
- Paper towels for clean up and blotting
- Markers
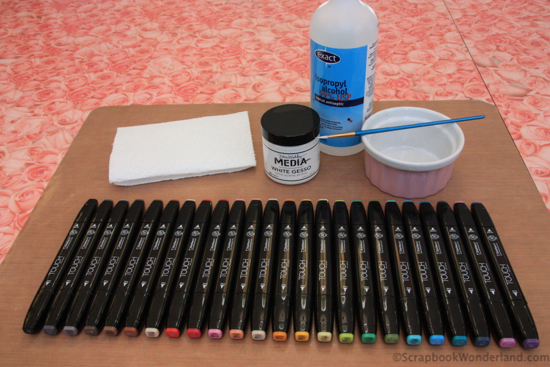
Bonus tip: I create on a craft mat. It is easy to wipe down and clean up!
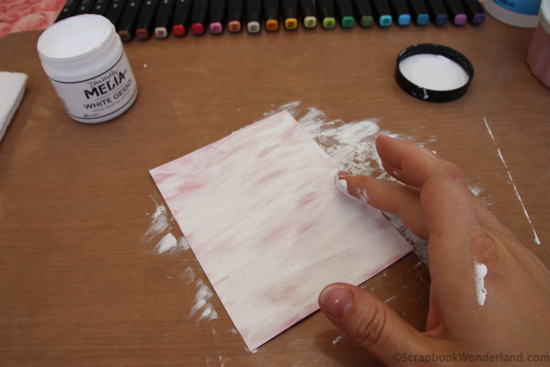
Step 2: Coat paper with gesso.
This creates a layer that prevents the ink from bleeding through the paper. Allow to dry.
Less gesso = more bleed through
More gesso = less bleed through
There’s no wrong amount to coat the paper, it all depends on how you want your project to turn out. Alcohol inks don’t blend well on regular cardstock so this layer of gesso will allow your inks to blend together. Be sure your gesso is dry before the next step.
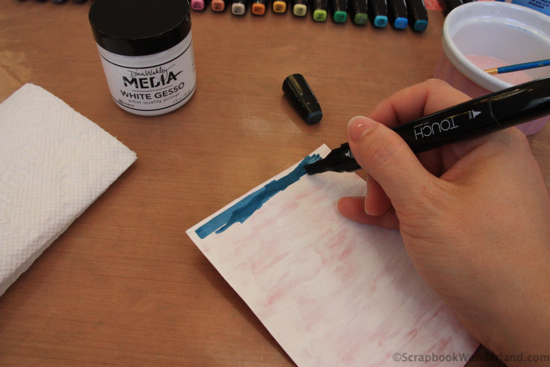
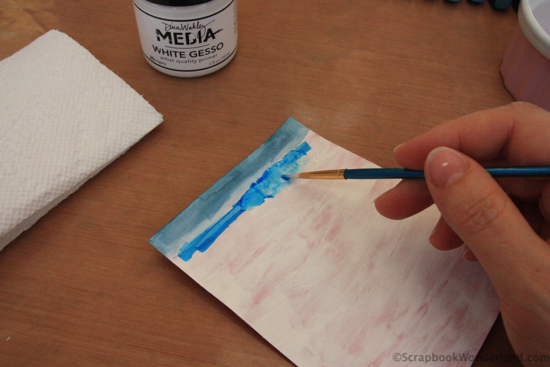
Step 3: Begin colouring with alcohol marker.
I’m using the ShinHan art markers available from Close to My Heart. (link for Canadians only, sorry!)
The colouring does not have to be precise or perfect. You are going to blend this ink! Your goal is to simply add ink to the paper.
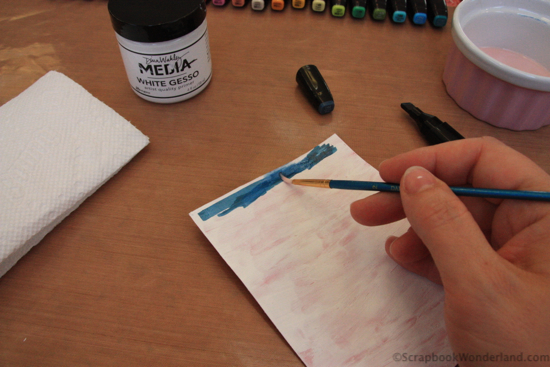
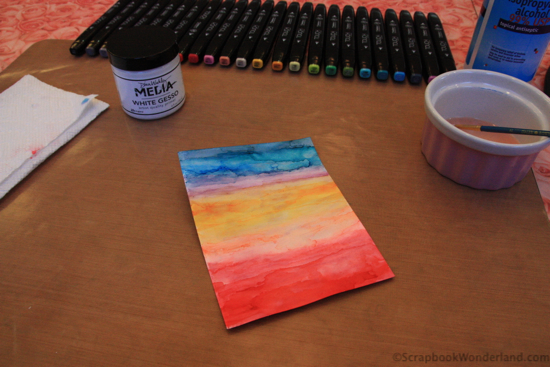
Step 4: Blend with alcohol using the paint brush.
This part is the fun part! You will begin to see the colours mixing together and softening. Dab your paintbrush in the alcohol and start blending the ink that you coloured with your marker.
When you want more vibrant colours just add more ink by colouring with your marker. (Allow the alcohol to dry for a moment before adding the ink.)
When you want to remove ink just blot excess onto paper towel and clean your brush in the alcohol.
Repeat with more colours or shades and feel free to blend the colours into each other. There is no ‘right’ or ‘wrong’ way to do this. Experiment on smaller projects so that you get the knack for it and then you’ll be comfortable to tackle a larger project.
Step 5: Enjoy your art!
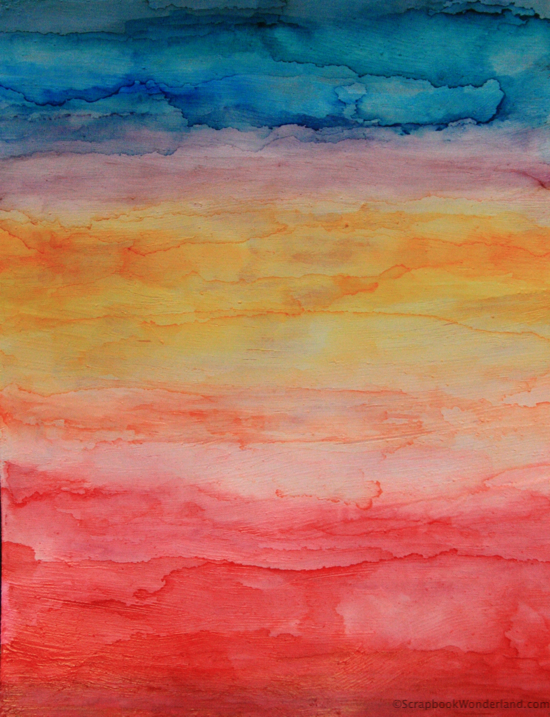 I hope you’ll be inspired to try more creative art techniques for your scrapbooks, cards and art journals. In an upcoming post I’ll be showing ways you can put this art to use in your scrapbooks and craft projects.
If you liked this art technique you may want to see this post about art journaling HERE.
If you have any questions I’ll be happy to answer them in the comments! I read and respond to all comments as quickly as possible as I appreciate your interest.
It’s time to start hopping again! Visit DigitalScrapbookingHQ.com to be inspired by the bright and cheerful layout Melissa created using her front facing camera.
Let your creativity shine!
Alice.
BLOG HOP LIST:
Clicky Chick Creates – make tags with Connie
Use Your Stash – PL cards in new ways with Margareta
Scrapbook Wonderland – Alice is our guide to creating art with alcohol markers <— You are here!
Digital Scrapbooking HQ – Melissa is giving us a tutorial for a digi layot
Scrapping Wonders – Beth is showing how to make a mini album from one sheet of paper
Photos Kept Alive – Karen is inspiring us to make a road trip album
Comments on this entry are closed.
That is amazing!! So pretty! Thank you for sharing this tutorial!
This is just gorgeous! 🙂 Looks like a sunset
So pretty! I had no idea about this technique. LOVE it! Tags, cards, layouts… lots of fun projects coming to mind! Thanks for sharing and being part of the Make It Monday hop 🙂
What a great technique Alice, I am going to have to try this out soon. I love how yours looks like a pretty rainbow! All you have to do is stamp a quote on it and you are good to go